- Home
- >
- Preservation Archaeology Blog
- >
- Raising the Roof
(August 7, 2015)—The process began before the students arrived. After obtaining a Forest Service permit, I cut a couple of loads of juniper poles for the roof. I cut the poles when they were green, so they were heavy! I had the students use stone axes to remove bark from the logs and speed up there drying process. Each student spent at least two or three hours de-barking logs, and then we switched over to making mud.
[tn3gallery id=40 size=narrow]
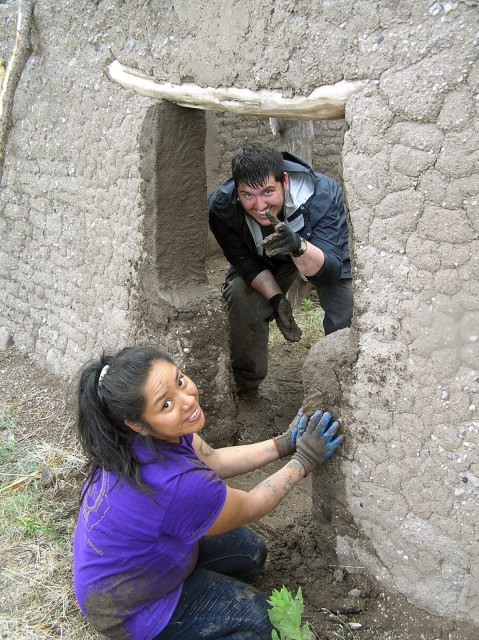
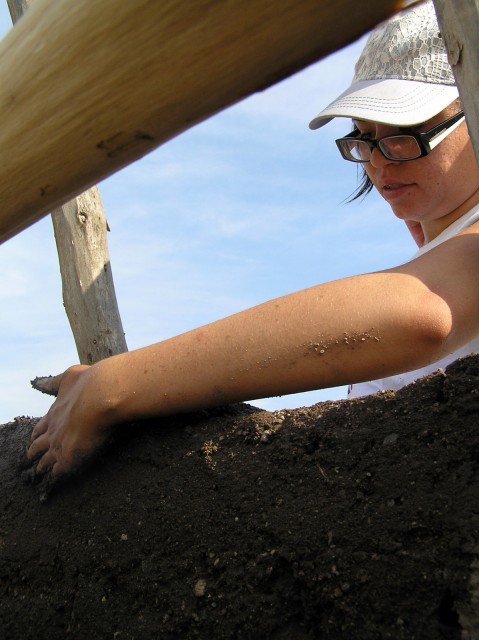
This year, we used an adobe “recipe” that our host uses for mortar in her adobe constructions. We put the mix—which had a higher sand content than most of the adobe we used the previous year—through screens to eliminate large particles. The adobe with higher sand content is more difficult to work with, but it sets up much harder than adobe with higher clay content. We raised the walls another 10 inches. When we reached a consistent height around the structure, we laid down the vigas and mudded around them.
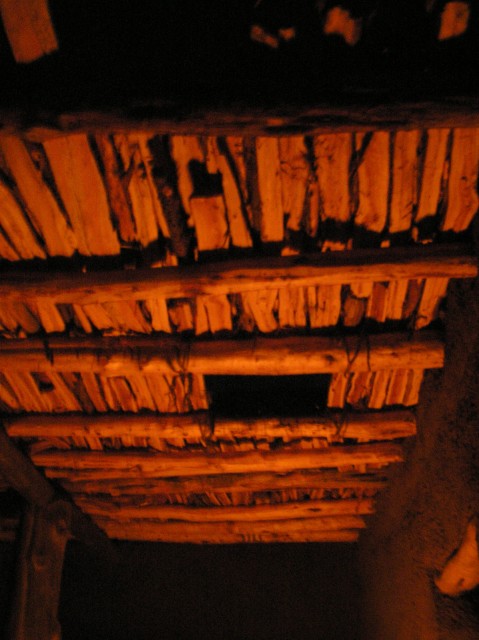
When the roof was even with the main crossbeam all the way around we started laying the cross-pieces and mudding those in. On top of these juniper cross-pieces, we laid sections of split juniper poles. We used an oak-wood wedge and mallet to split the poles. This construction style is visible in preserved roofs in Chaco Canyon. Once we had covered an area of about 10 square feet, we laid down a layer of juniper bark to plug any holes. Then, we added a 5-inch-thick layer of adobe over the bark. The heavy adobe smushed everything down nicely.
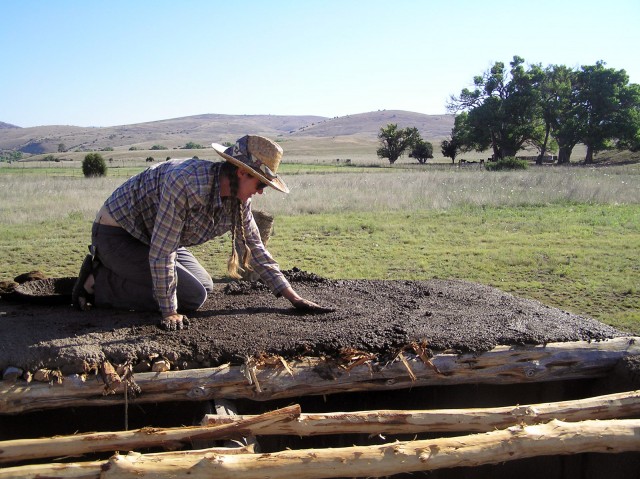
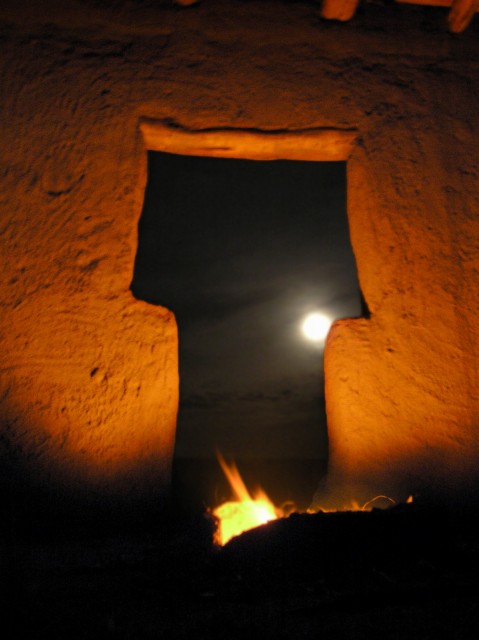
Over the course of the final week, we were able to get the roof about 2/3 finished. We also built a slab-lined hearth inside the house, and we lit fires in it on the last two nights. I slept inside the room on the last night of the field school, and Bill Doelle slept up on the roof. It was lovely.
Explore the News
Related to This
-
Project Hands-On Archaeology

