- Home
- >
- Preservation Archaeology Blog
- >
- Hands-On Archaeology: How to Make Flintknapping To...
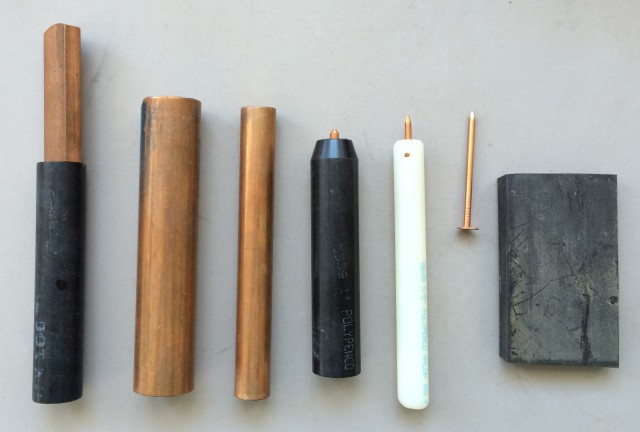
(October 27, 2016)—In this post, I’ll explain how to make a set of tools for flintknapping. Specifically, I will show how to create a set of traditional tools that is very much like what people used in the distant past. Many contemporary flintknappers use modern composite tools made out of copper, plastic, lead, and other manufactured materials. I’ll show you what those look like at the end of this post.
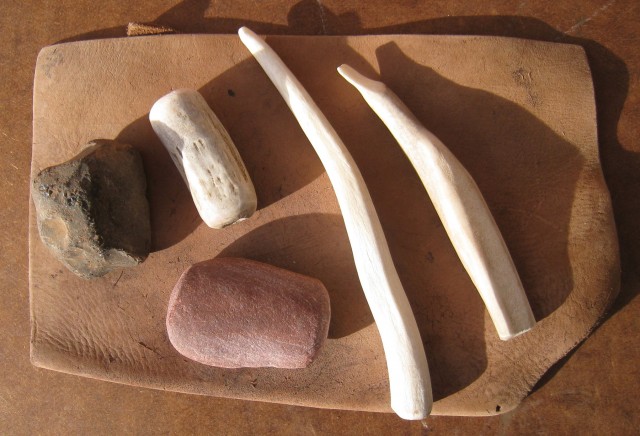
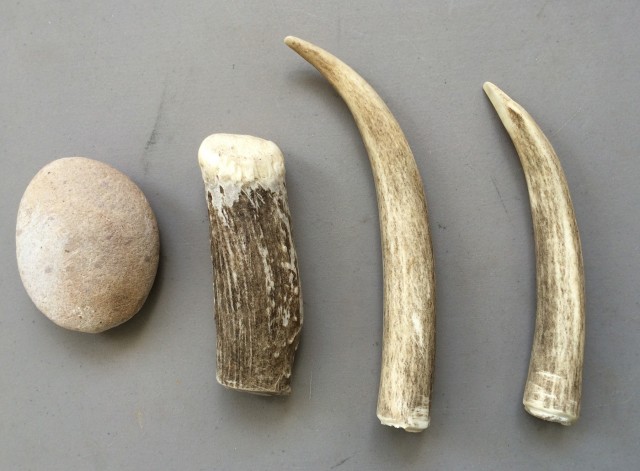
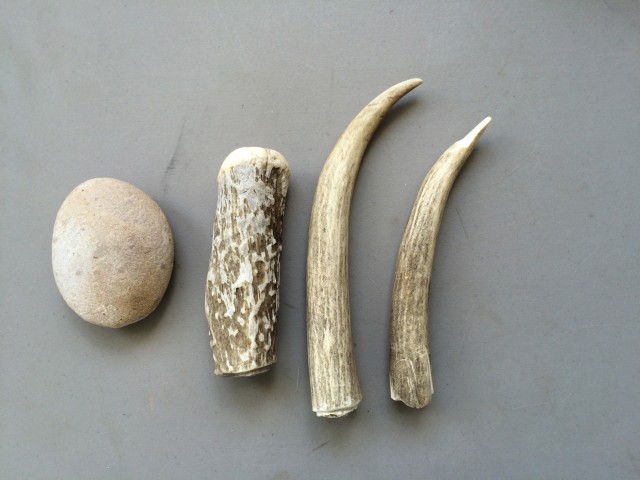
This is a set of tools I use all of the time. The most important tool in this set is the small, red sandstone pecking stone/hammerstone. I could get by with only this tool, but the antler tools are critical for making really fine points.
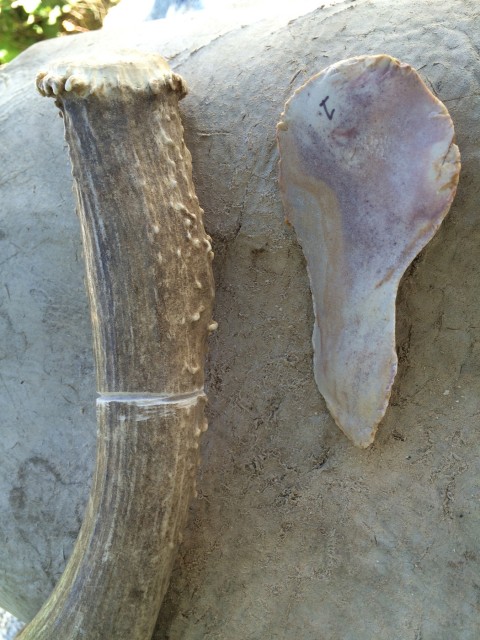
The tool just left of the pecking stone is called a billet, and I made it out of the base of a mule deer antler. It is a particularly small billet, yet great for final percussion flaking on small dart points. This billet is based on ones we find in Early Agricultural sites in the Tucson Basin.
The other two tools are made out of the tine end of the deer antler, and I use them for pressure flaking. The second tine from the left has been ground into a spatula shape and is great for notching arrowheads and projectile points.
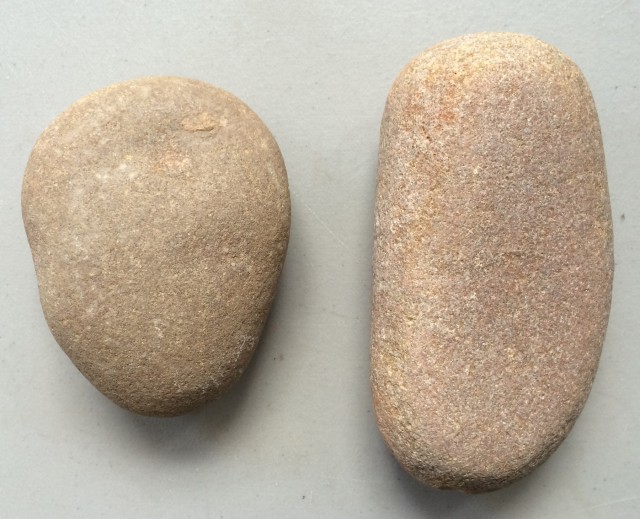
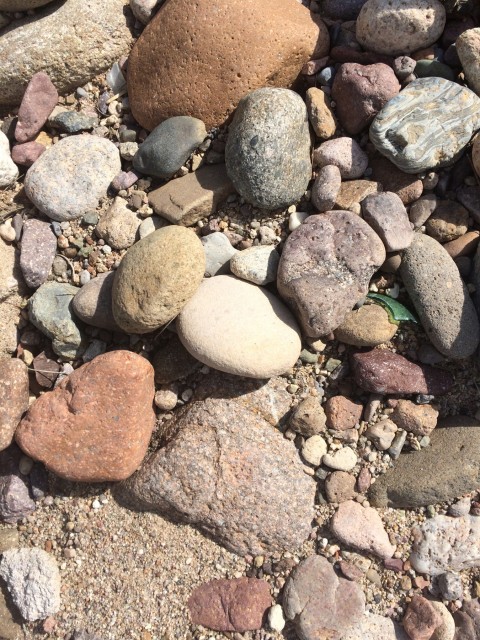
I gather my favorite pecking (hammer) stones from the Santa Cruz River bed here in Tucson. They are tumbled sandstone that comes out of the Santa Rita Mountains south of Tucson. Cobbles come in a variety of useful sizes and shapes. I prefer somewhat oval to round in shape. When selecting a stone for flintknapping, you want a stone that is not itself flakeable. This sandstone is a relatively soft stone that crushes a bit, but is perfect for flintknapping.
Using a softer stone for flaking yields fewer split flakes and cores. Softer stone also has enough grit to function very well as an edge abrader for beveling edges and preparing platforms. There are various sizes of grain in these stones, and I like to keep a coarser-grained stone in my kit for some of my platform preparation work (though the coarser-grained stones do seem to wear out a bit faster).
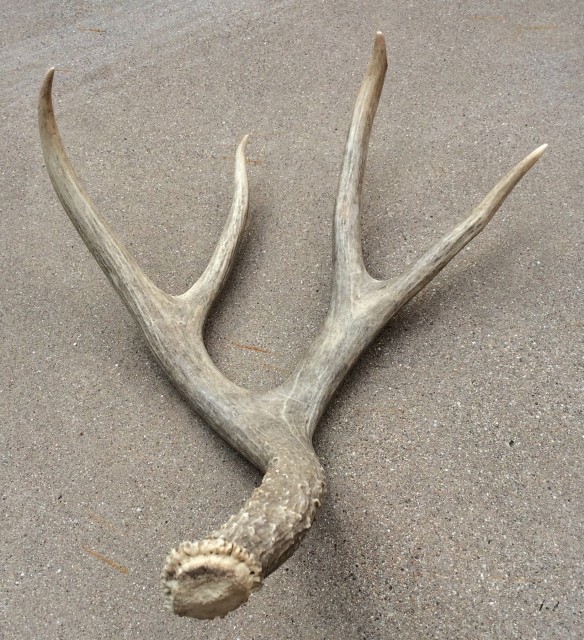
The rest of my tools are made of antler. I have mule deer, moose, and elk in my kit. There different ways to acquire antler. You can find them out hiking in the forest yourself, of course, but you might have to cover lots of ground before you find some. You can obtain pre-made antler tools on the Internet; there are quite a few websites that sell flintknapping tools, traditional and modern. I have also noticed you can purchase cut-up antler pieces in some pet stores, where they are sold as dog chew-toys.
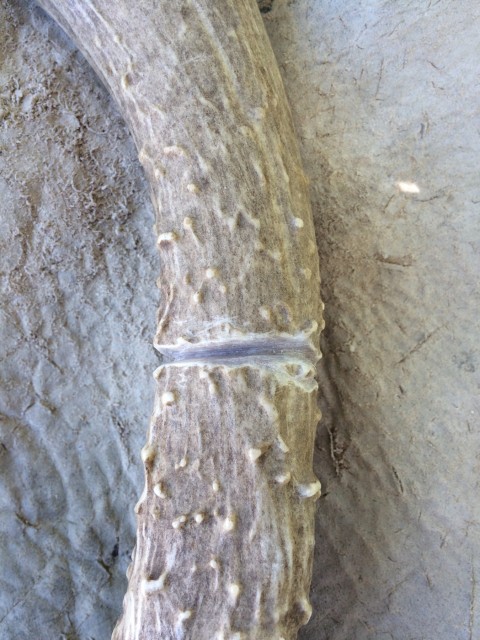
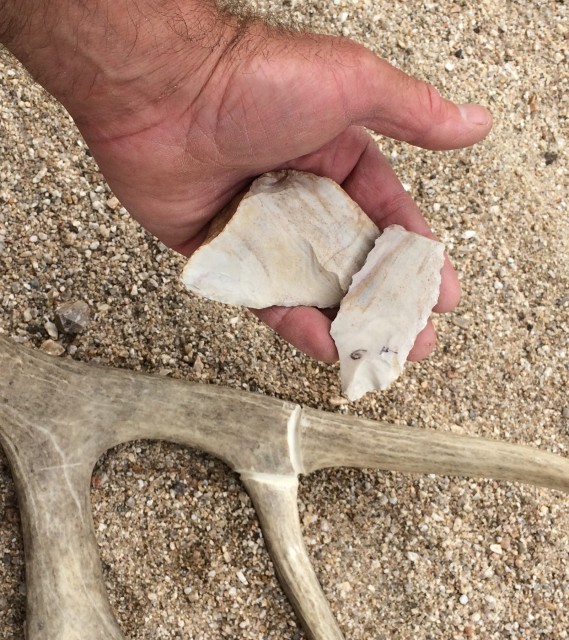
Here’s how I cut up a mule deer antler with flakes. Then I will show how to grind your billet down to a good working shape. How long you make you make the billet is kind of a personal choice, though if it has a longer handle, that adds more mass to it—and in most cases that can’t hurt.
 |
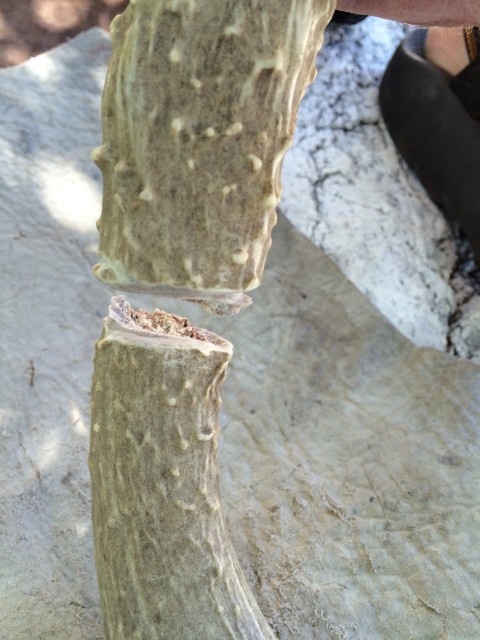 |
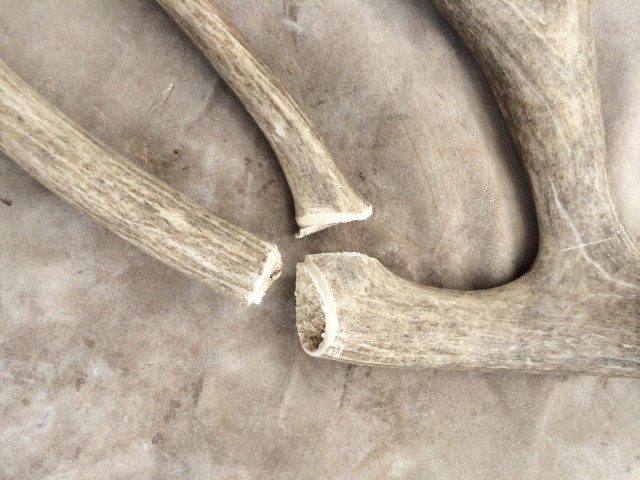
Incise a deep notch all the way around antler, then tap it on a rock and snap the antler in half. It took me 36 minutes to saw this groove, using three flakes and resharpening two of them twice.
 |
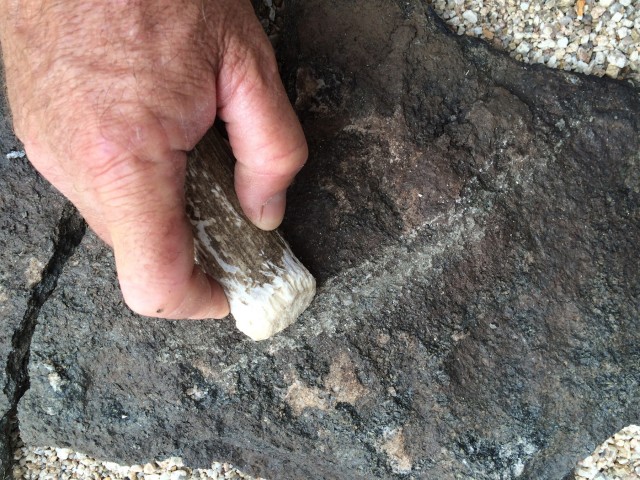 |
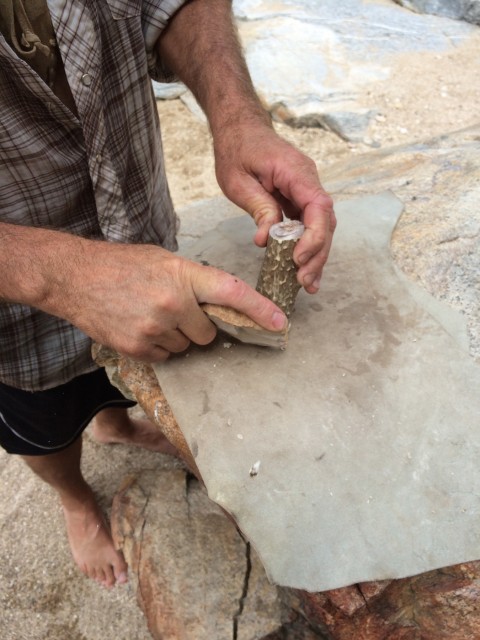
Use a flake to chop off the ring of little knobs around the base of the antler, and then grind it smooth all the way around. The base is the striking end of the billet, and you want it to be smooth and regular to allow clean contact with your biface when flaking with it. In fact, as you use your billet, it will start to get pitted up and irregular on its surface; when this occurs, you will find it harder to make the flakes you want. If you give that surface a new grind and smooth it out, you should find that flaking improves.
Depending on how much flintknapping you plan to do, you might want more than one billet. Having a tool that has the right proportion (harmonics) to the work you are doing really helps. I often start out using larger hammerstones and then switch to smaller ones as my work gets finer; this applies to my billets, as well. If your hammerstone is too small, it is almost impossible to hit a big flake.
Tine ends are narrower, so it only took me about 20 minutes to saw notches deep enough to snap the tines off. In the second photo you can see that the cut is to the marrow, allowing the tines to snap off easily. These two tines are ready for pressure flaking. I would grind the cut end a bit to make it friendlier to the hand.
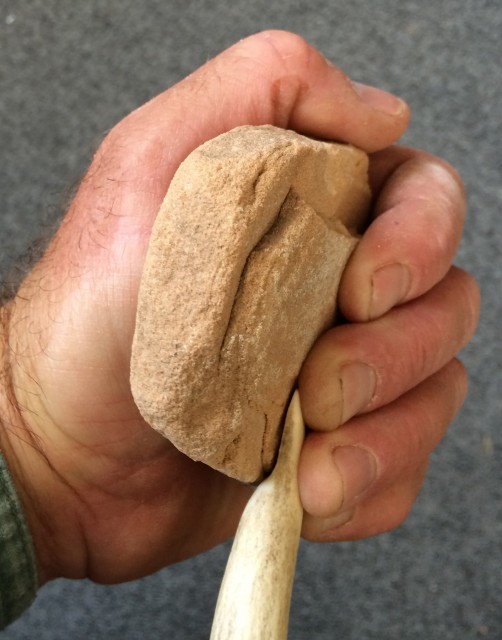
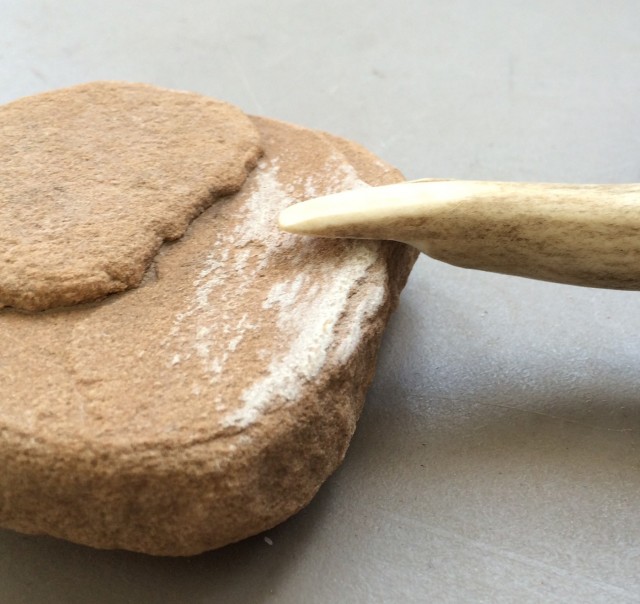
It took me about 30 minutes of grinding on this small sandstone chunk to get the tine to a good thickness for notching dart points. If you plan to make arrowheads, you will want to grind the tine much thinner. I find that it is best to bevel the tine to one edge or the other—this way, as it wears down you will not run out of the harder outer bone. These notching tools wear down pretty quickly, so you will have to continually grind them down to the desired thickness.
The finished tools are ready to be used. The last thing you need is a couple of leather scraps to protect your hand when pressure flaking and a bigger piece to protect your leg when percussion flaking. You can purchase scraps at leather stores, or at the Gem Show here in Tucson. You can also use leather off of old boots and other things you might have hanging around.
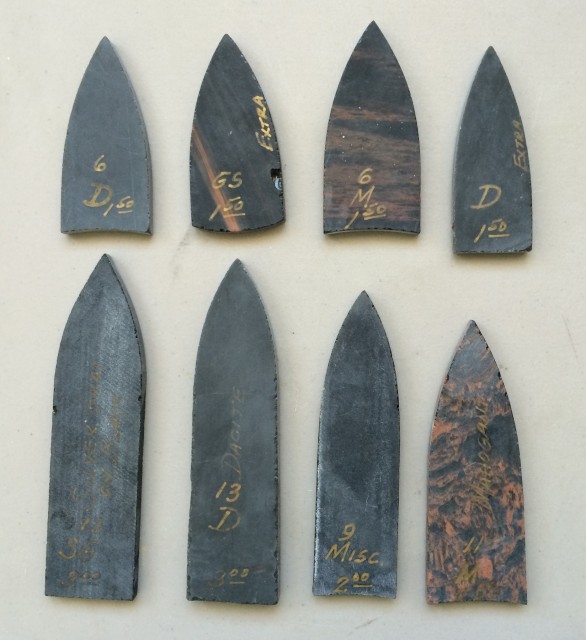
Here are some examples of modern flintknapping equipment that can be purchased online. The copper-nail-tipped pressure flakers and billets are handy if you don’t have access to antler or don’t mind not using antler. You can purchase sawn slabs from dealers on the Internet; they definitely reduce the amount of waste.
To understand the flintknapping process from start to finish, watch Allen’s Hands-On Archaeology video series, or download our flaked stone tools fact sheet.
One thought on “Hands-On Archaeology: How to Make Flintknapping Tools”
Comments are closed.
Explore the News
Related to This
-
Project Hands-On Archaeology

Fantastic resource for a vanished skill-set. Thanks for sharing!
Rich