- Home
- >
- Preservation Archaeology Blog
- >
- Traditional Firing

(July 23, 2018)—Archaeological ceramics are something I’ve been interested in since I first discovered them. The idea of creating something physically unique using clay amazes me. Archaeology Southwest invited potter Andy Ward to teach us traditional Southwestern methods of pottery-making so we could experience it firsthand. We spent a lot of time forming and painting our pots as best we could, but what I was most interested in was how we fired them.
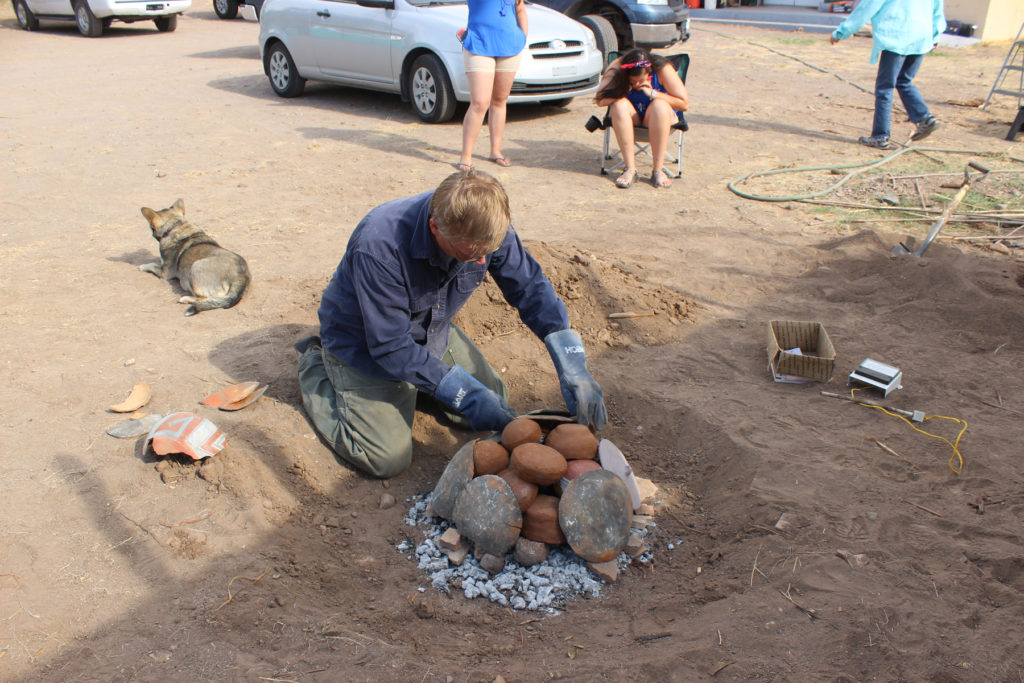
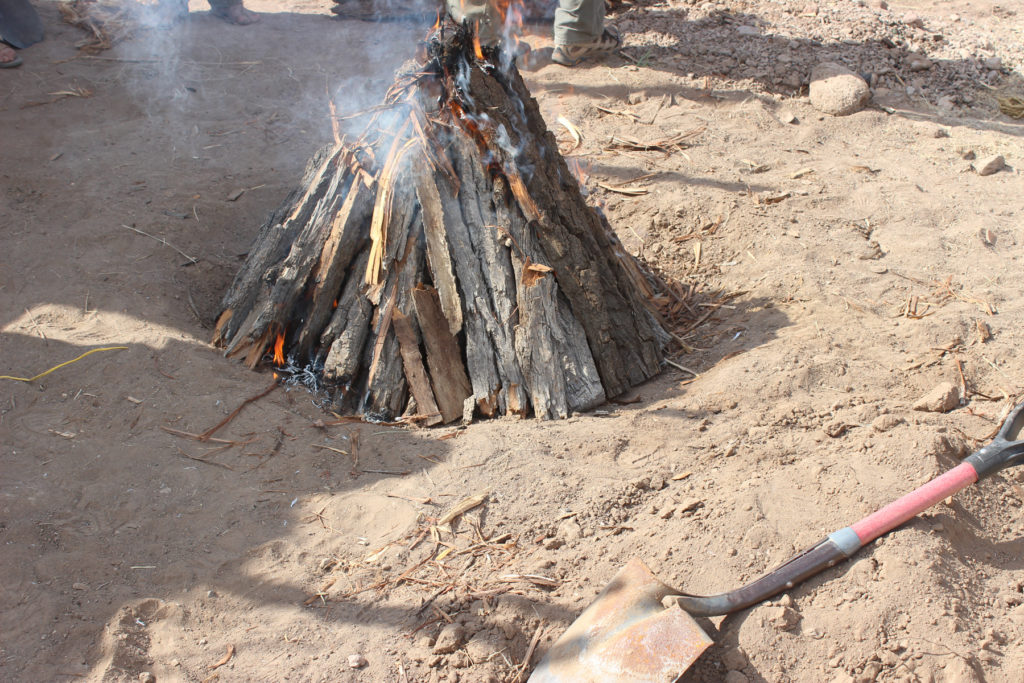
On the Fourth of July, Andy Ward came back and fired our pots with us. He and Allen Denoyer dug a wide but shallow pit and started a small fire in the middle of it, letting our pots dry along its border. The pots were rotated while the fire died down to coals. When all that was left were hot coals, Andy arranged our pots upside down in a heap over the coals, and then lined them with his own broken vessel pieces and other flat sherds to keep the heat in around the base. Then, he surrounded the pottery with branches stacked in a teepee style, thick enough so you couldn’t see the pots through any cracks. Andy stuffed in a little bit of kindling, lit it up, and let the flames take over.

The only truly modern tool in all this was the thermometer gauge Andy and Allen were using to monitor the internal temperature of the fire. It was hooked up to a little device a few feet from the burning ceramics. As the temperature was still rising, if some of the branches caved in to reveal the hidden pottery, Andy would simply add a couple pieces of wood to hide them again. Before the temperature reaches its peak, it’s important to maintain an atmosphere of high carbon dioxide inside the log teepee. All the pots inside are coated with a layer of carbon, and then, as the wood burns out and collapses in, more oxygen fuels the fire and burns off that carbon layer. It’s an important two-step process for firing the pieces.

The temperature gauge read close to 750 degrees Celsius (almost 1400⁰F) for about half an hour before it started going back down. That temperature is typical for pottery firings Andy does throughout the year.
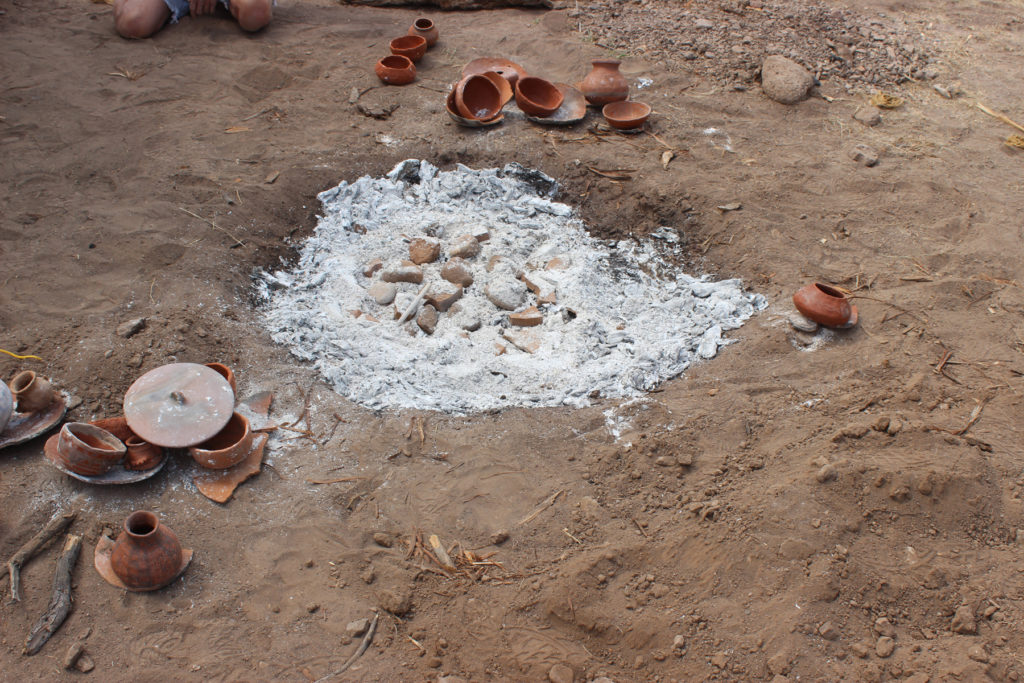
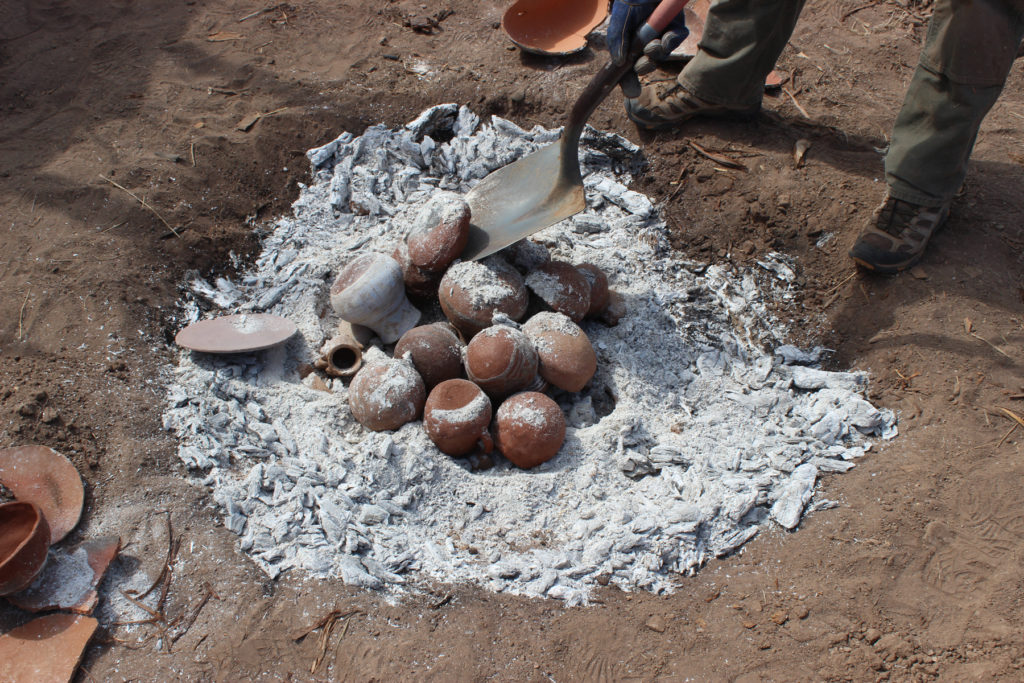
When the flames died down and all that was left was ash, Andy began sifting through the pit for our pots. He removed the sherd shields first and set them aside to cool. Then he went in with a shovel and gently carried out each fired piece from where the teepee had stood just a couple of hours before. My pot was in the center at the bottom, so it was one of the last ones out. After Andy removed it, I realized he had also added some medium-sized rocks under the coals, probably to hold in extra heat. After a little while, we were able to touch our finished pots with our bare hands.

My finished pot didn’t hold the colors as strongly as I had hoped, but this process is an experiment every time; you can’t be entirely sure what you’ll end up with when it’s over. I think the best thing I can take with me from all this is the process itself. I had so much fun coiling the clay, learning to paint my piece with natural slips and paints, and watching our creations bake in an awesome firing pit right on our camp site. I’m inspired to test out what I’ve learned when I get home, and I’m excited to share traditional pottery-making and firing methods with my friends and family.
