- Home
- >
- Preservation Archaeology Blog
- >
- Hands-On Archaeology: How to Make a Stone Axe
(October 31, 2019)—The stone axe is a fairly common artifact. We find them throughout the Southwest at sites dating from early ceramic times until just before Europeans came. We can tell they were used to chop trees because of the use wear on the chopping edges. People used the trees as building material.
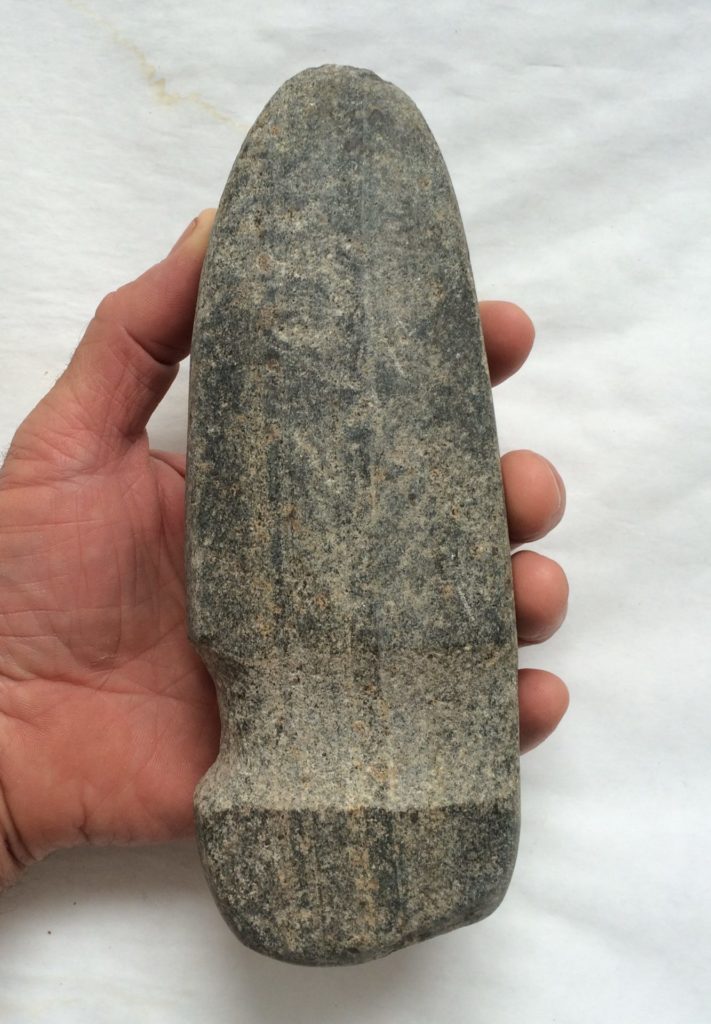
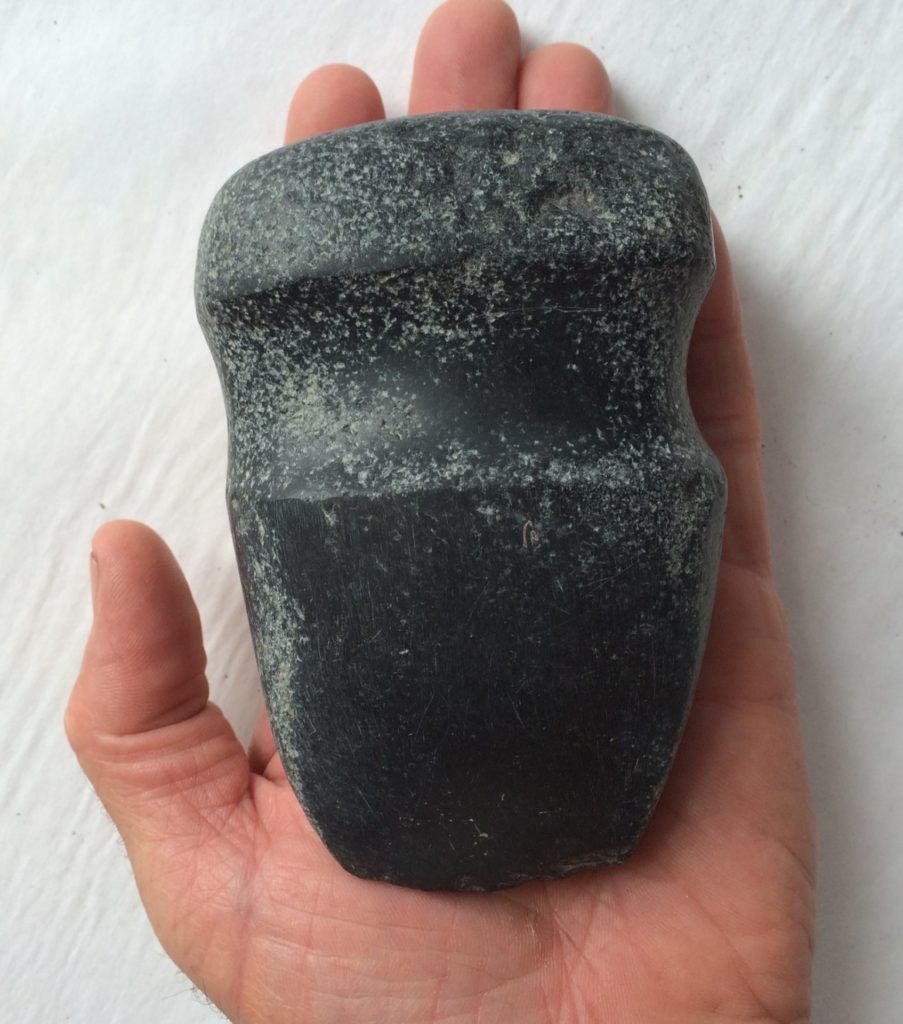
These two axes were found during our Preservation Archaeology Field School excavations at Gila River Farm. Both were recovered from the floor of the same room. They are interesting in that the ¾-groove axe is commonly found in Hohokam sites, and the full-groove axe style is common in Ancestral Pueblo sites.
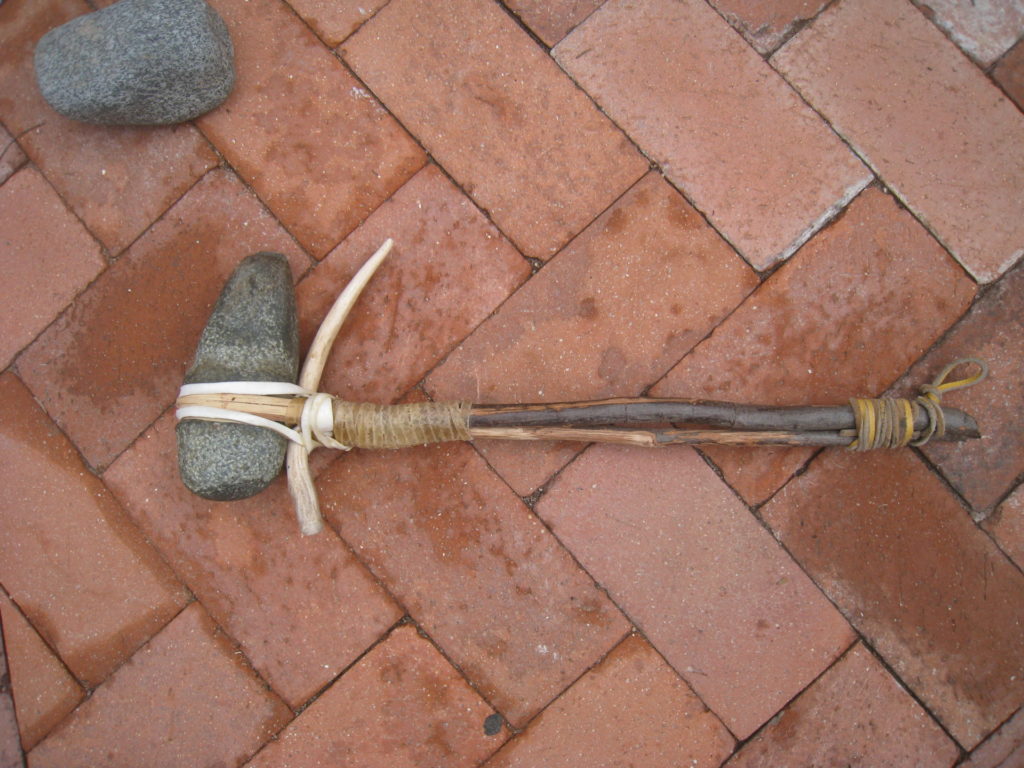
In this post, I’ll share how people probably made ¾-groove axes. I will follow up with a second post showing how to attach a handle to your completed axe.
Step 1: Choose the right rock
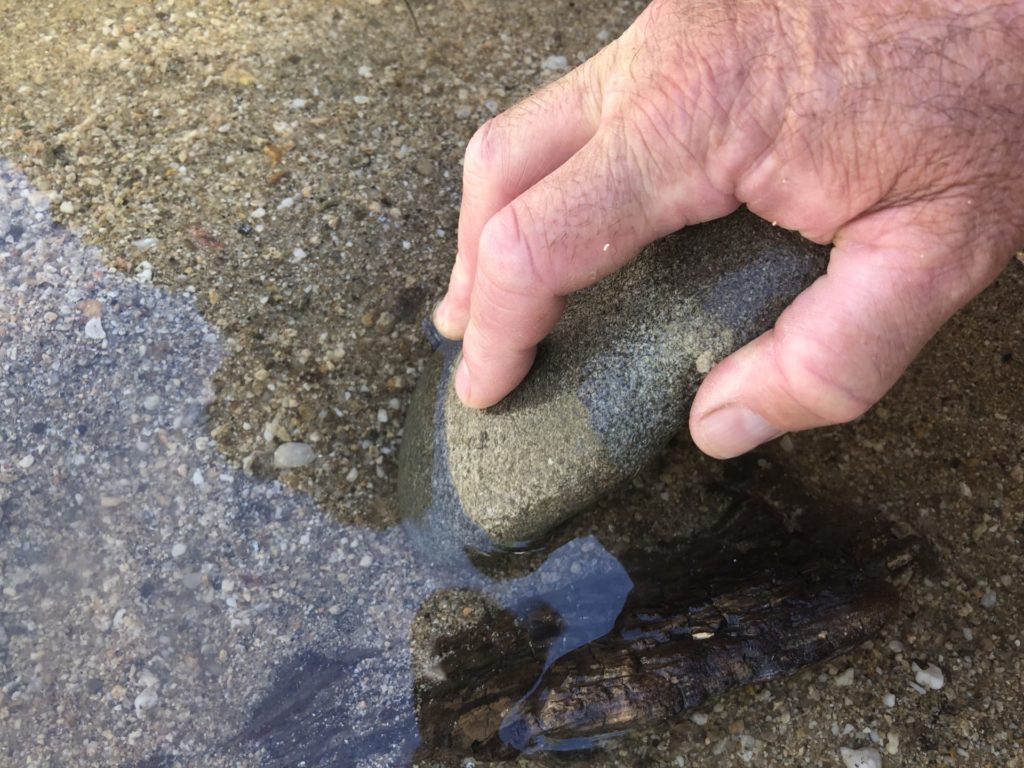
In order to reduce the amount of work you will have to do to shape (peck) the axe, you’ll want to find a cobble that is close to the shape you want your finished axe to be. The best place to find such rocks is in river beds, where the rocks have tumbled until they are rounded and symmetrical.
I think a lot of ancient axe shapes were determined by the river cobbles they selected. When selecting a rock, look out for any visible flaws such as cracks, or spots in the rock that might be softer—anything that might cause the rock to break.
Sometimes there are hidden flaws in a rock you can’t see on the surface. One way to tell whether there might be a hidden flaw is to tap the rock with another smaller rock and listen to the sound it makes. If it makes a higher-pitched ring sound, it is solid, but if it makes a dull thud sound, it probably has a hidden fracture in it.
Taking care to select a good cobble will save you the heartbreak of putting in a bunch of time shaping a rock and having it break.
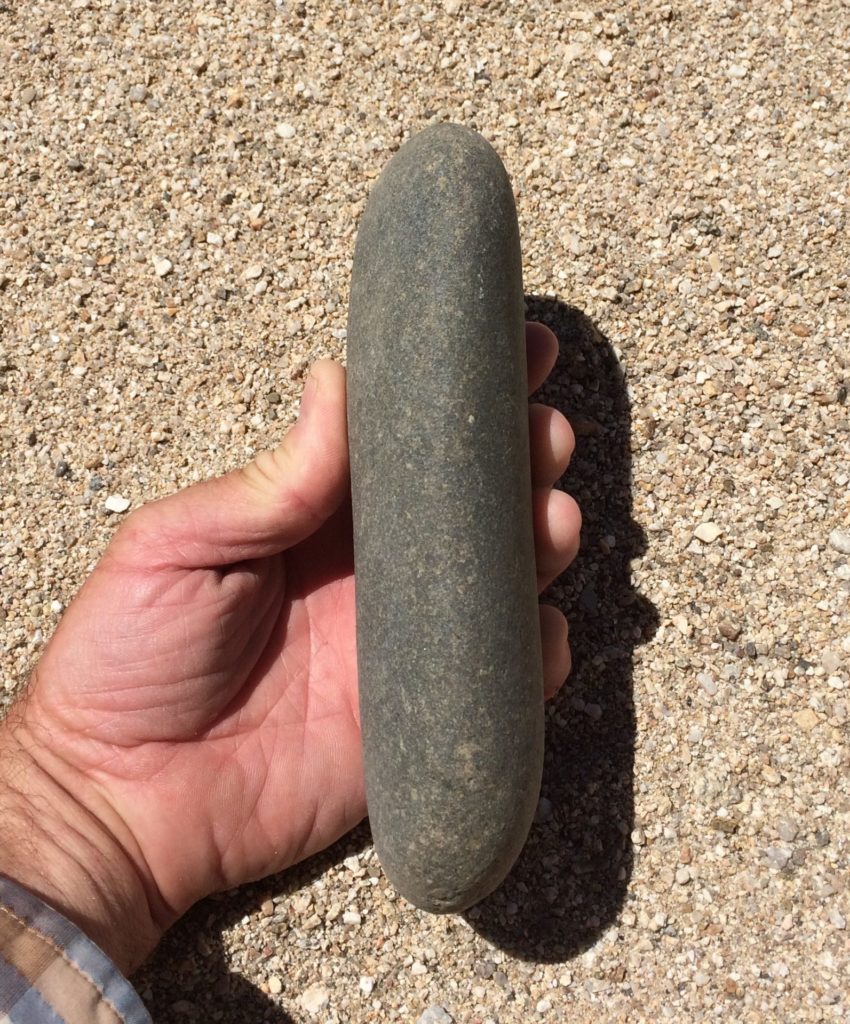
Step 2: Select an even harder stone for the pecking tool
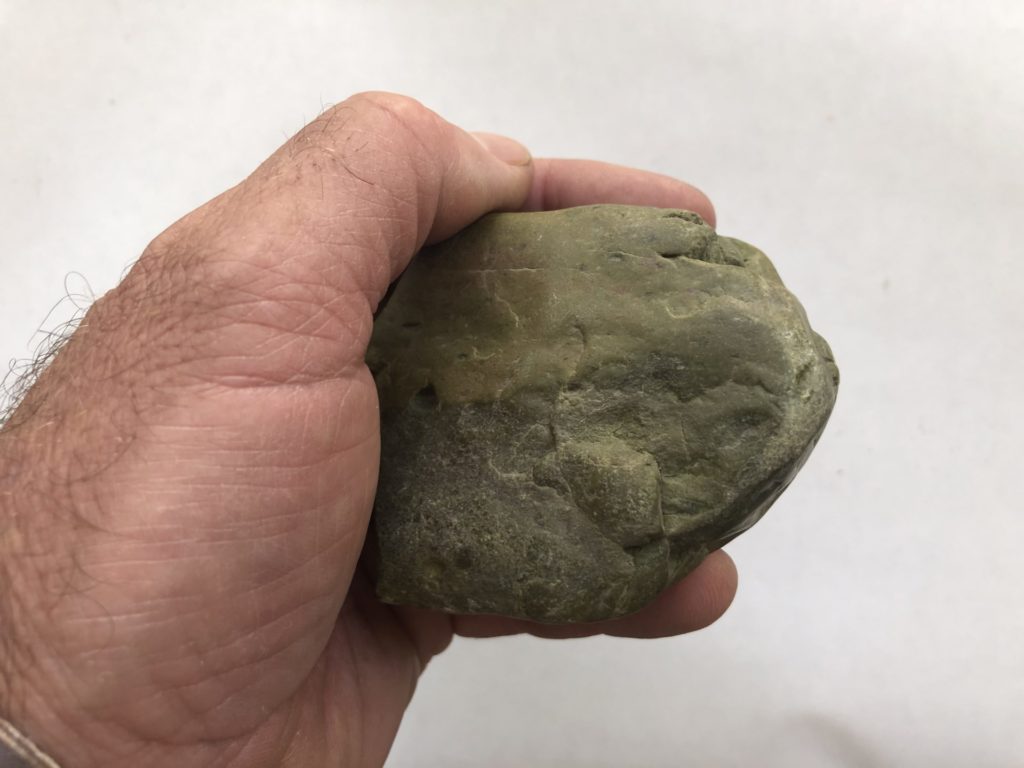
I like green stone that has lots of olivine in it, or any rock that I can find harder than the stone I want to make my axe out of. When the pecking stone is the same hardness or softer as the tool stone, the pecking stone wears down as fast, or faster, and progress is painfully slow.
People used pecking stones or hammerstones to make ground stone artifacts such as manos and metates, as well. Each metate would have required several of these pecking stones to make it. People also used pecking stones to resharpen manos and metates to make them grind better. This is why archaeologists find metates with deep troughs—the troughs were created not just by grinding, but by pecking and resharpening.
Step 3: Start pecking
Now strike with short firm blows to crush small bits off your axe blank. Don’t hit too hard, or you’ll break off more than you intend. I like to change the angle at which I strike the rock, as this seems to speed up the pecking process.
Let’s be clear about this: it will take a long time to get your blank pecked out to shape. One trick is to occasionally sharpen the pecking stone by removing crude flakes off it. This makes a sharper striking point that really seems to move the rock much faster. This will cause a shorter use life for the pecking stones, but it is worthwhile.
As you are pecking near the front bit of the axe, be especially careful not to get too close to the front edge—it is really easy to chip it off. I sometimes start grinding the tip edge when it’s at least one or two centimeters thick.
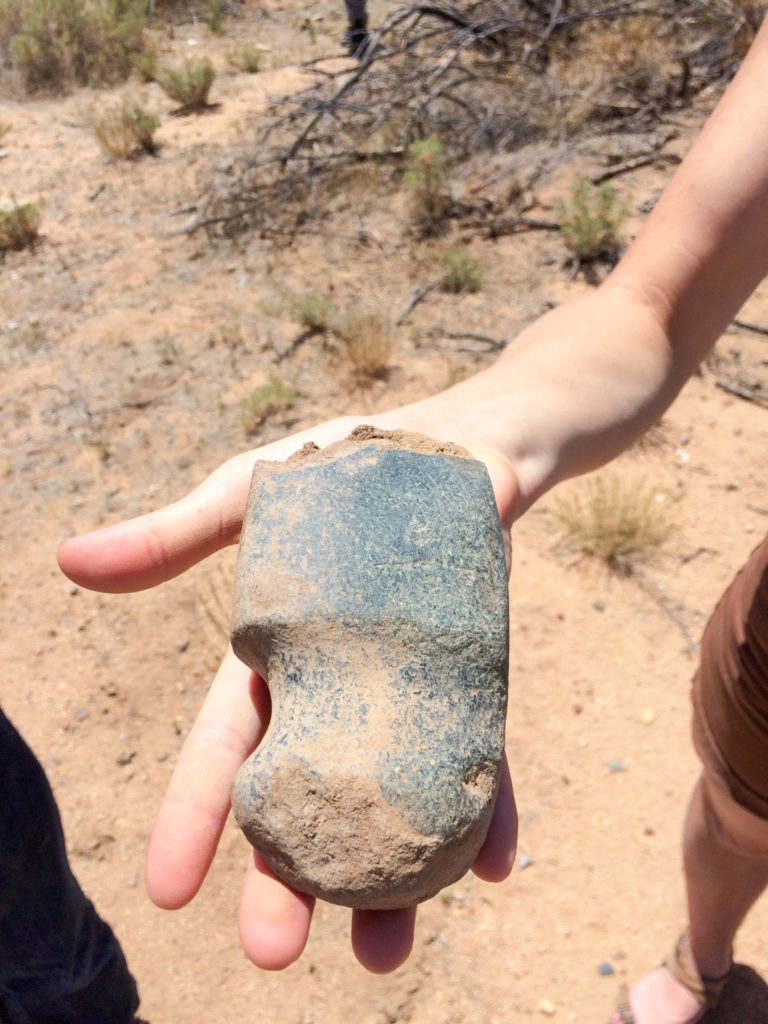
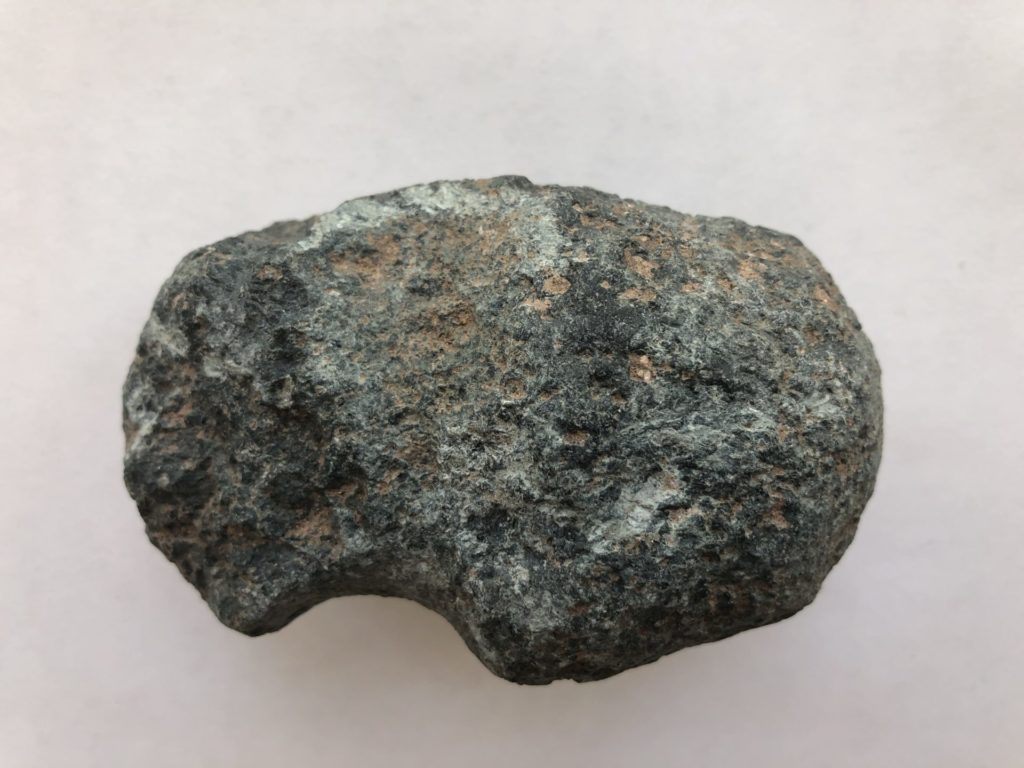
Step 4: Grind, grind, grind
No axe is finished until it has been ground. It’s a real grind—HA!
Grind the pecked surfaces of the axe until they are nice and smooth. This process strengthens the stone surface and makes it better able to handle use-impact. Many axes we find archaeologically are completely ground and heavily polished across almost all of their surfaces. It seems the most important areas of grinding were the working bit area and the inside of the groove around the axe.
When I am grinding my axes, I like to do it with plenty of water, and I add coarse sand to the rock surface I am grinding. This really seems to speed up the grinding process. I use smaller sandstone river-rounded rocks to grind inside the axe’s groove. If you have access to sandstone, that works great for grinding—but pretty much any coarse-grained rock will work.
Interested in learning these techniques firsthand? Try taking a Hands-On Archaeology class.

