(July 3, 2020)—This project involved flintknapping, whittling, and drilling.
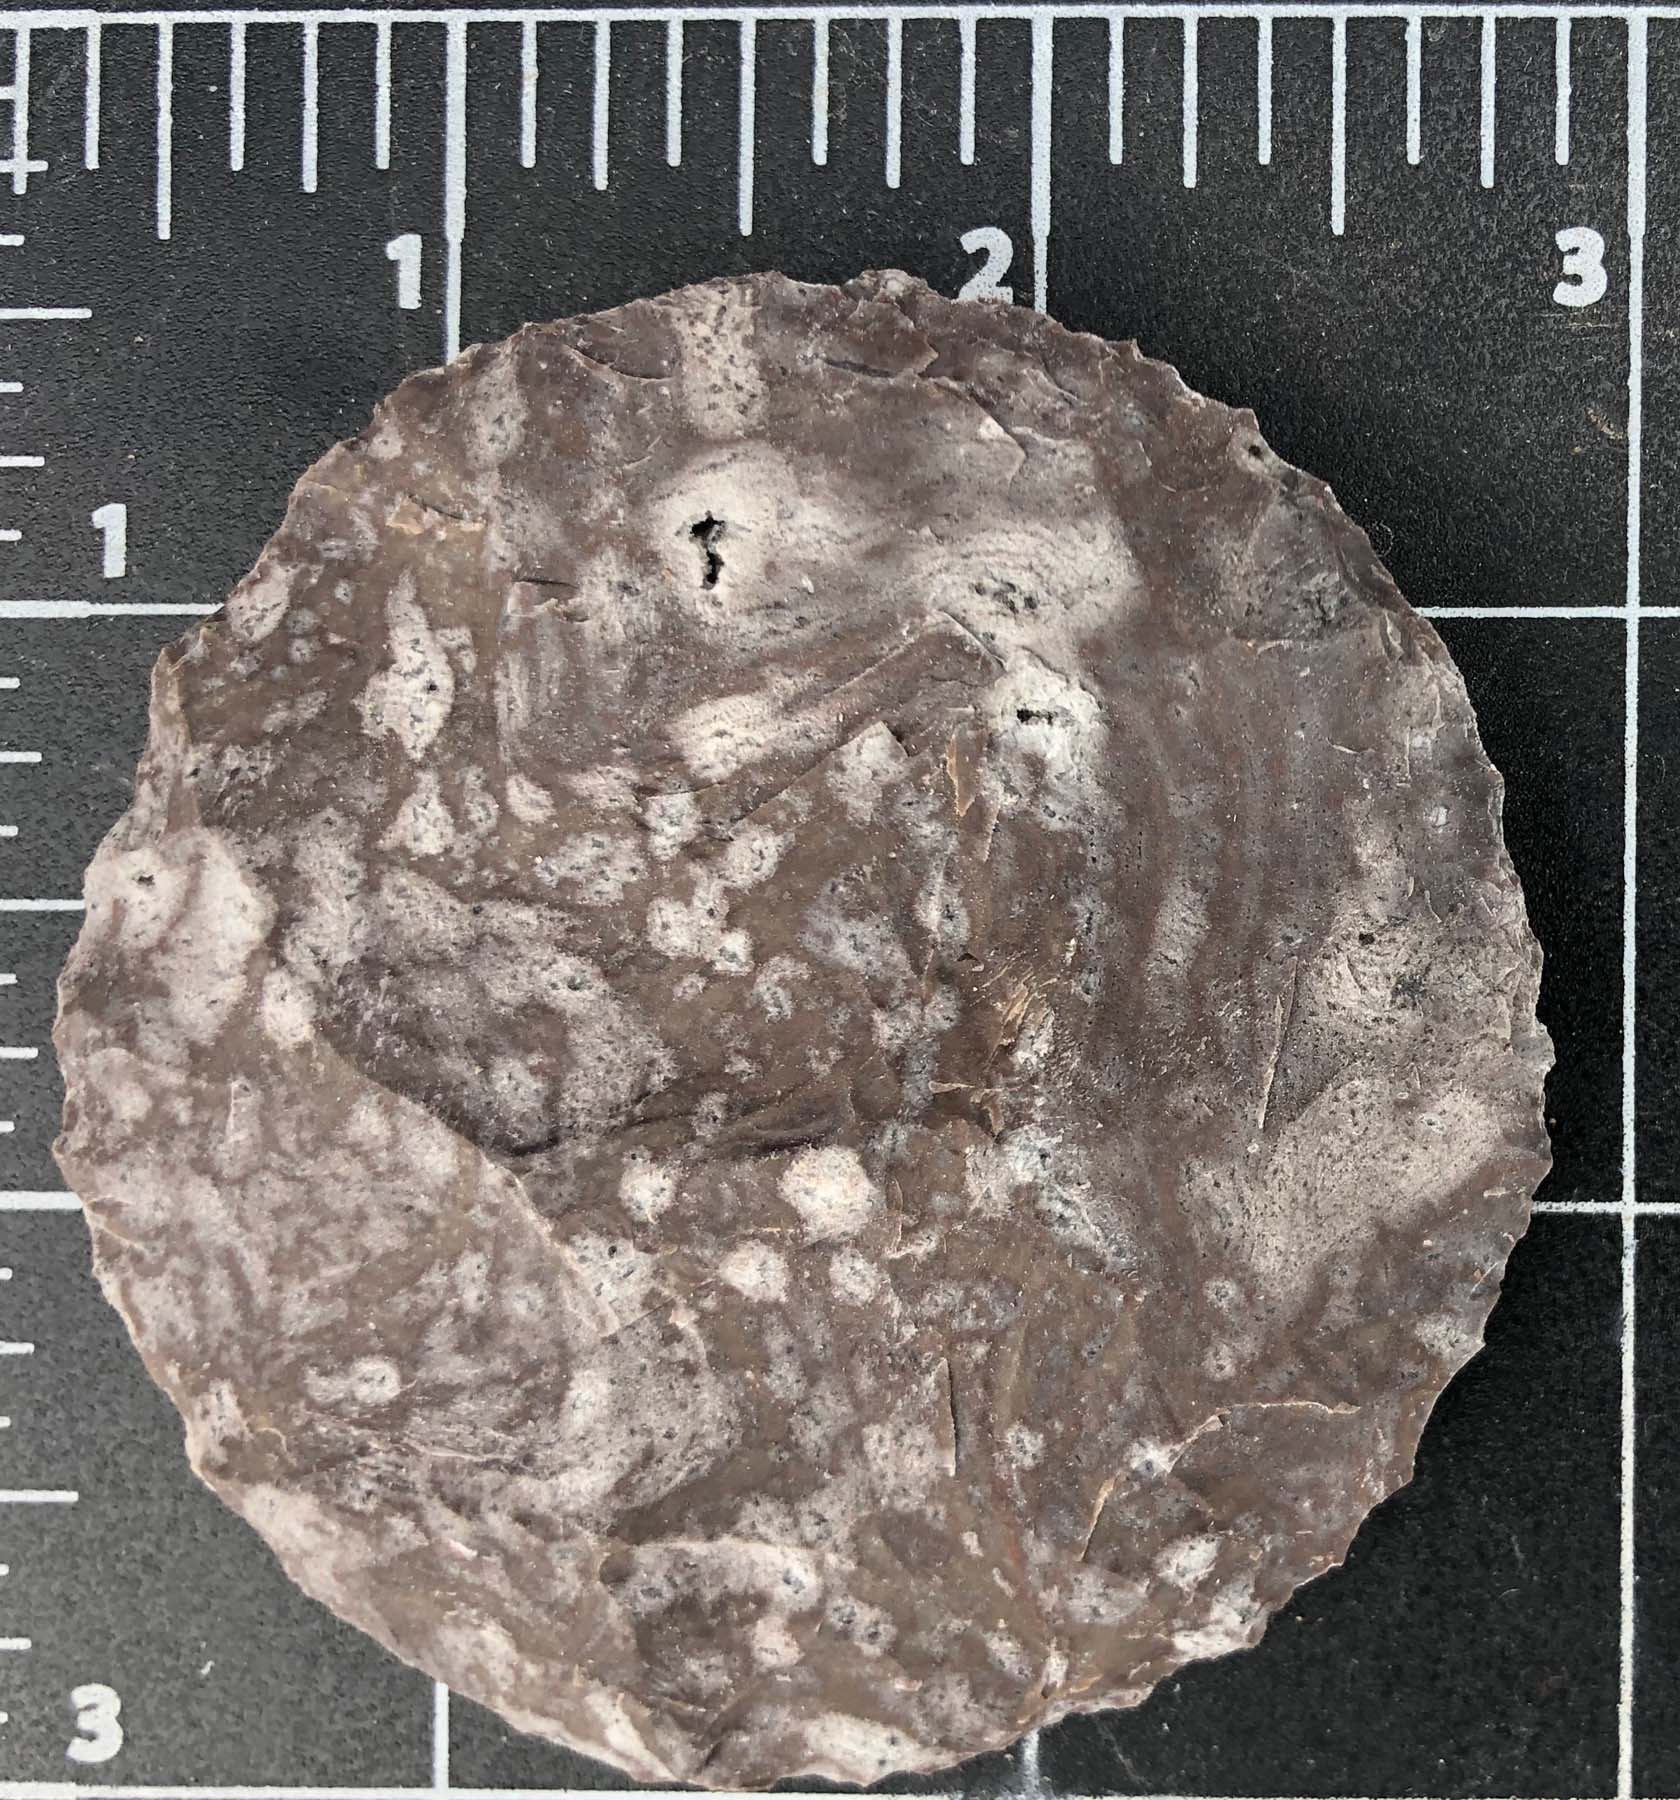
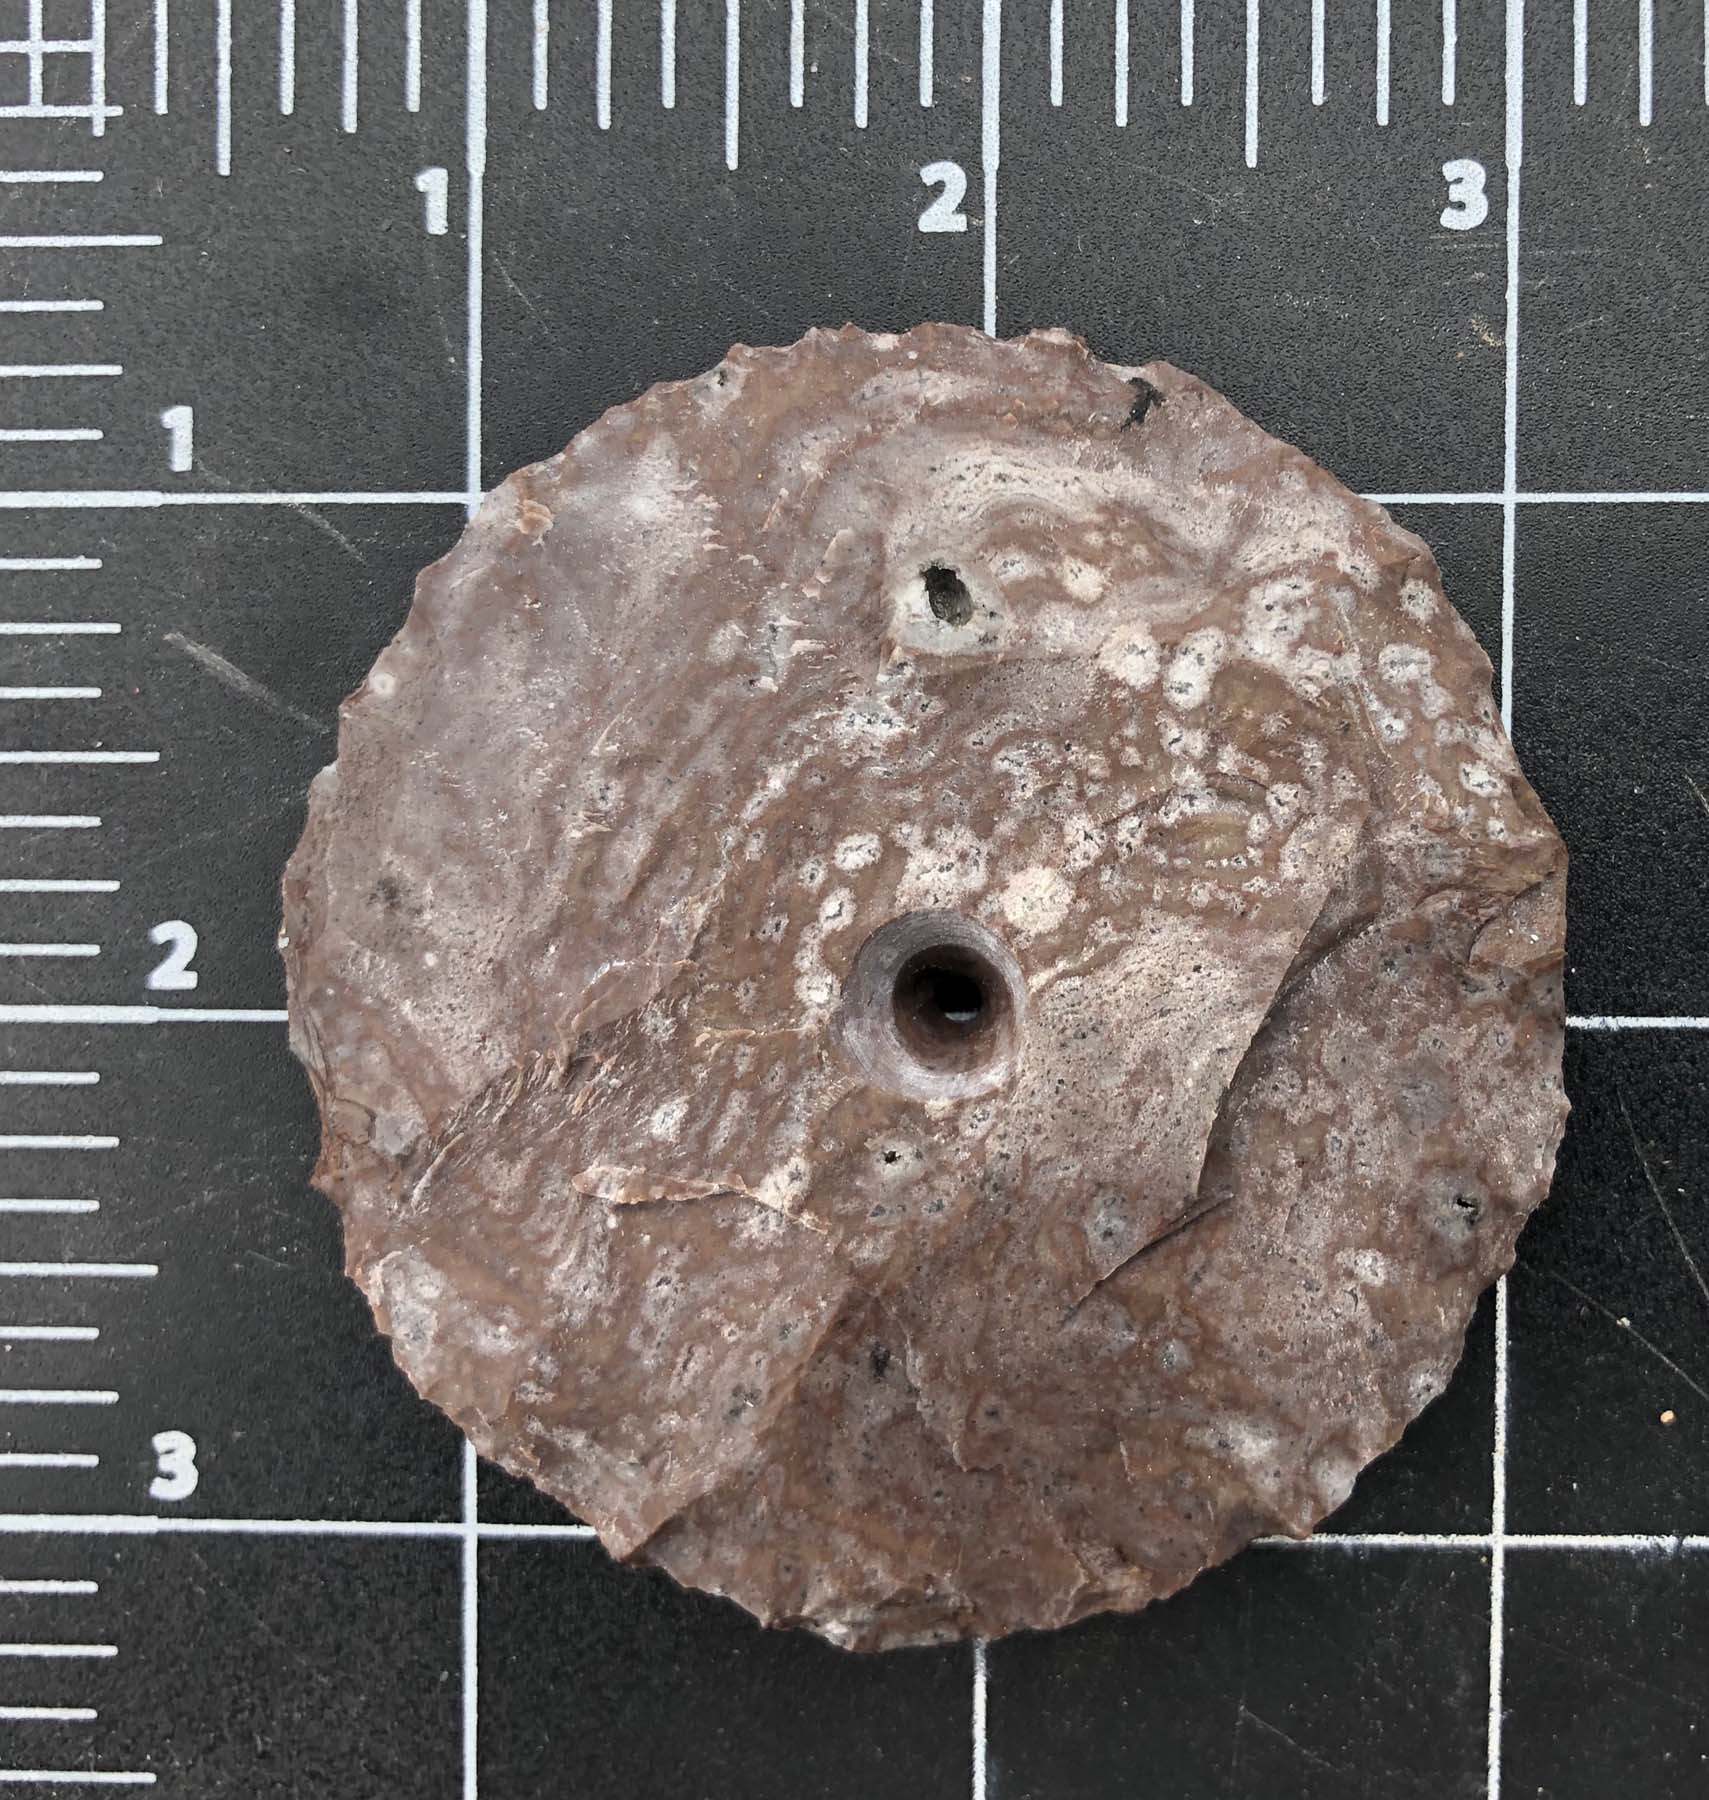
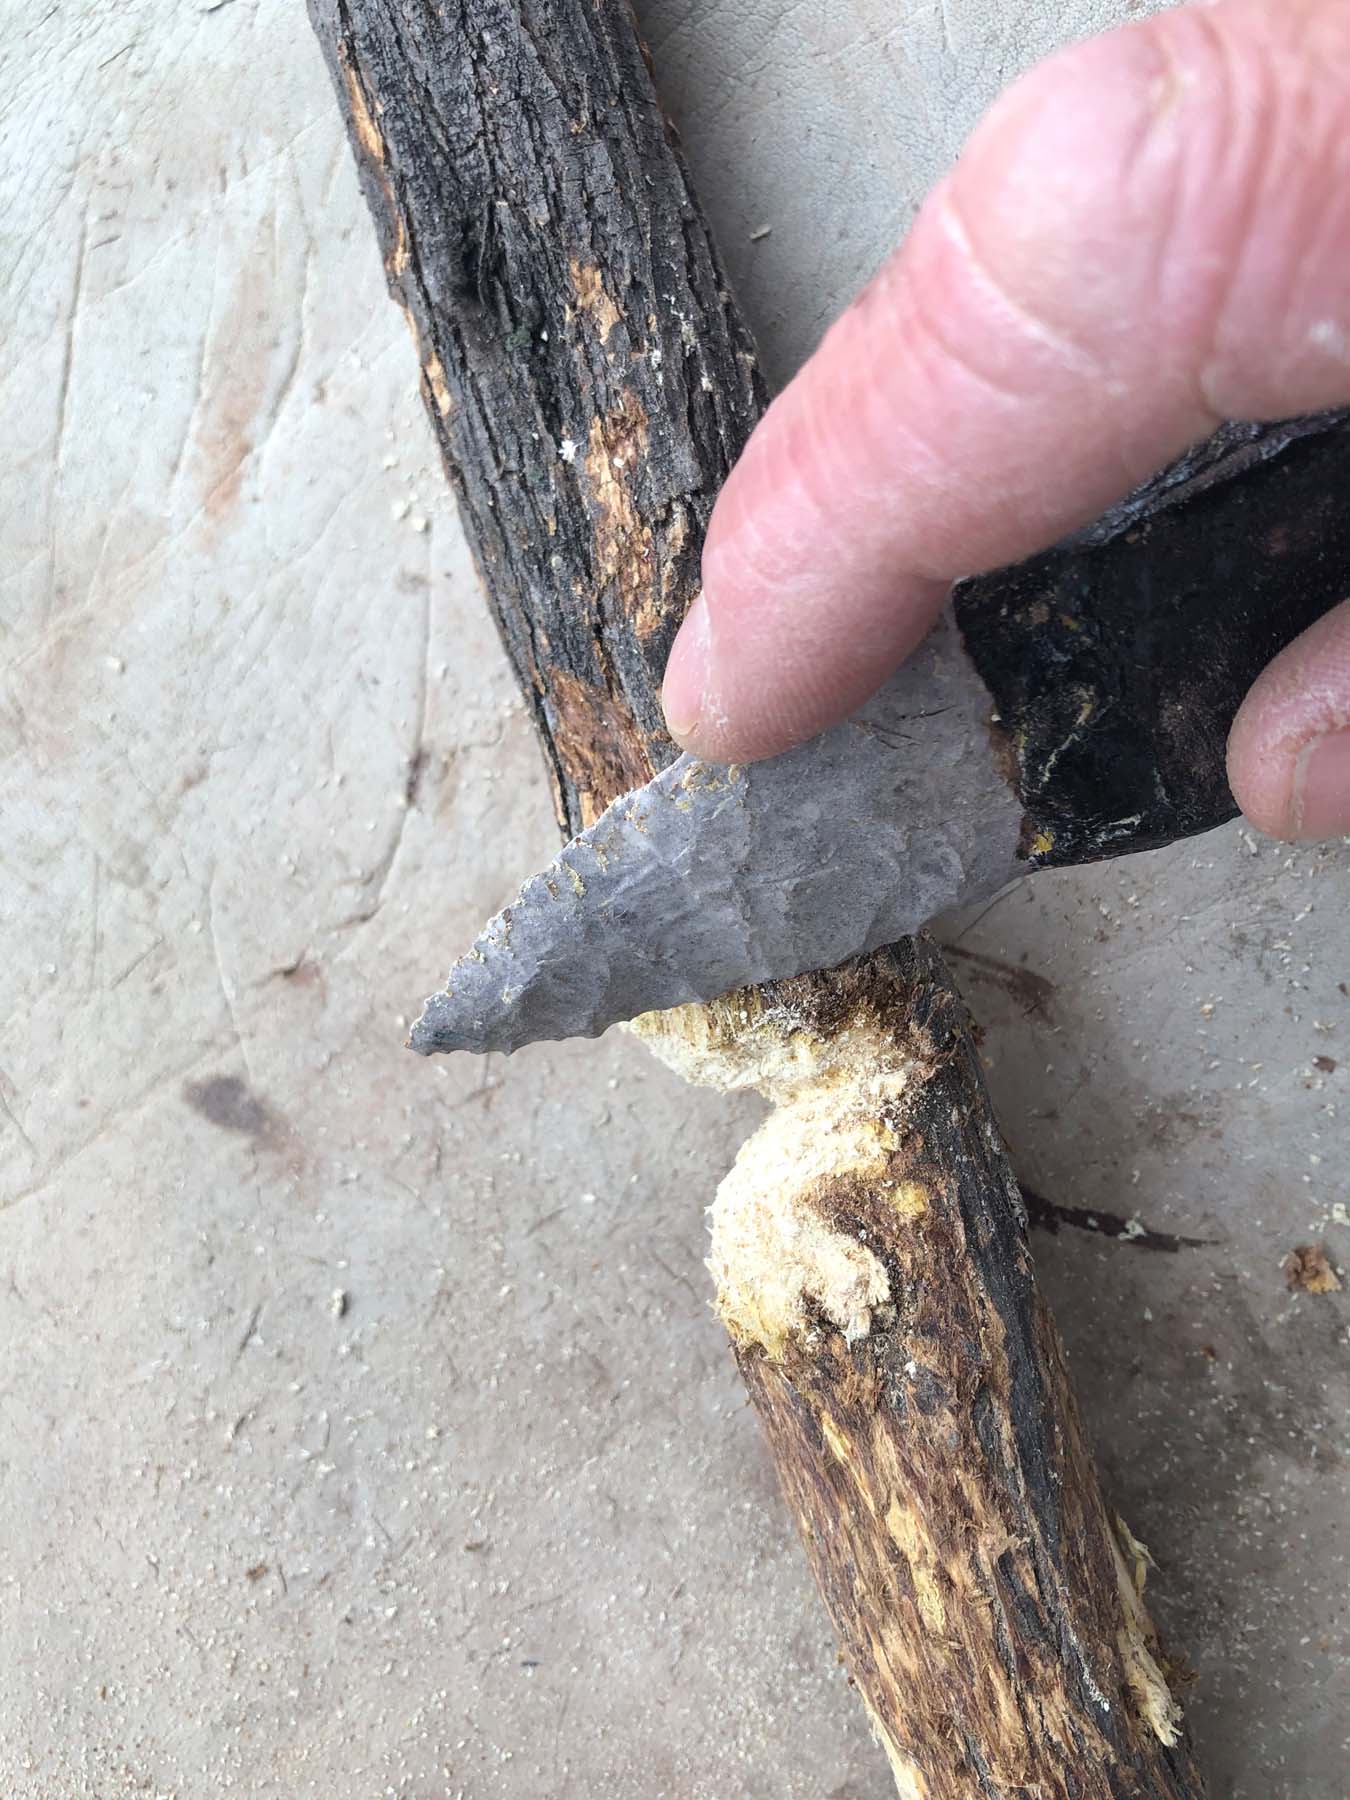
I started with a roughly circular piece of rhyolite I’d gathered in Mule Creek, New Mexico. I flaked it into a biface, then thinned it so that it would be easier to drill (here’s a video showing how to flake and thin bifaces).
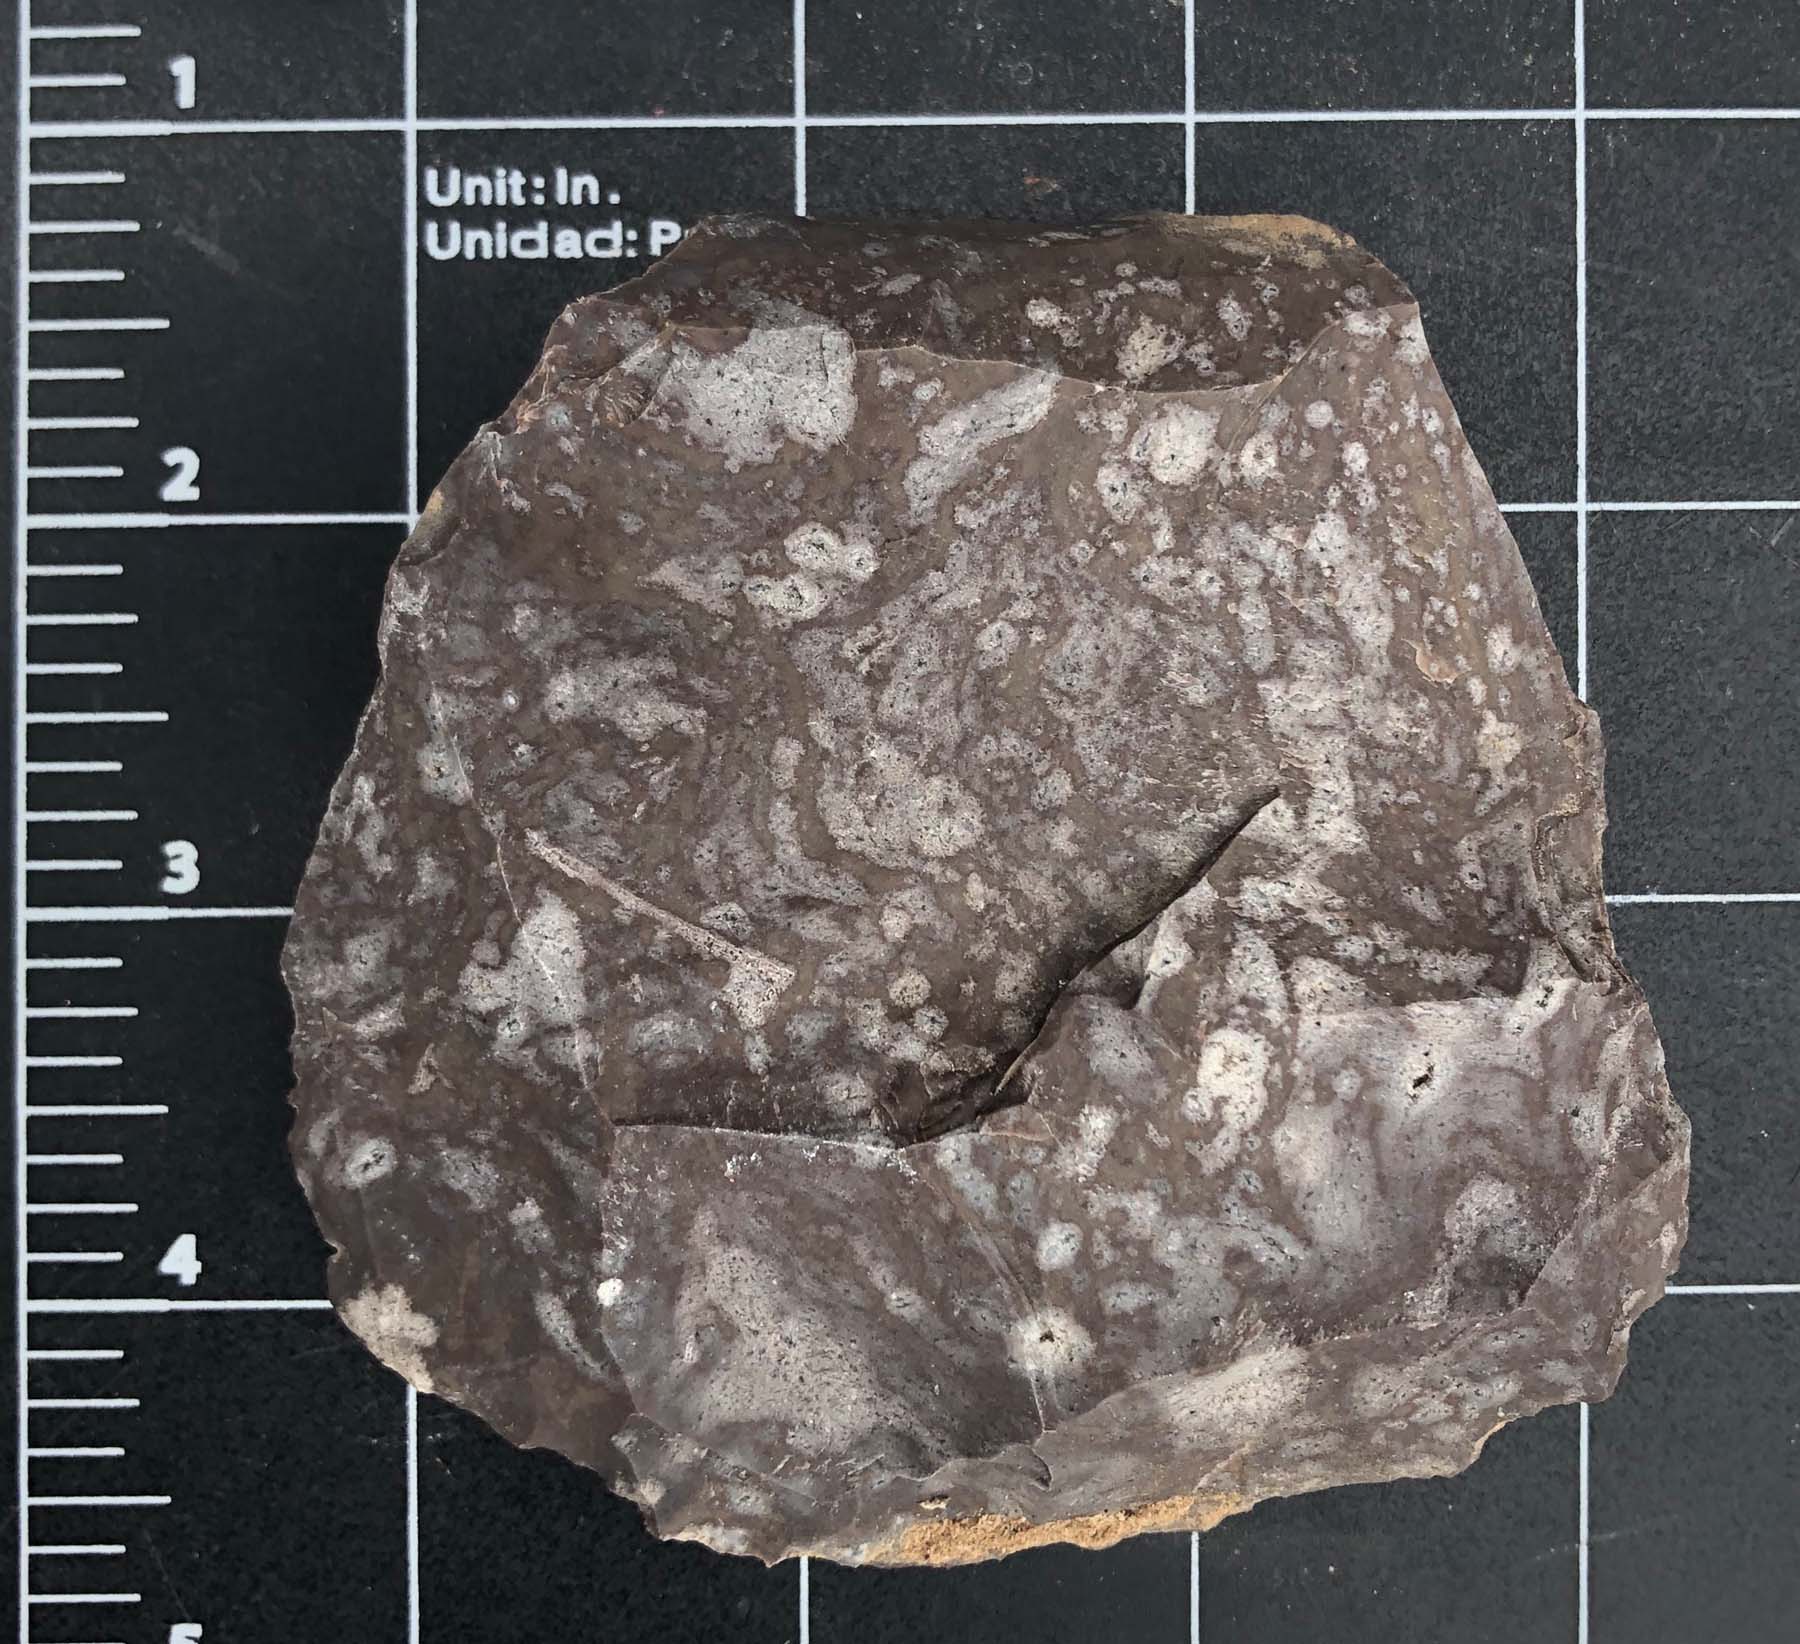
After about 30 minutes, I had thinned the biface from 18 mm thick to 7 mm.
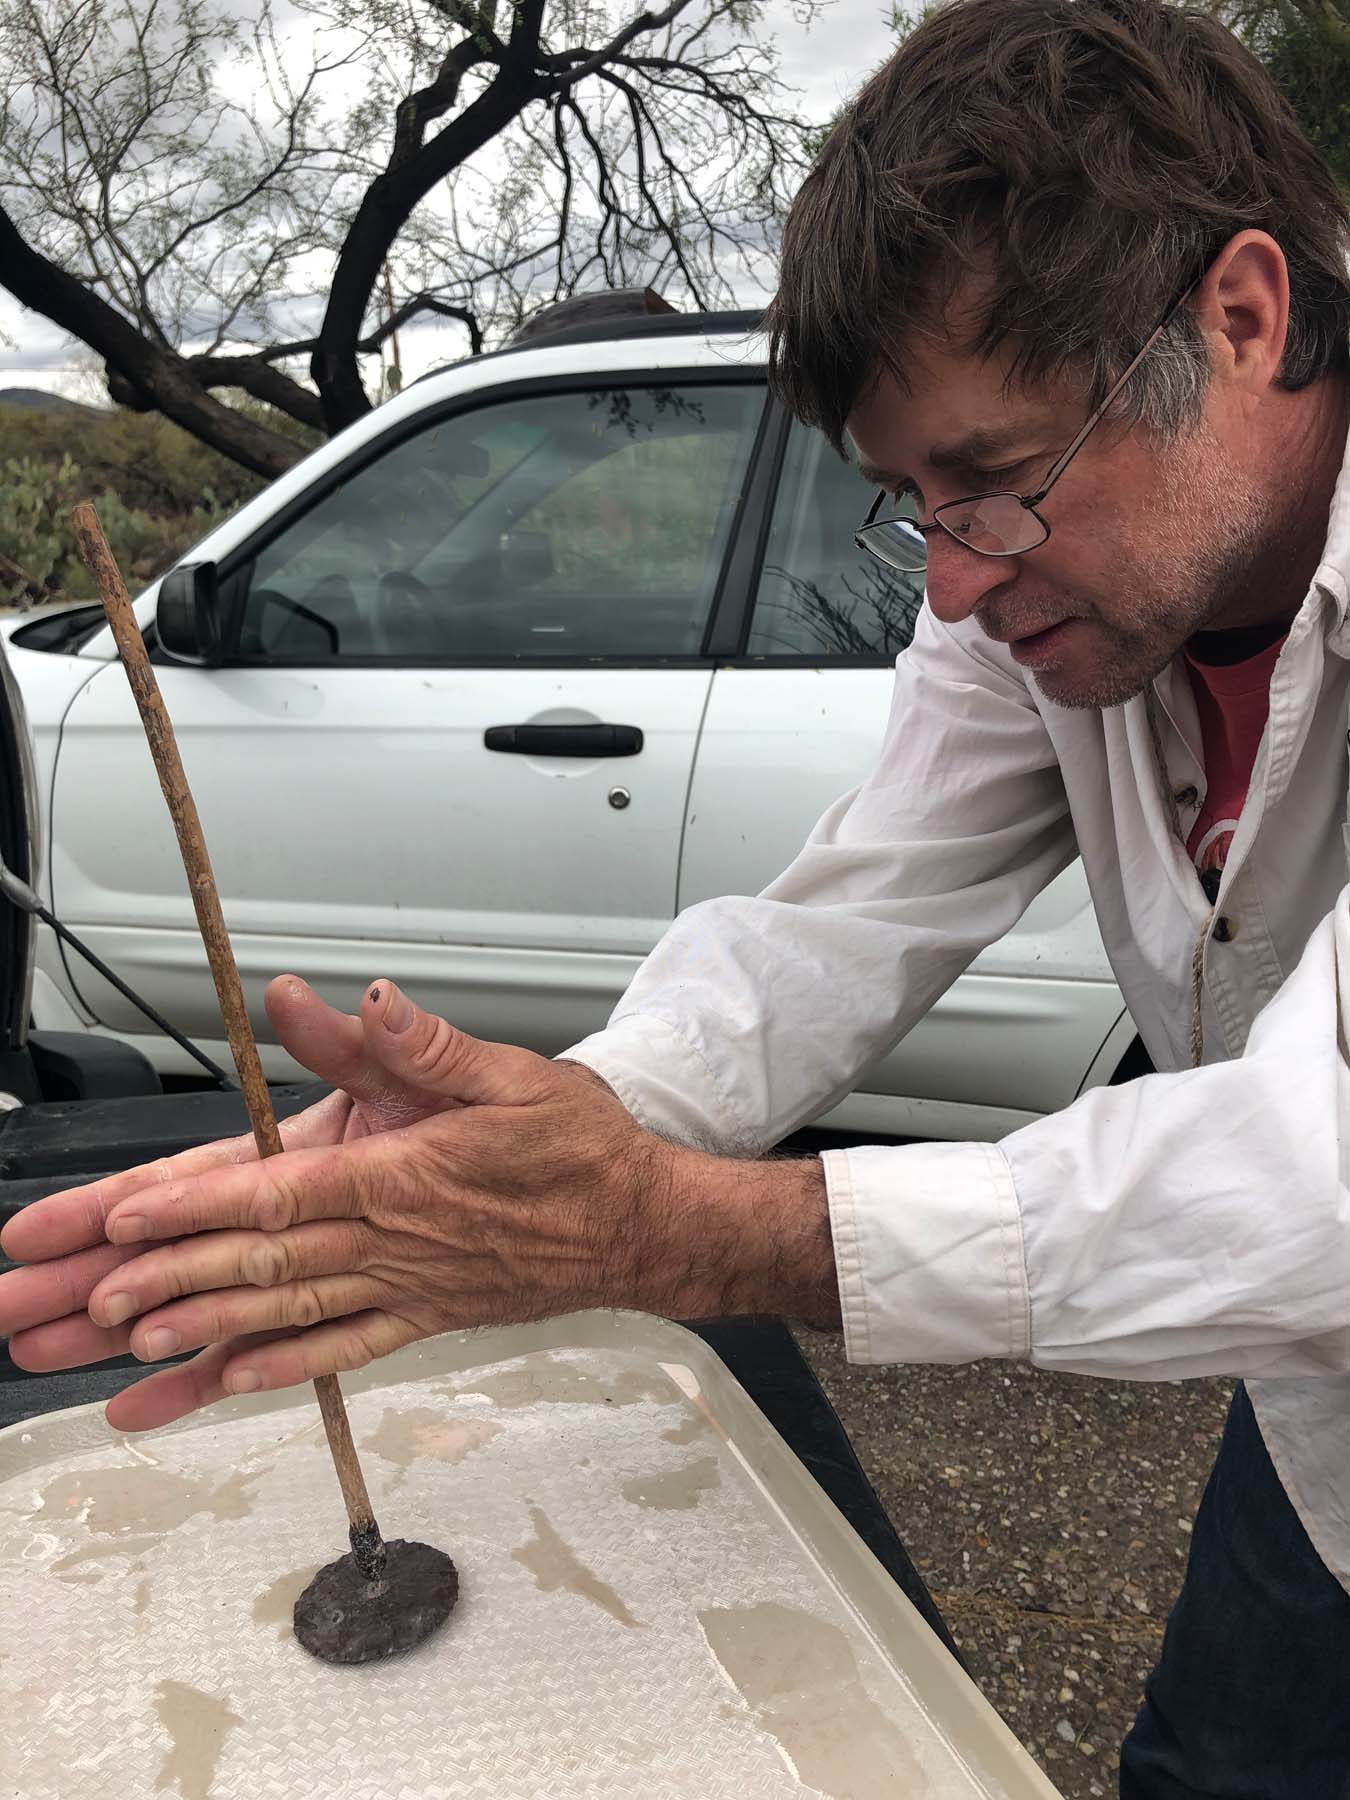
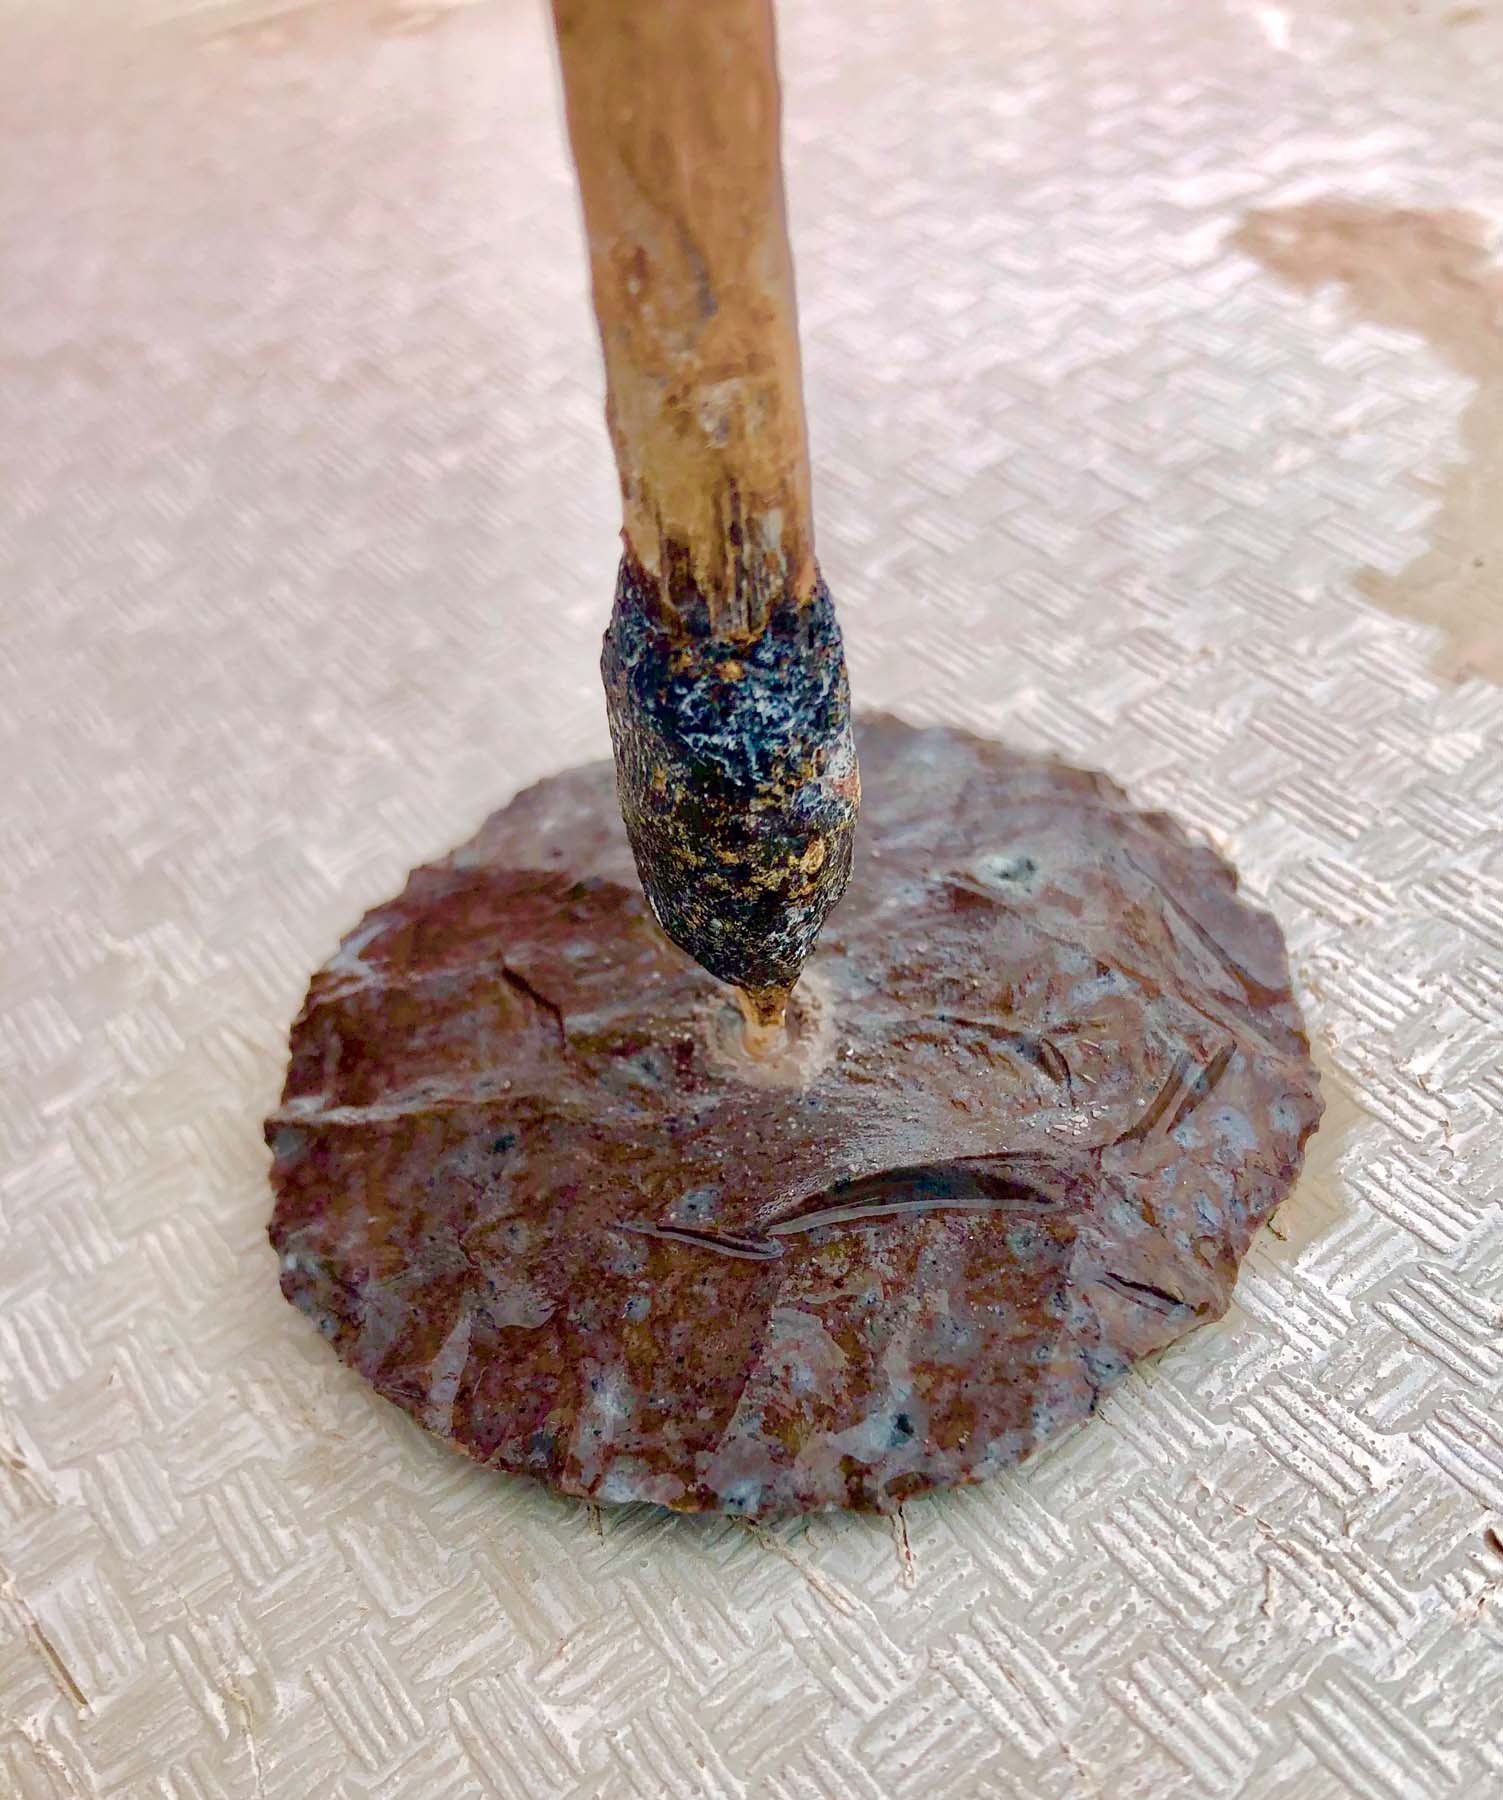
Drilling was the most difficult part of the project. I used stone drills hafted with pitch. I wore out 30 drill bits! And it took 6 hours to complete the perforation. I had to don gloves after about an hour—my poor hands! I did spread the process out over three days, though.
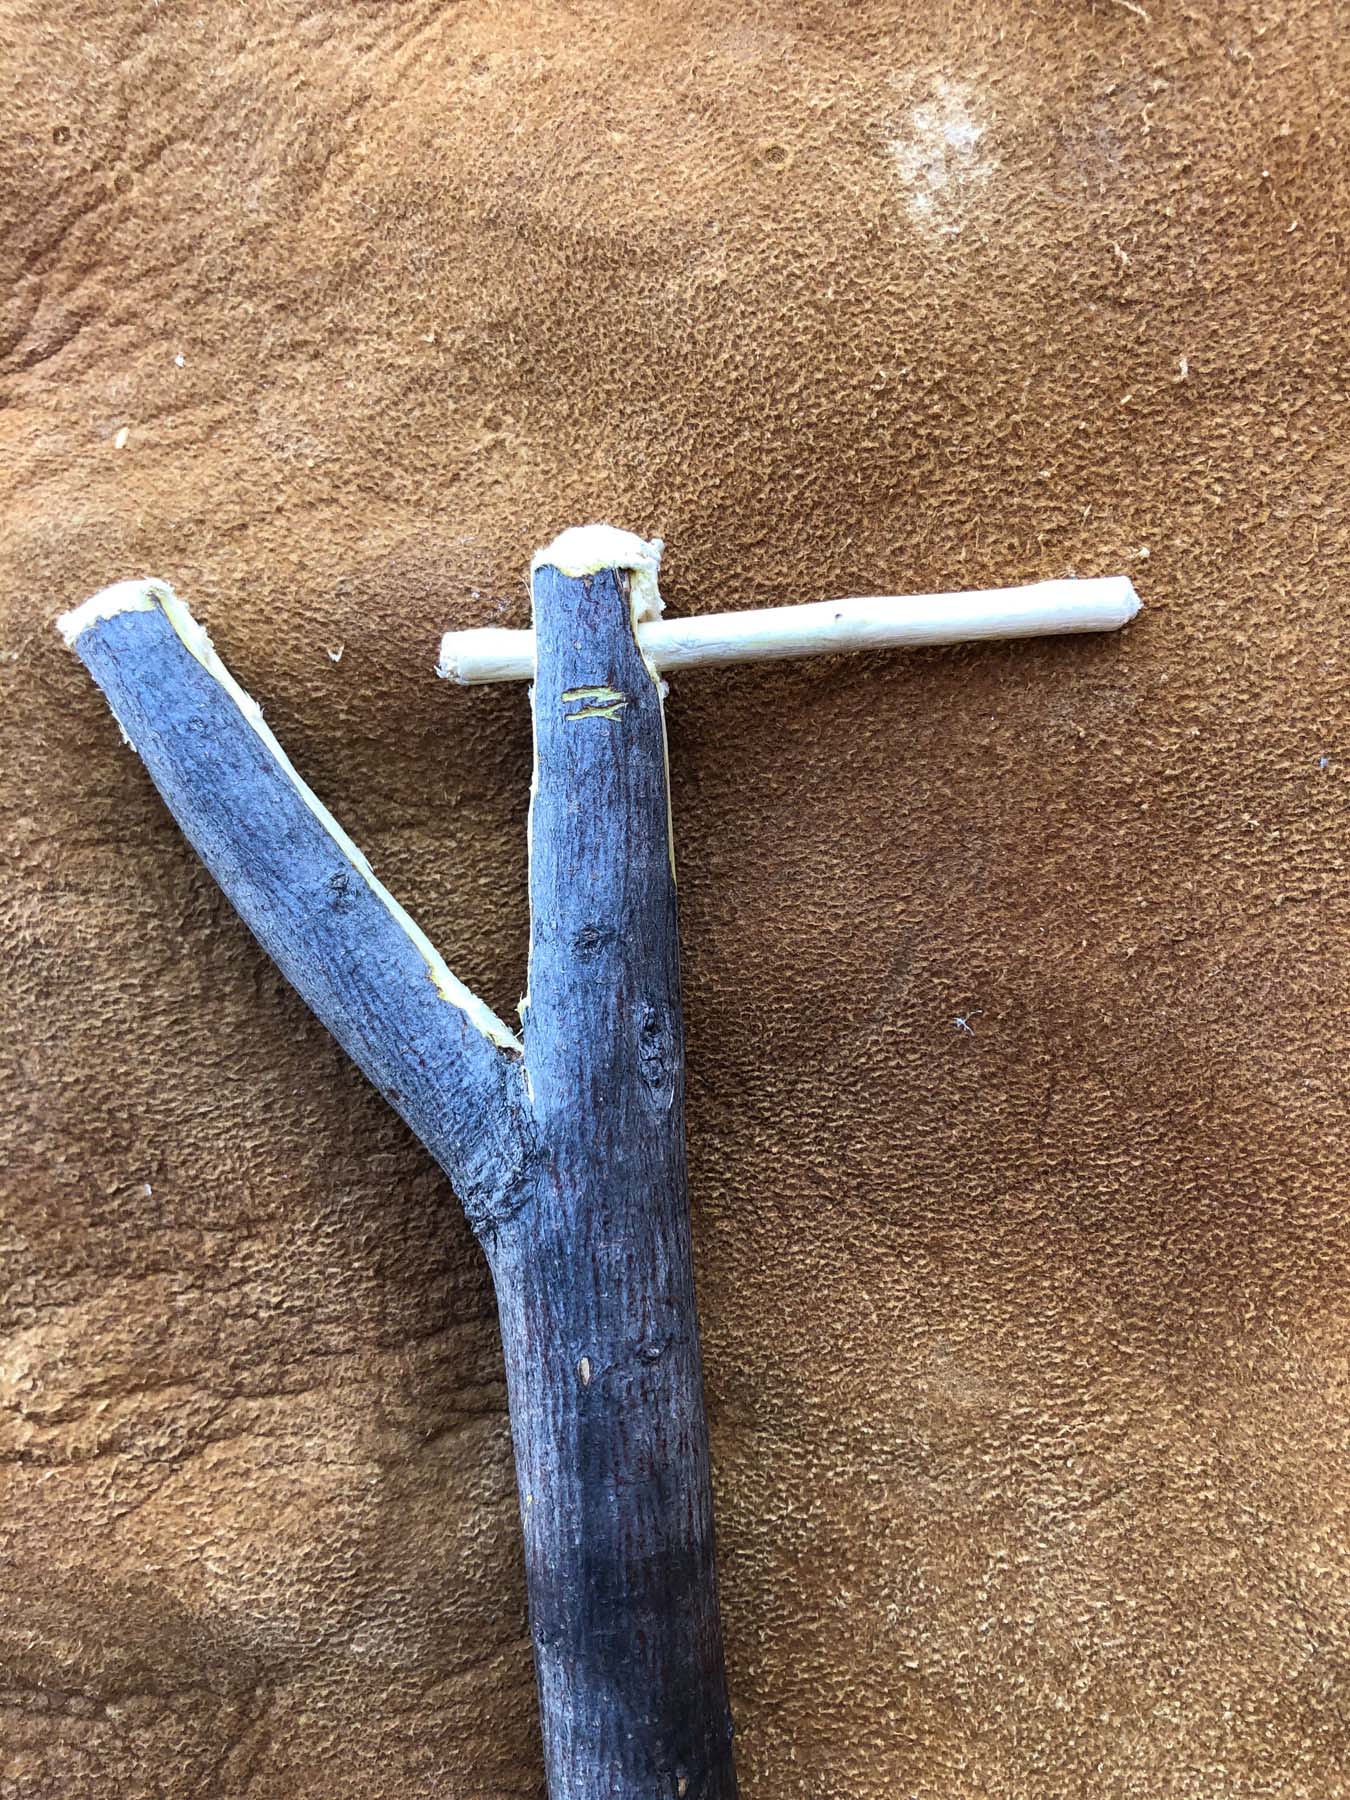
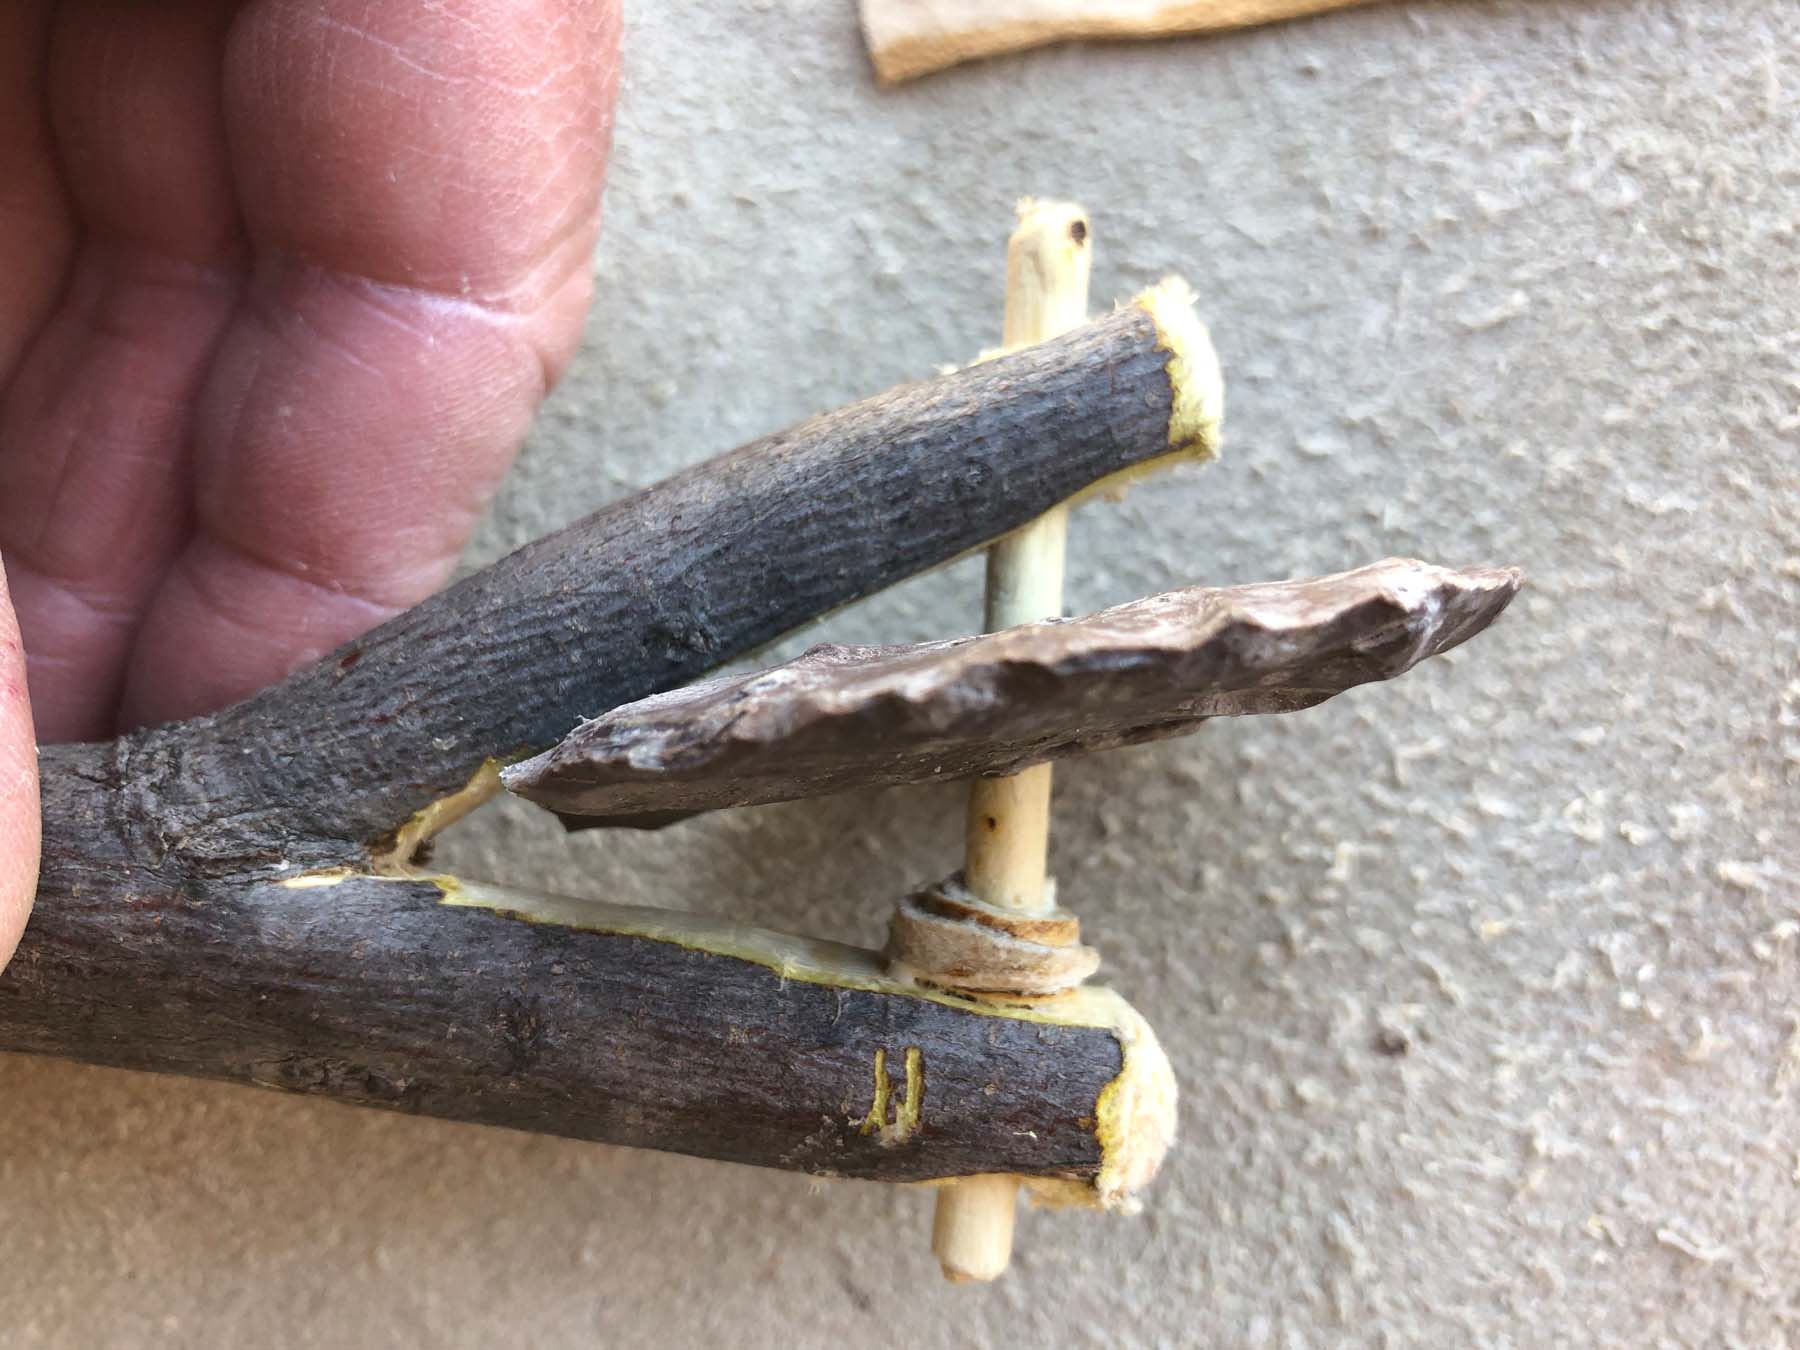
Next, I cut out the forked handle.
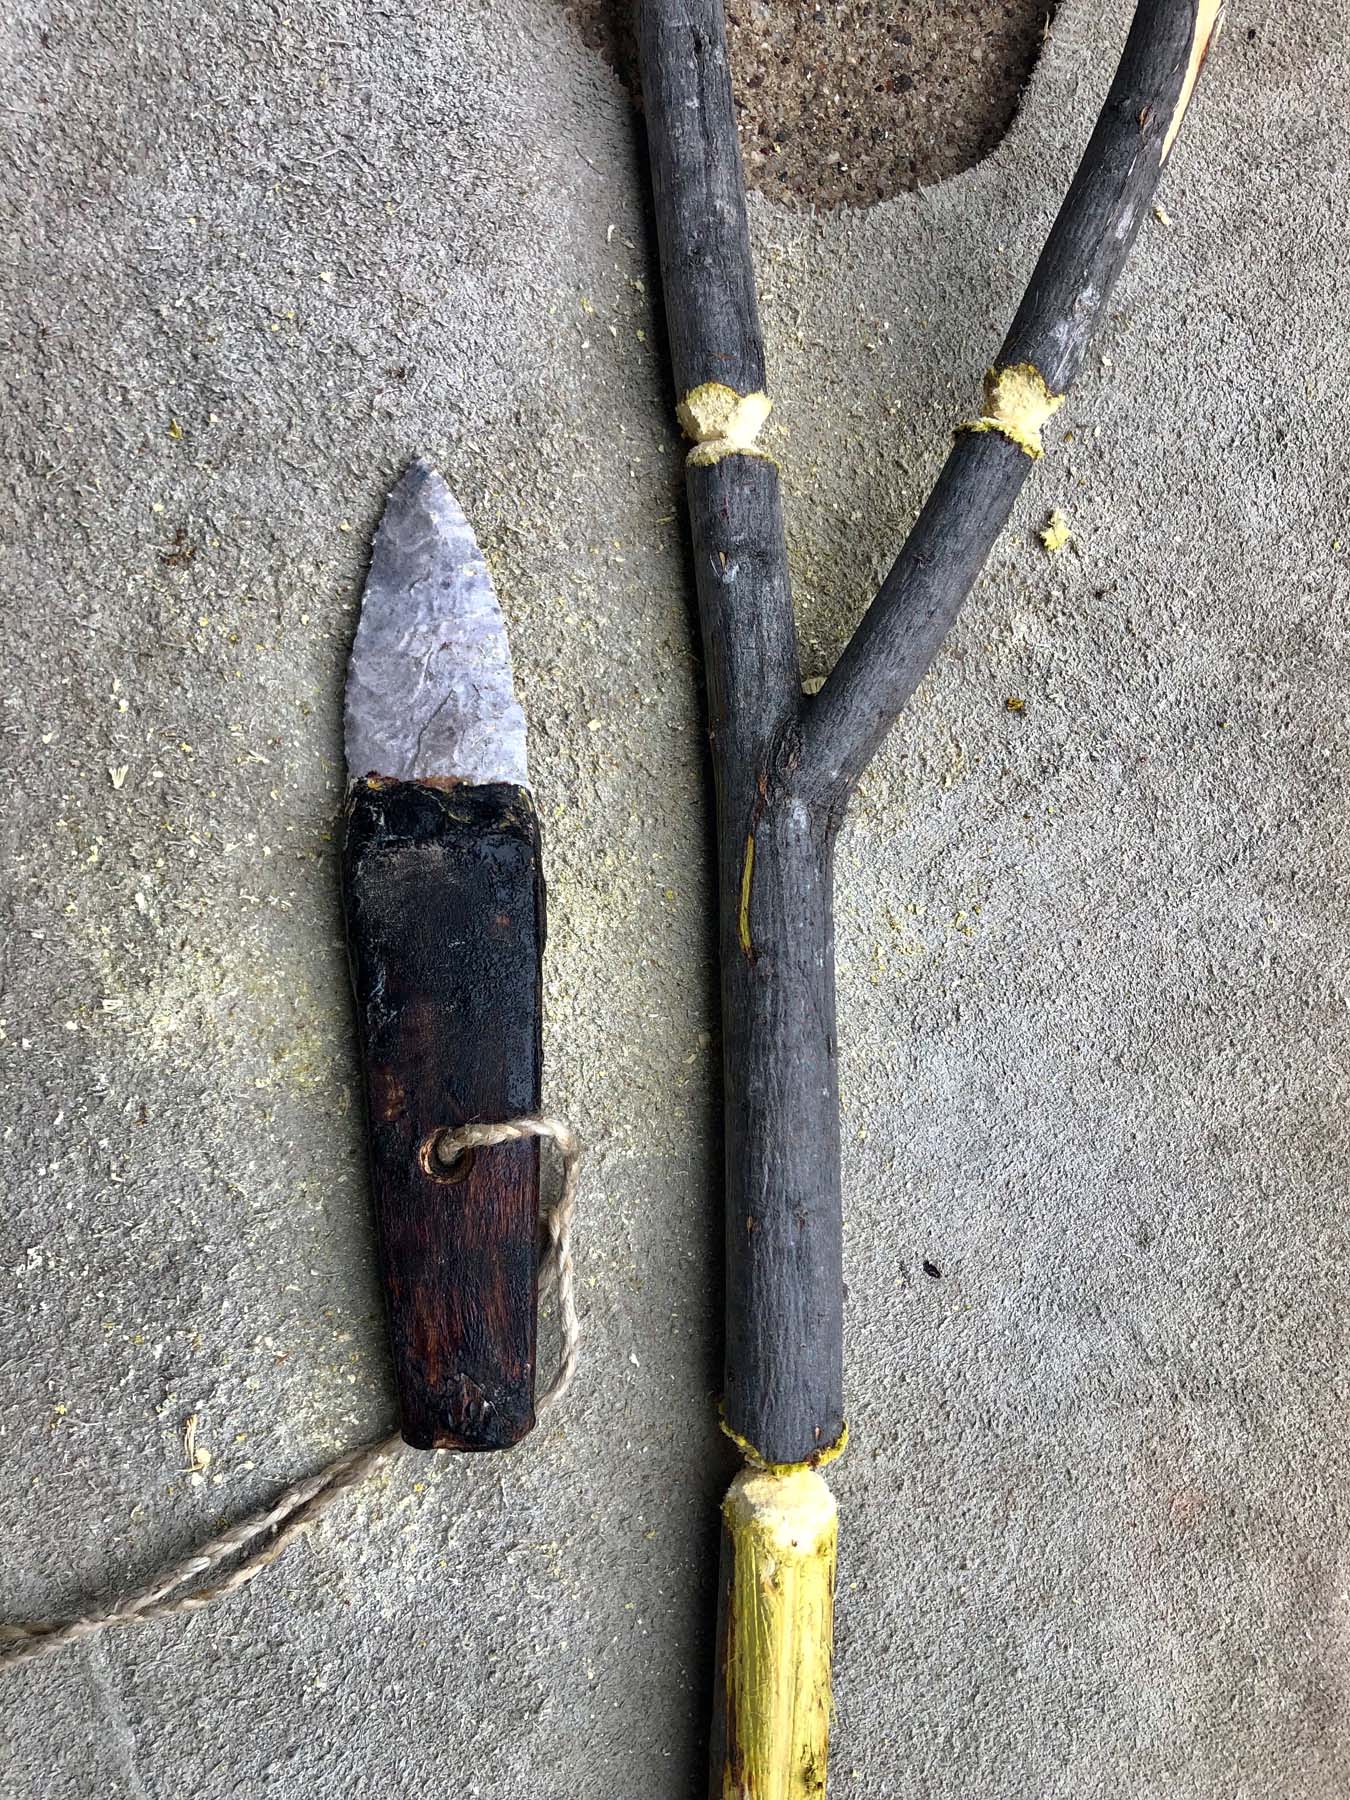
Next, I carved a small stick to fit through the hole I’d drilled. I made sure the stick was long enough to go through the forked part of the handle. I drilled holes through the forked tines to run the dowel through. Getting it all to fit properly was a little tricky. This part of the project took about 45 minutes.
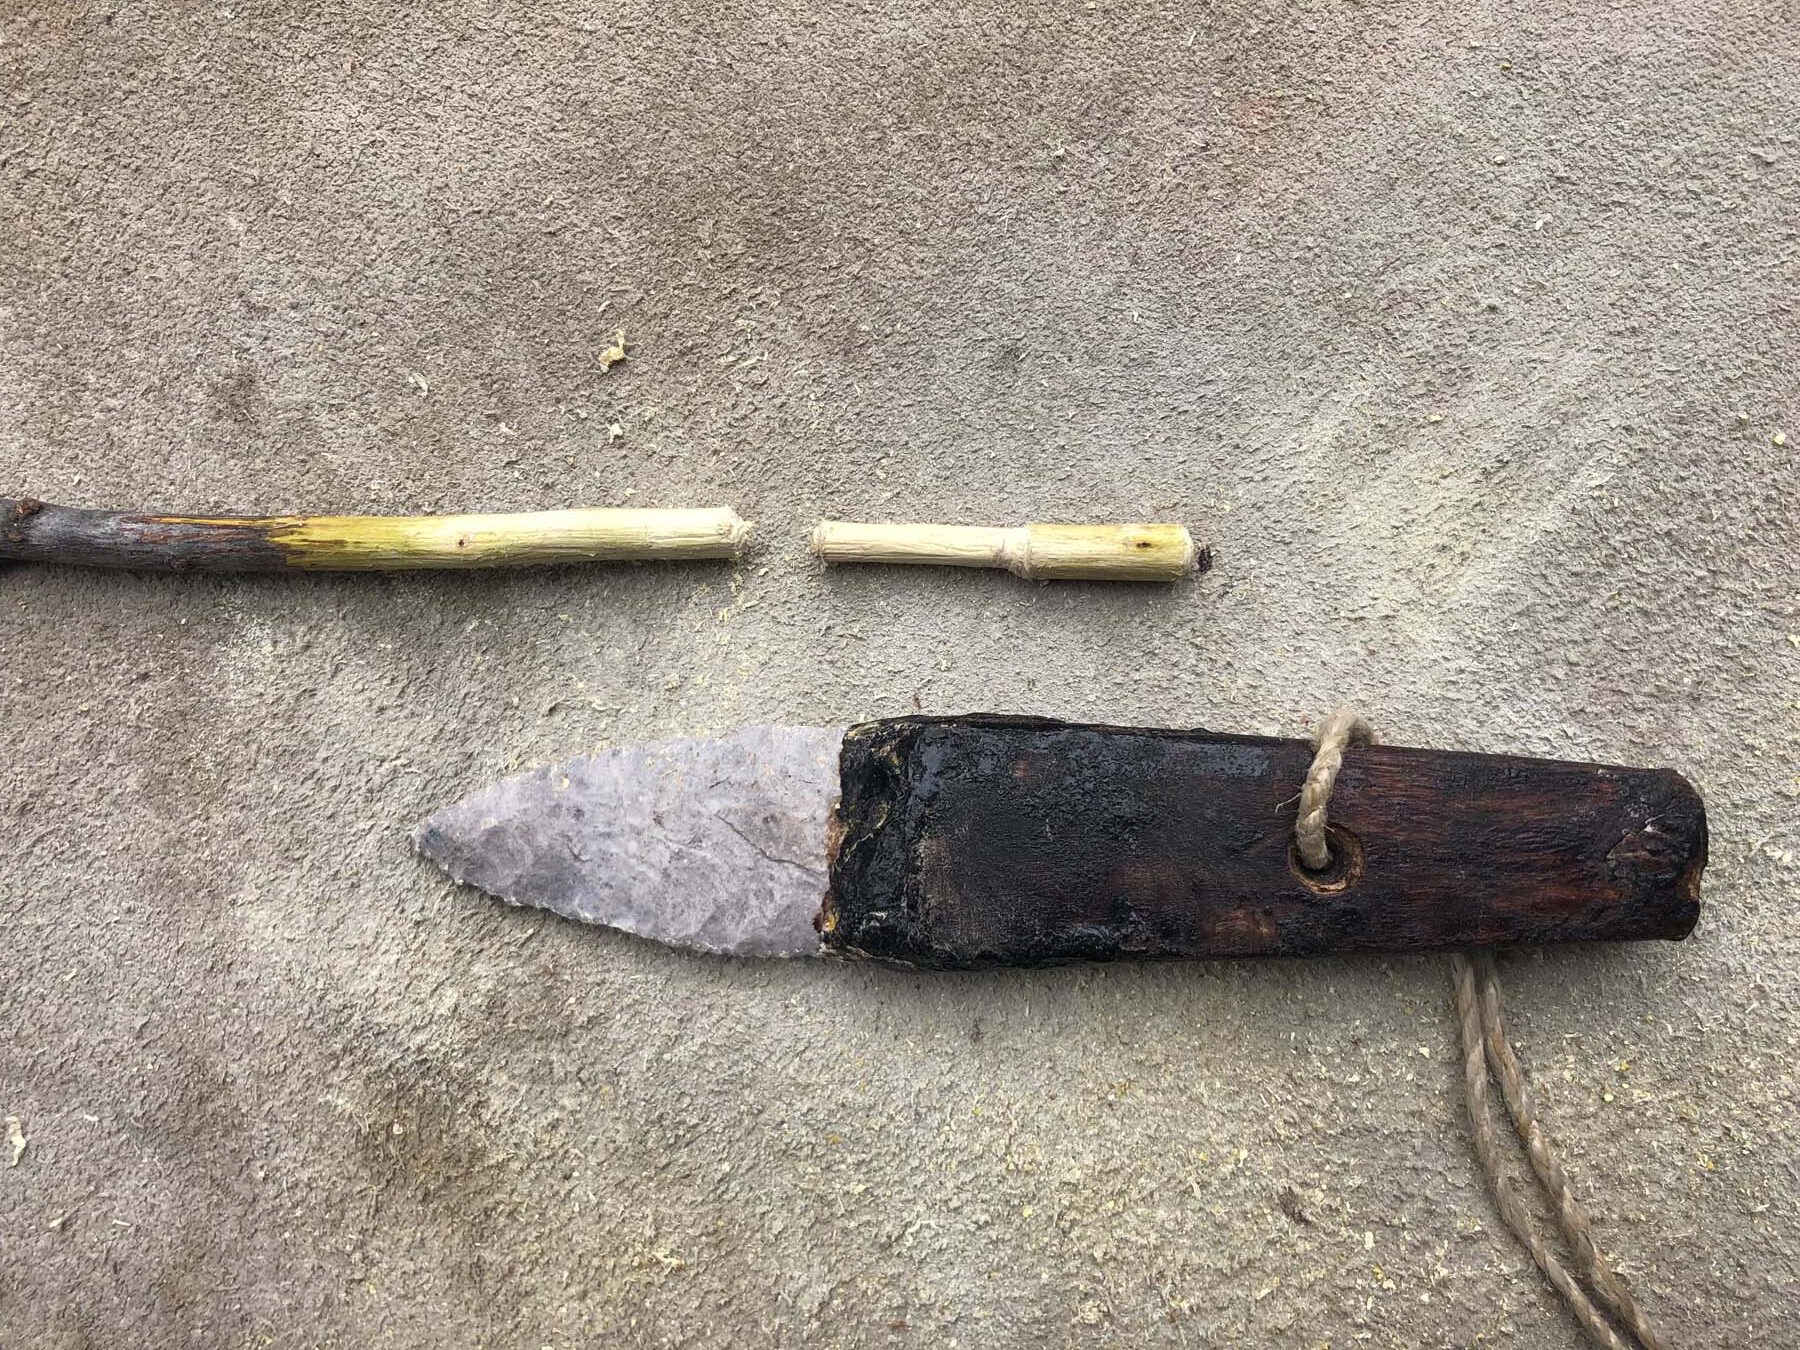
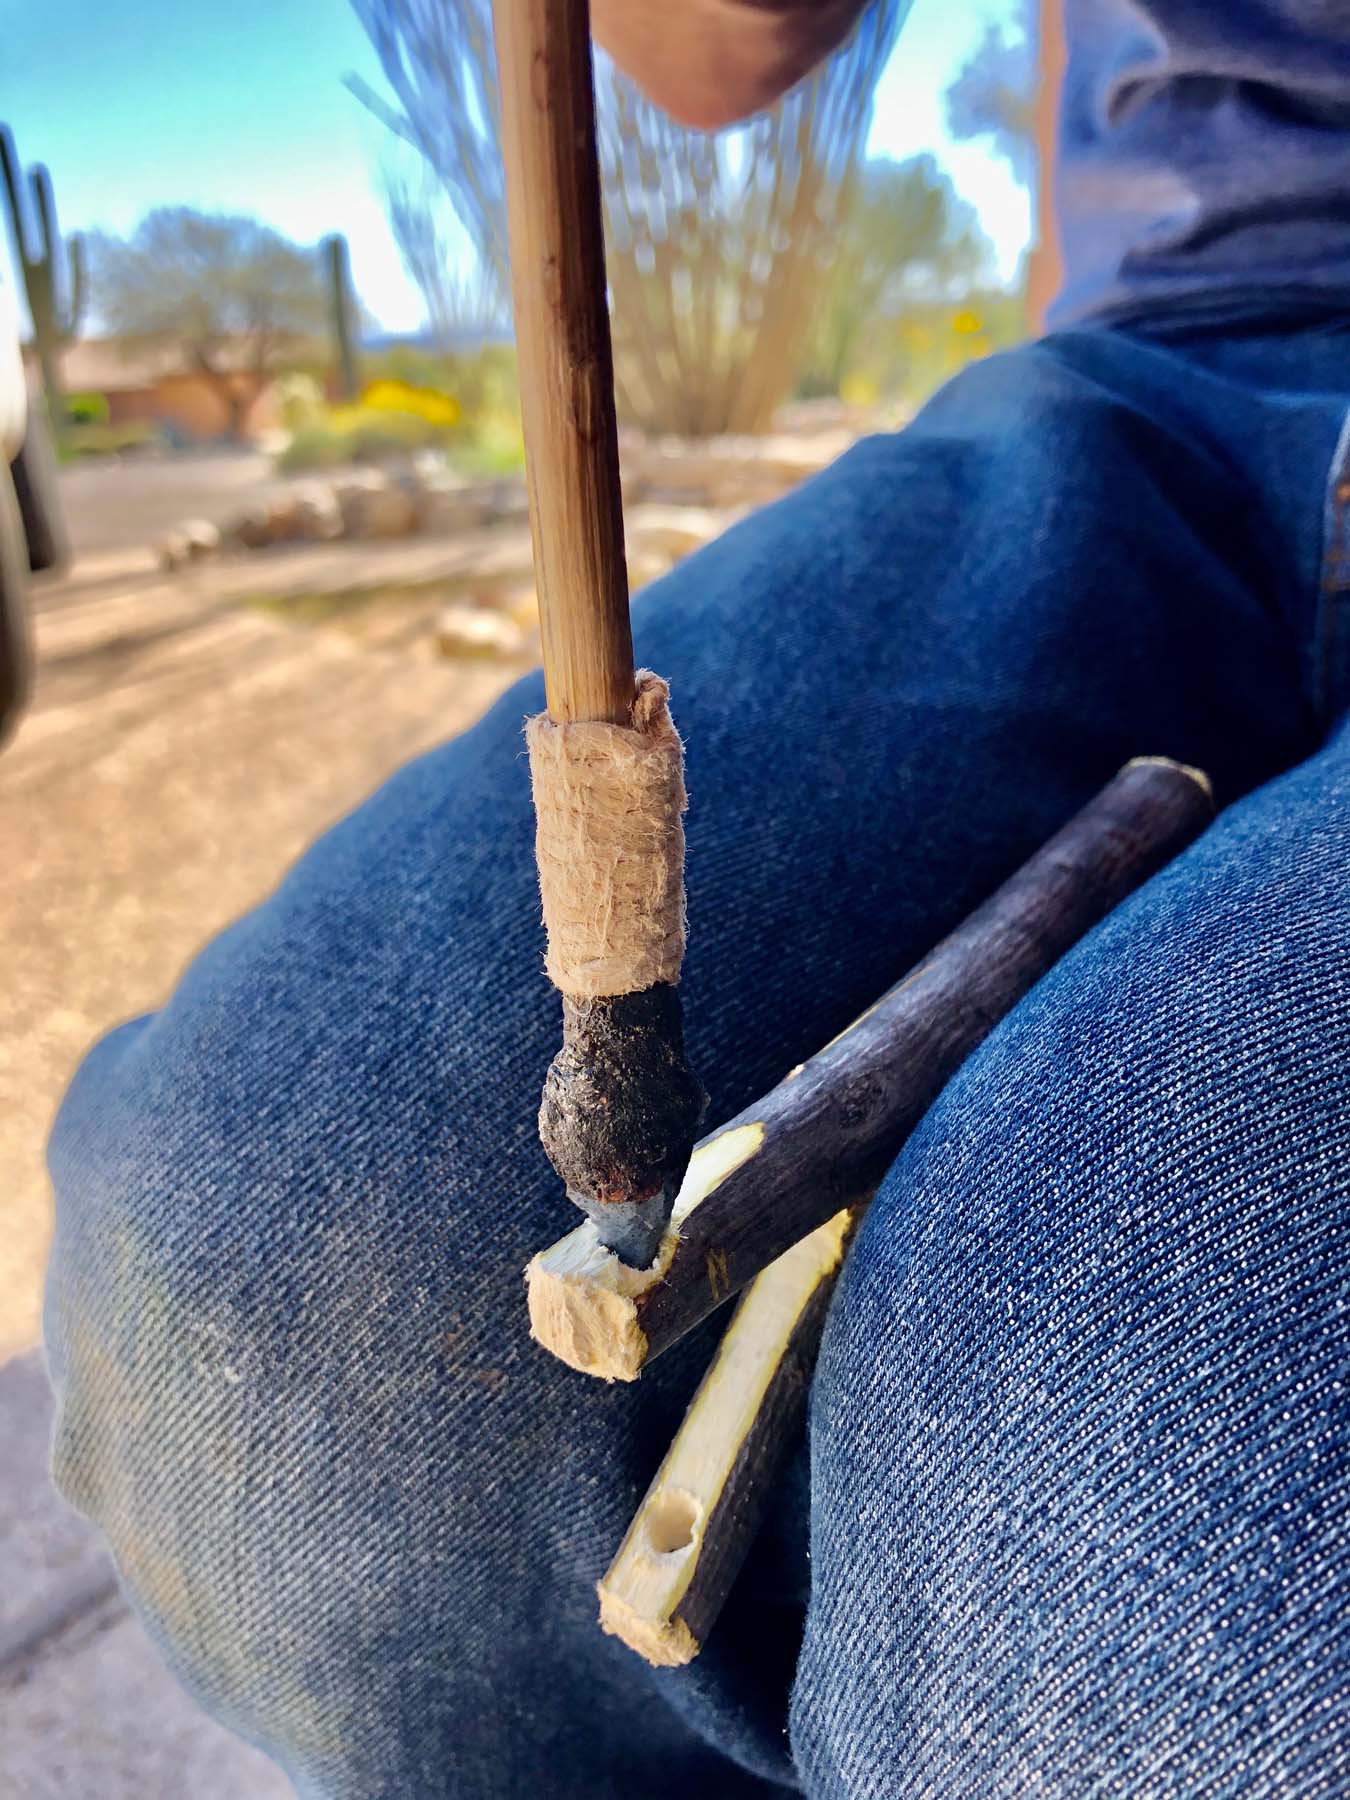
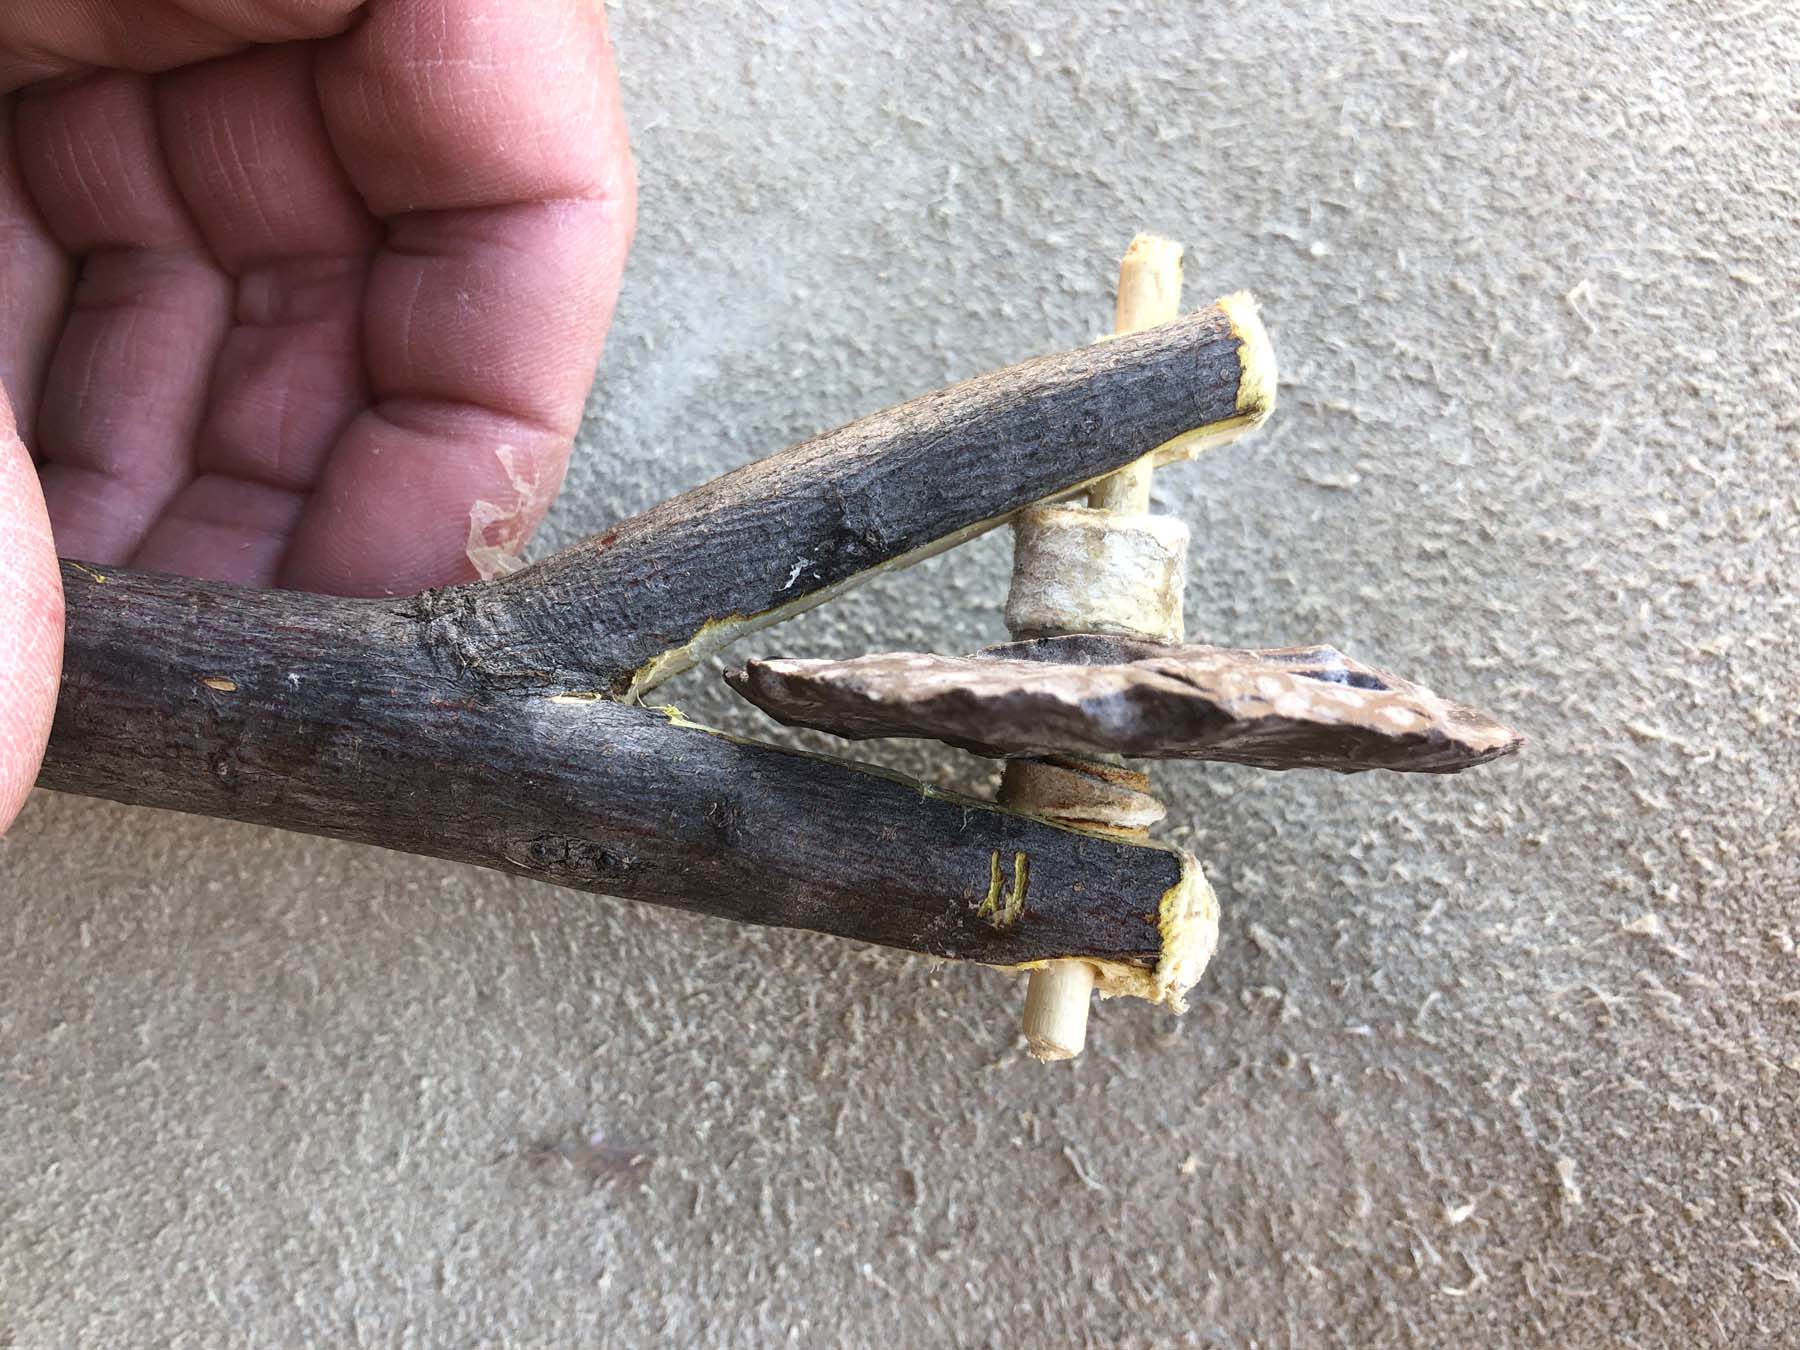
I pushed the dowel through the disc and into the other side of the forked handle. I cut two thin leather strips and ran a bead of adhesive down one side. I wrapped these on either side of the disc to serve as washers.
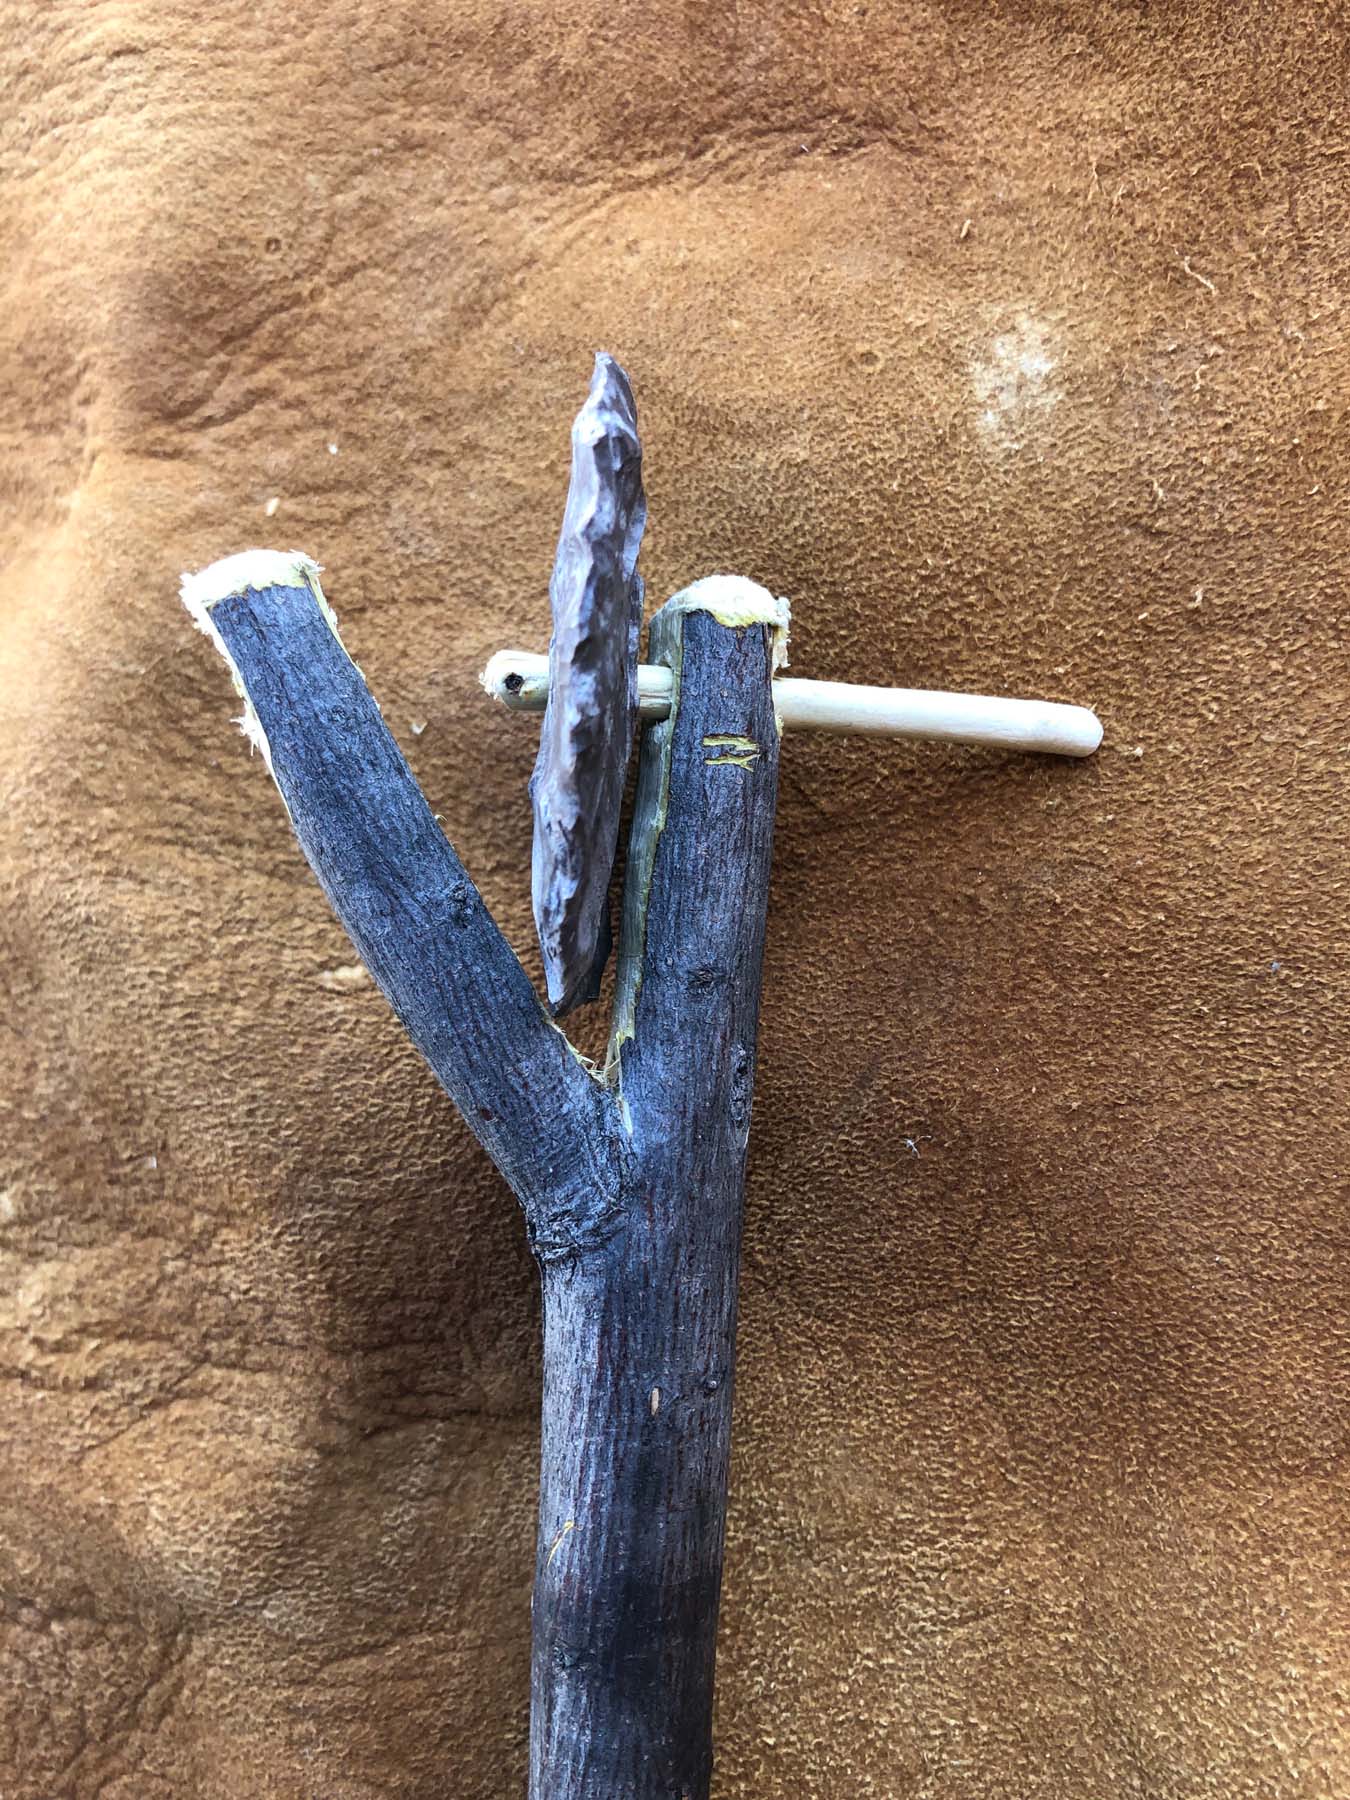
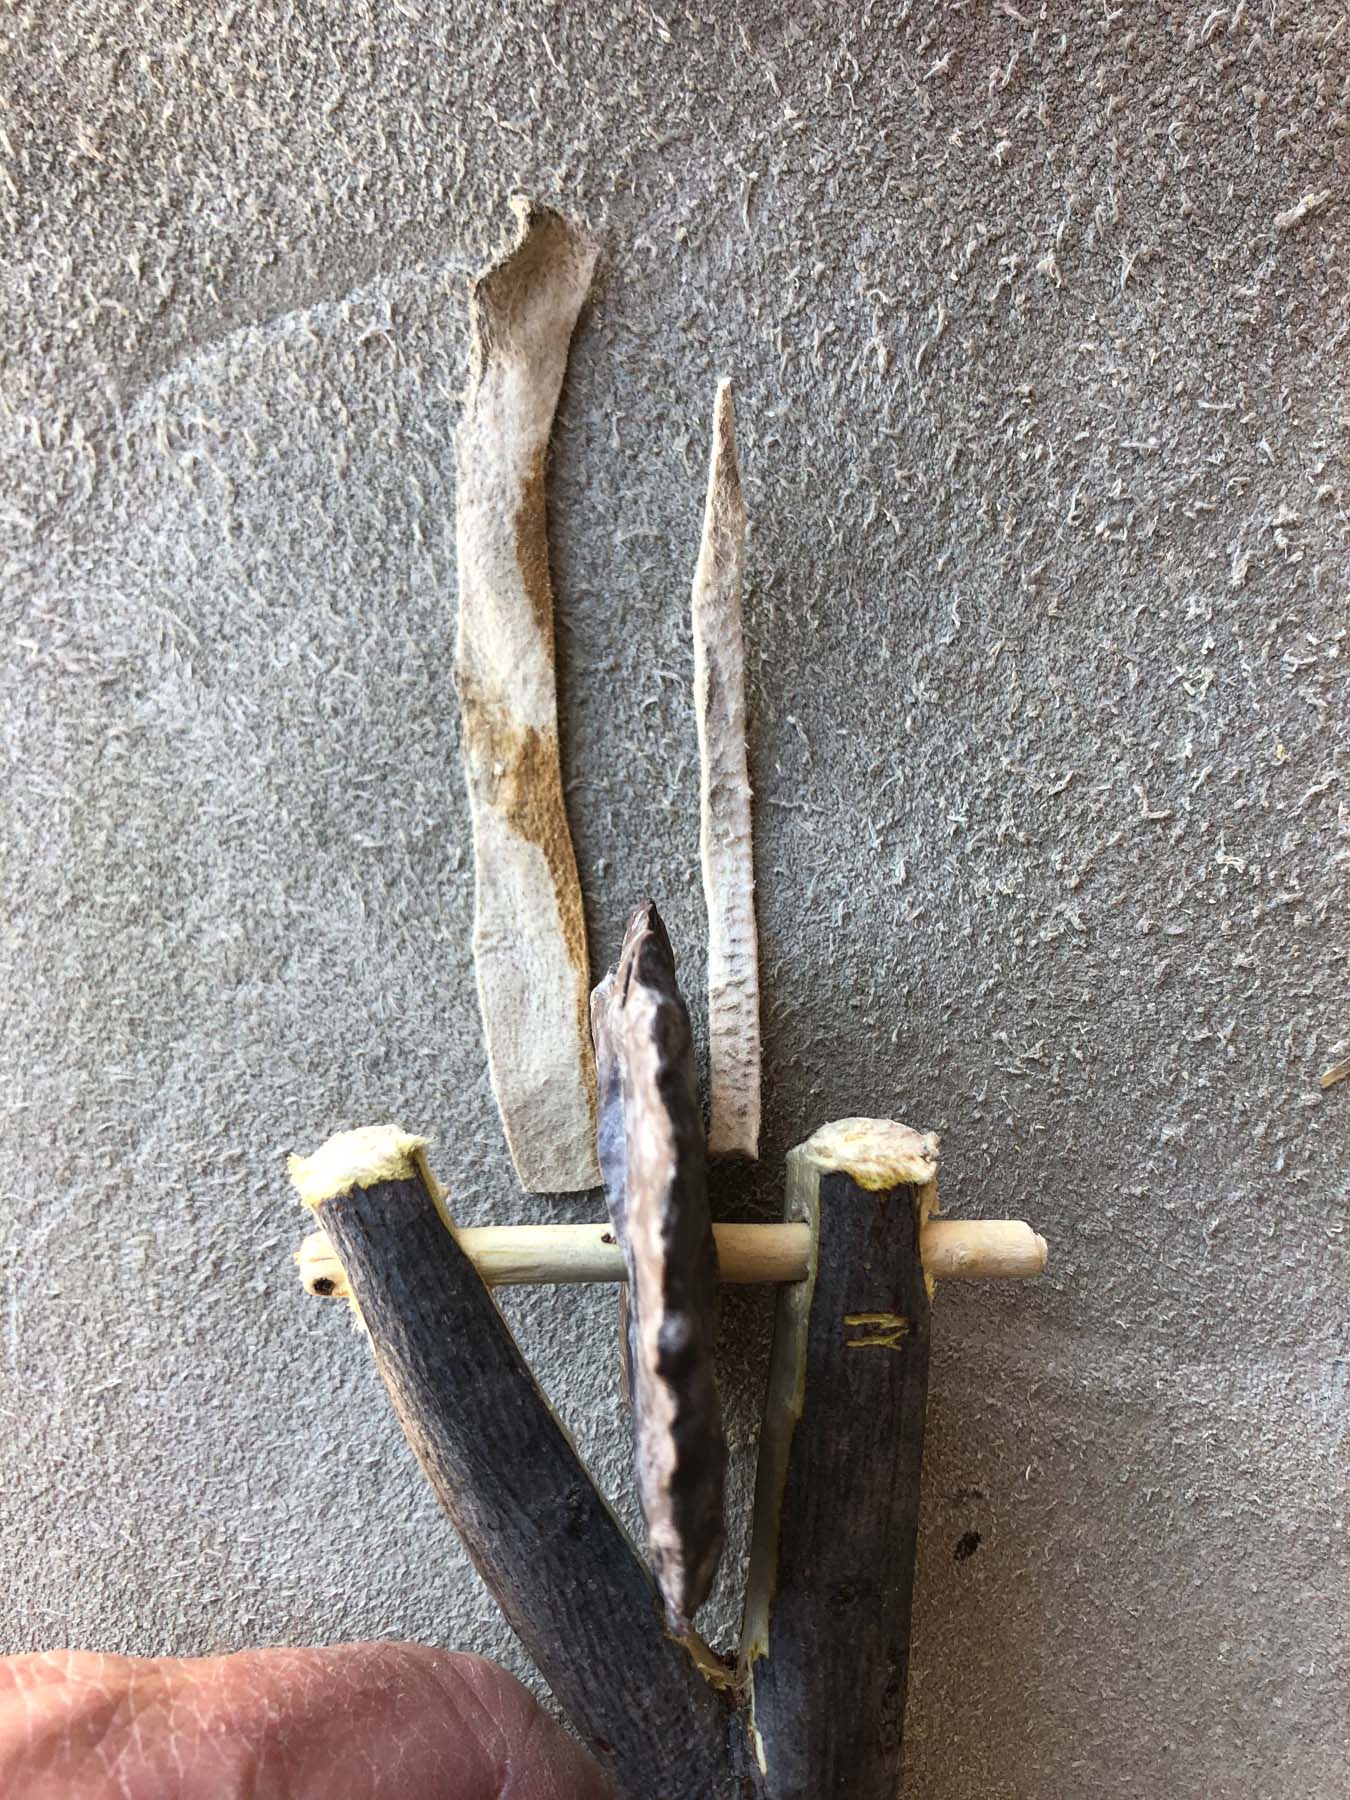
I used a bit of adhesive to hold the dowel into the handle, as well. Now the cutter was ready to go!
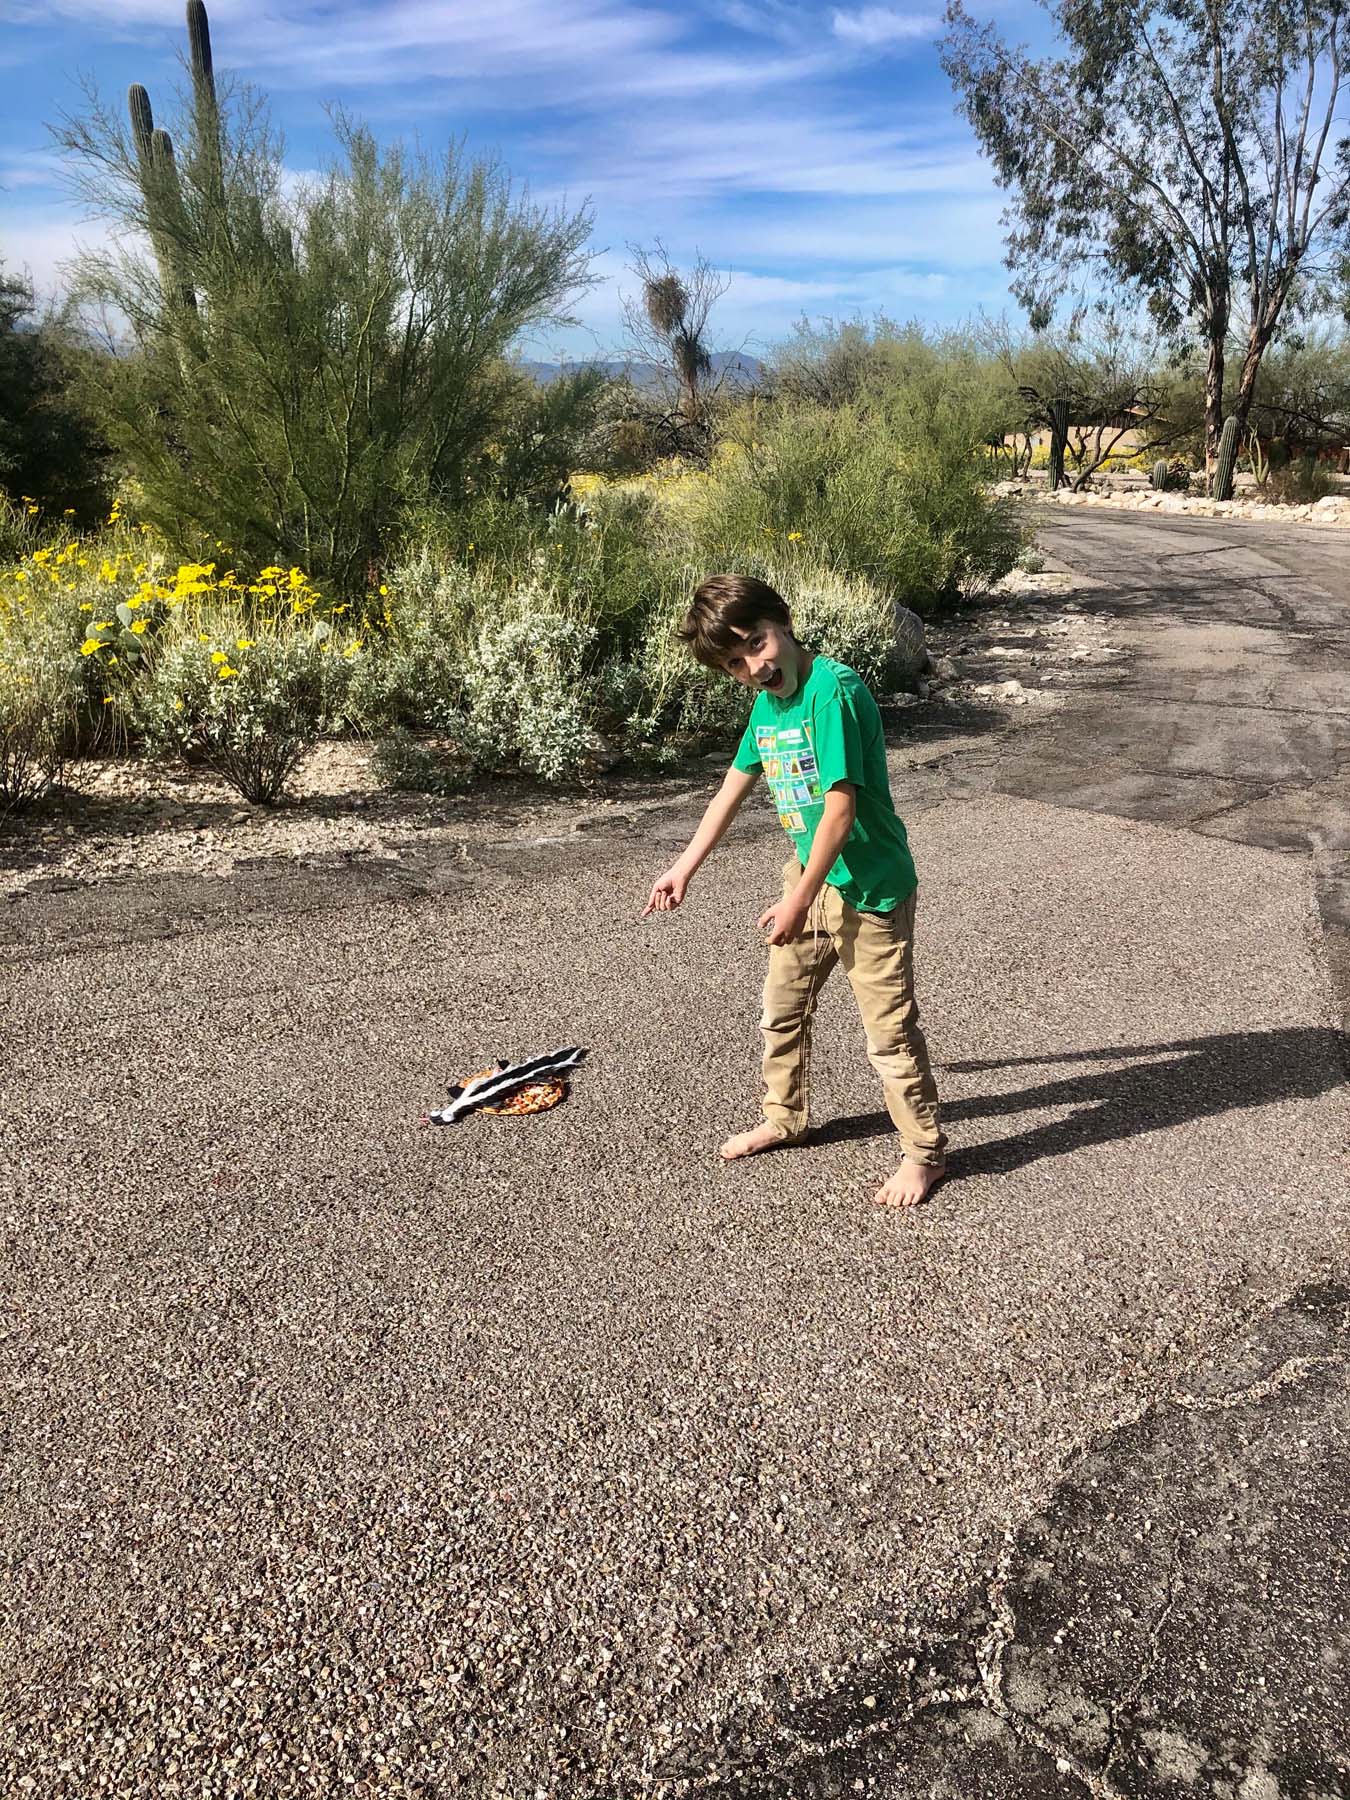
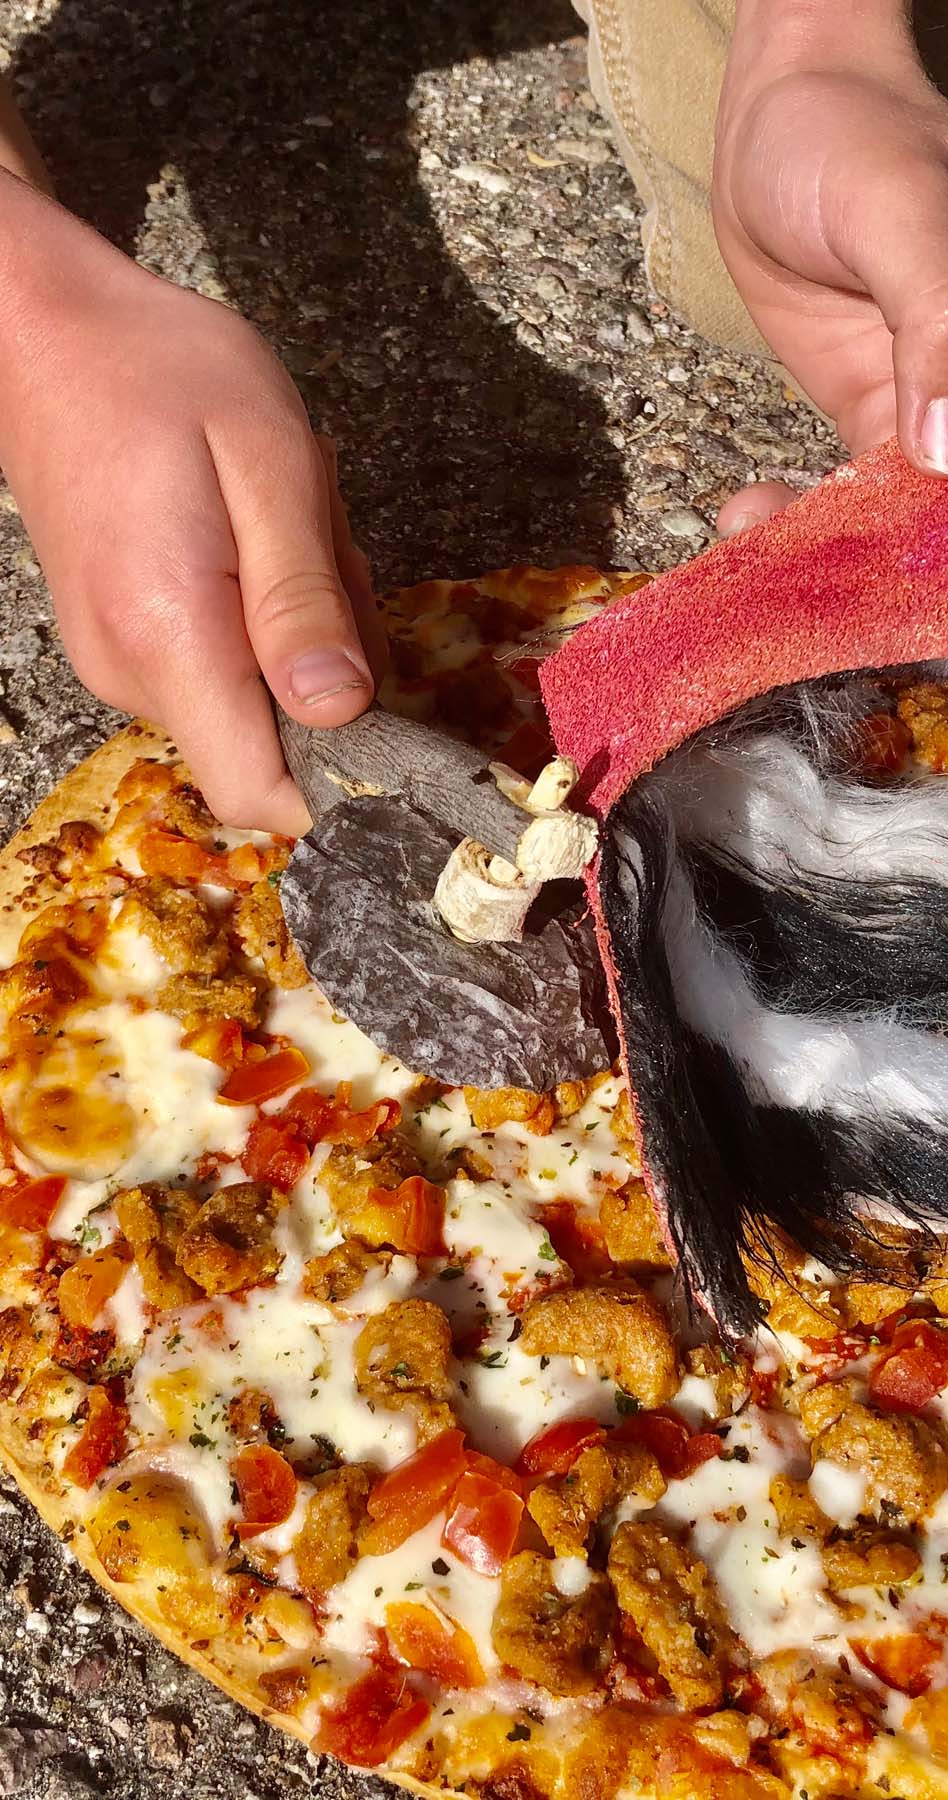
My son found the perfect thing to test our cutting tool on…