
(January 14, 2022)—Cruciforms are artifacts people made by flaking and then grinding stone. In the Southwest, archaeologists find them in sites dating to the Early Agricultural period, particularly those of the Cienega phase about 1,500 to 2,000 years ago. They are quite rare, and fewer than 20 have been found during excavations. A number of examples had been deliberately broken.
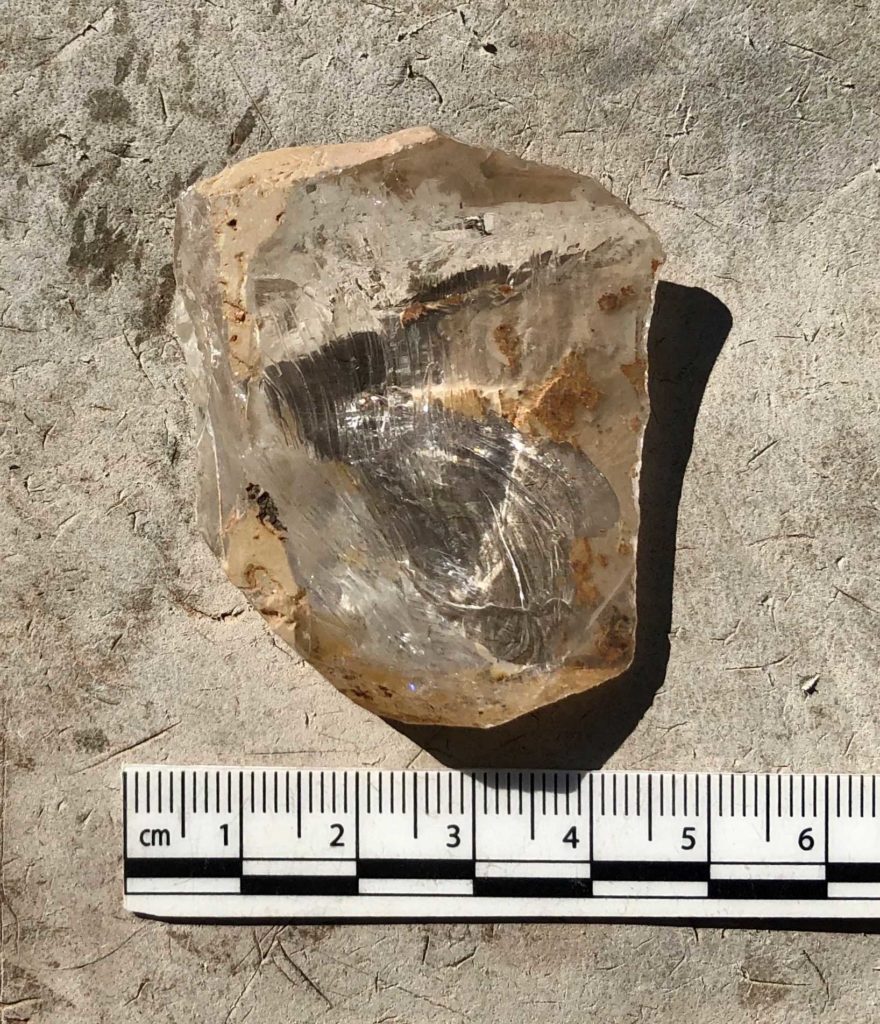
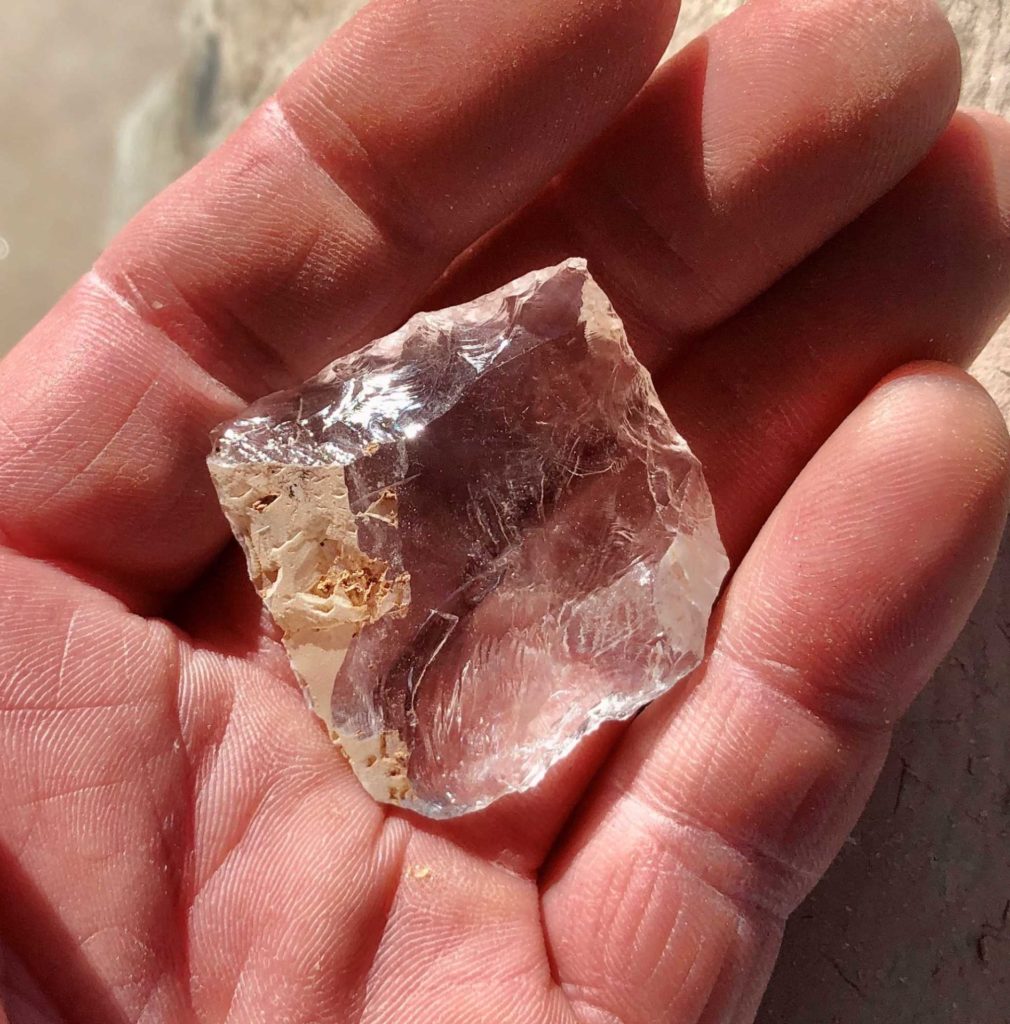
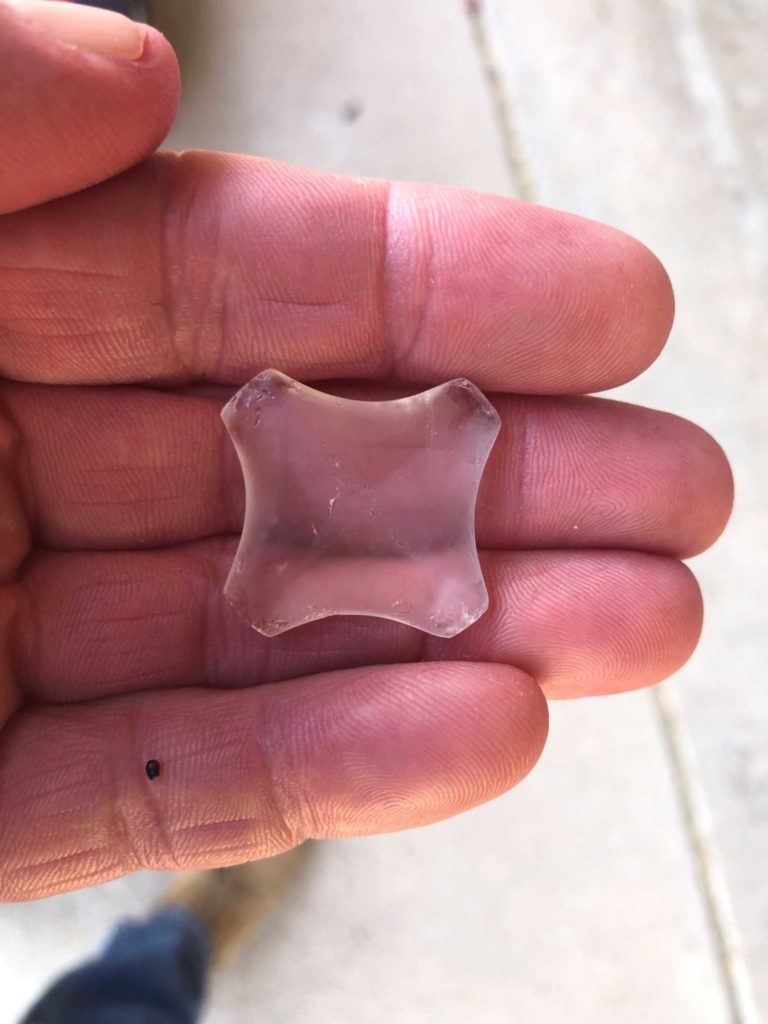
To make them, people used high-quality cryptocrystalline rock, usually very colorful or flashy, which they polished very finely. A very nice, complete cruciform made out of quartz crystal was recovered from the Los Pozos site near the Roger Road sewer plant here in Tucson. My goal was to replicate it, and I also wanted to make a cruciform out of obsidian from the source in Mule Creek, New Mexico. I recorded the amount of time required to shape different kinds of stone.
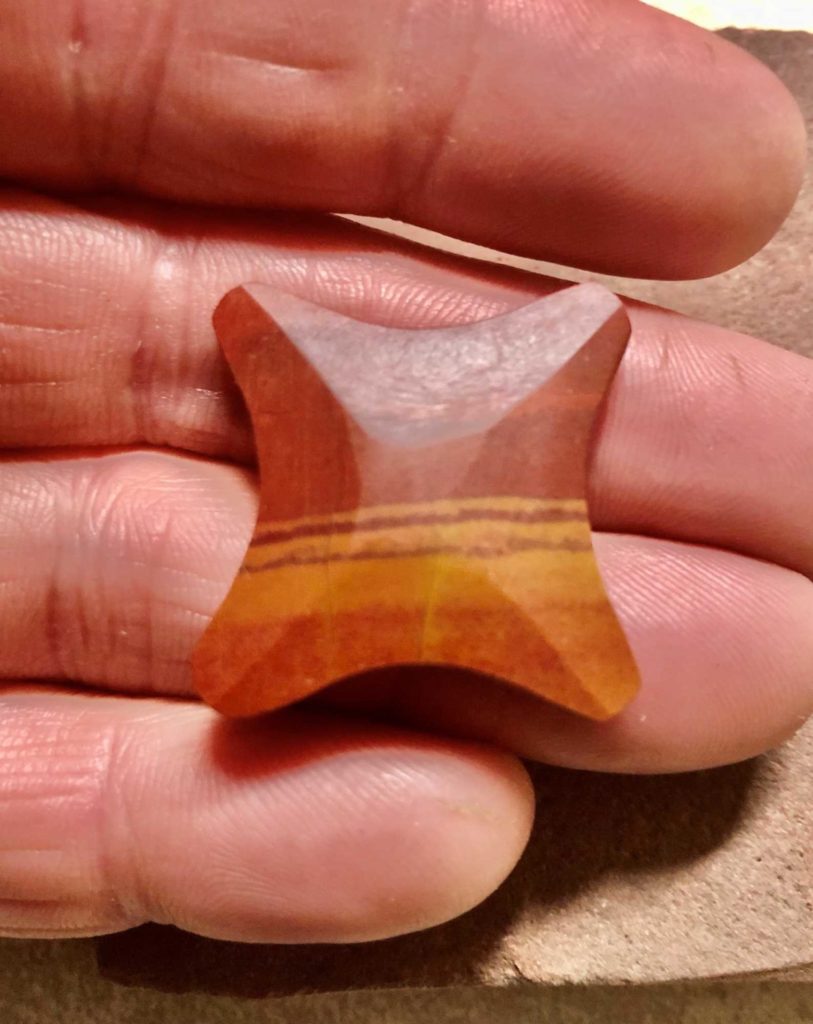
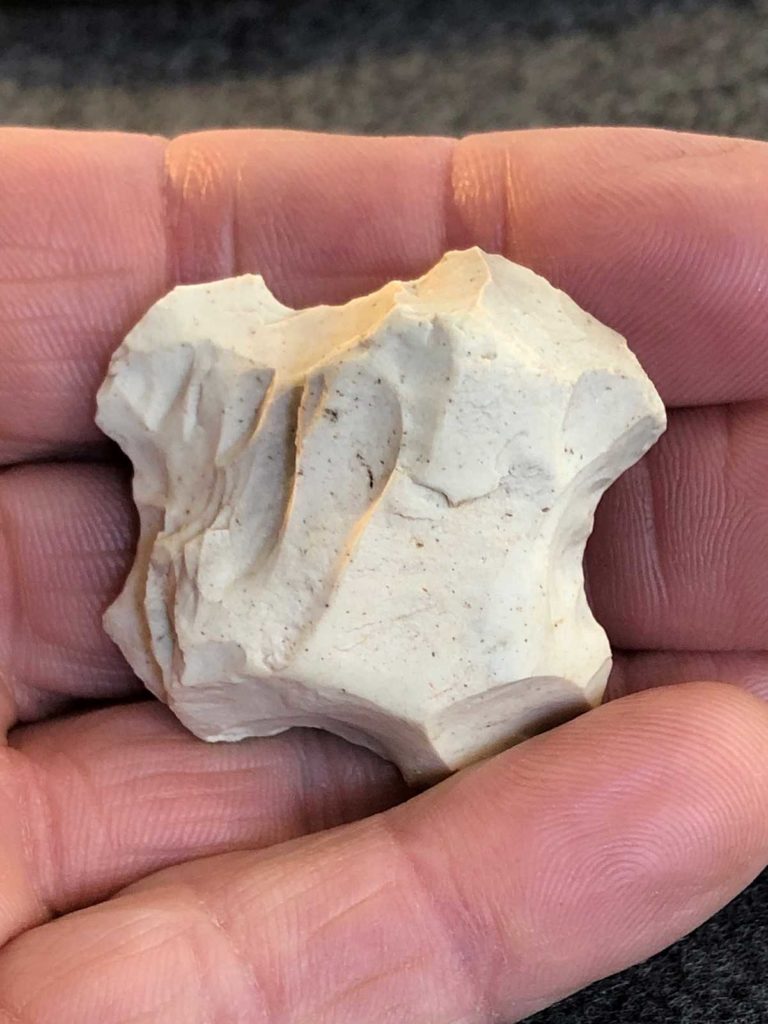
Among the known ancient examples, there is variation in the finished shapes and how they were made. Here are two examples of ancient cruciforms in stages of production.
Quartz is much tougher than obsidian. I expected that the obsidian would be ground faster, though it is more brittle than quartz and was more likely to break.
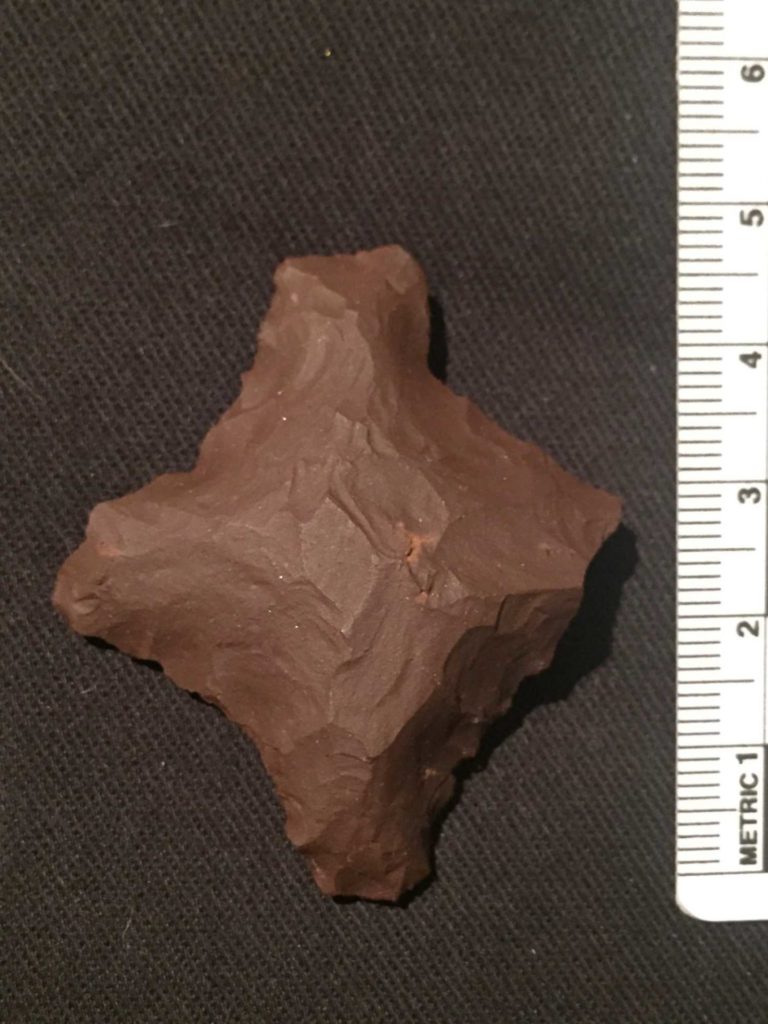
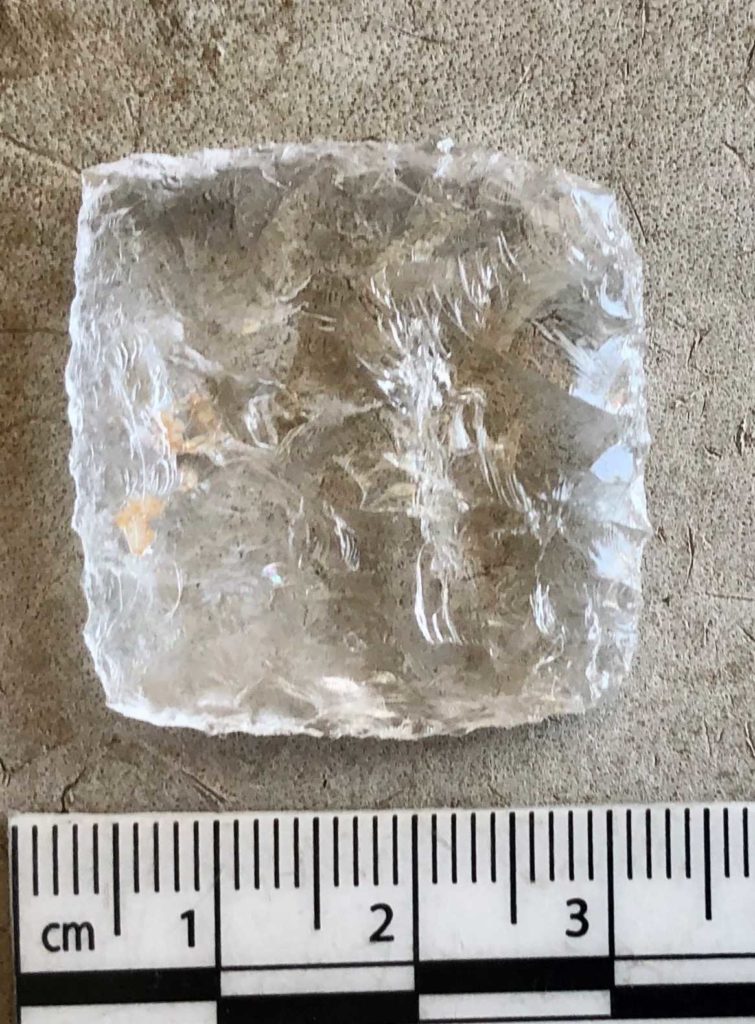
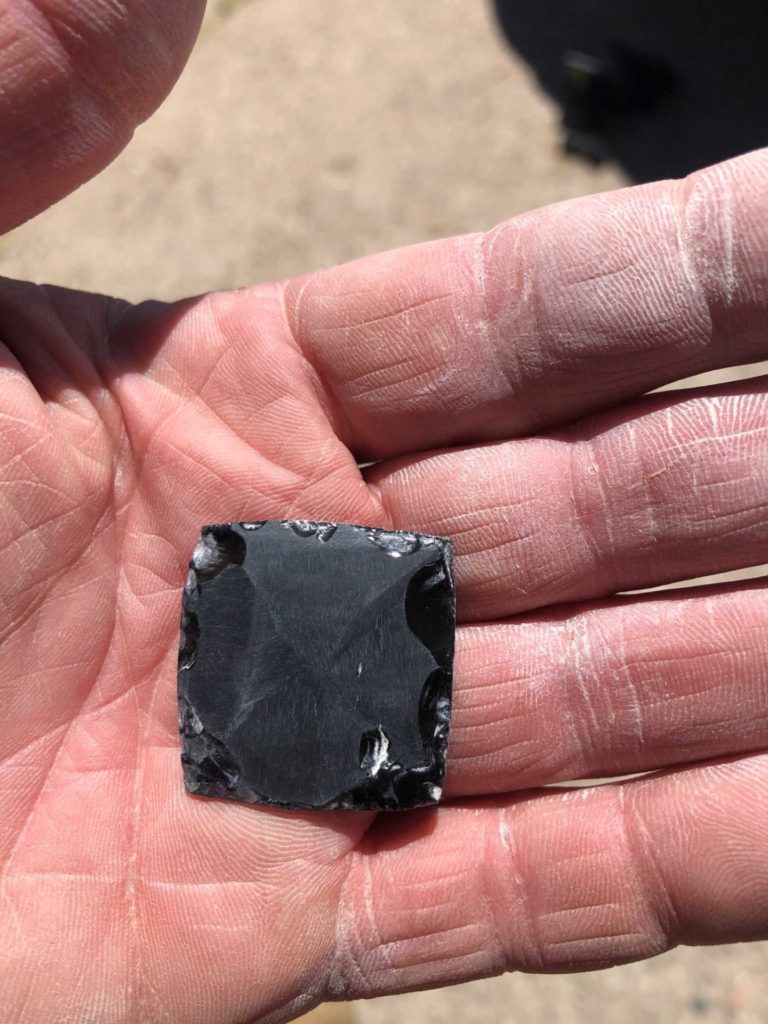
The first step is to flake the piece to create a square biface. My goal was to flatten the piece out to prepare it for pressure flaking.
The next step is to pressure flake the biface into a nice symmetrical square with a lenticular cross-section.
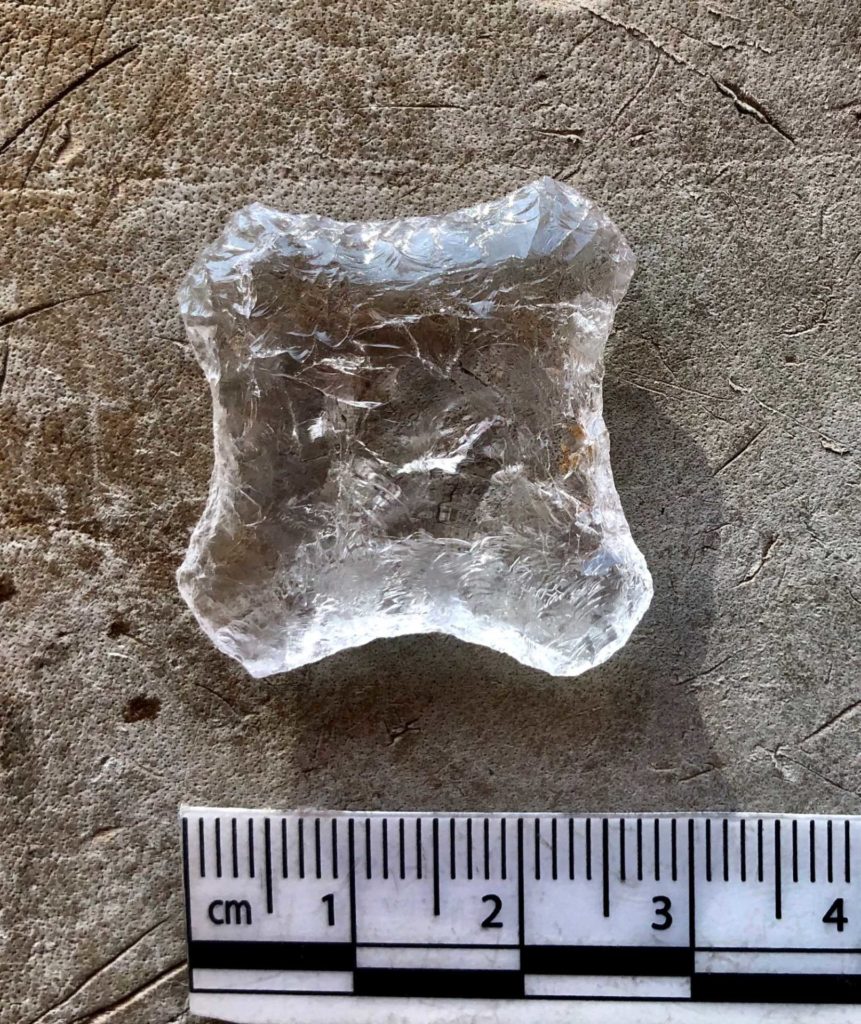
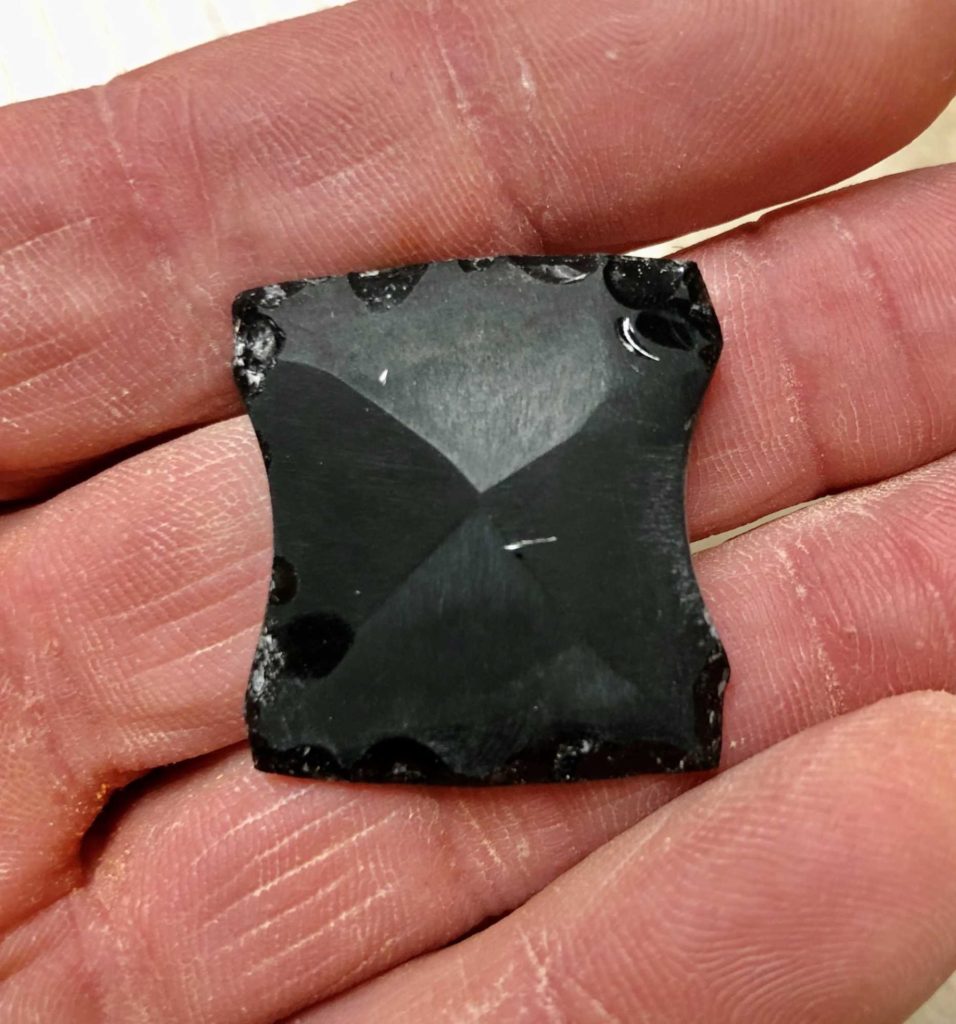
The final flaking step is to create wide, shallow notches on each side. Be careful to make these as symmetrical as possible—the less grinding you have to do, the better.
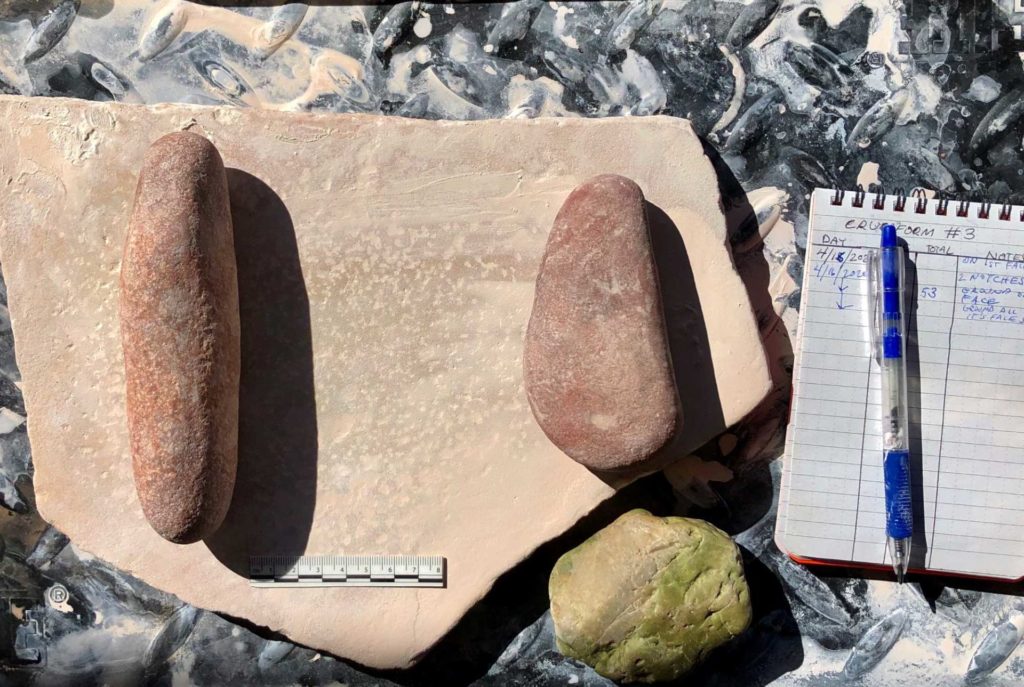
Here are my grinding tools.
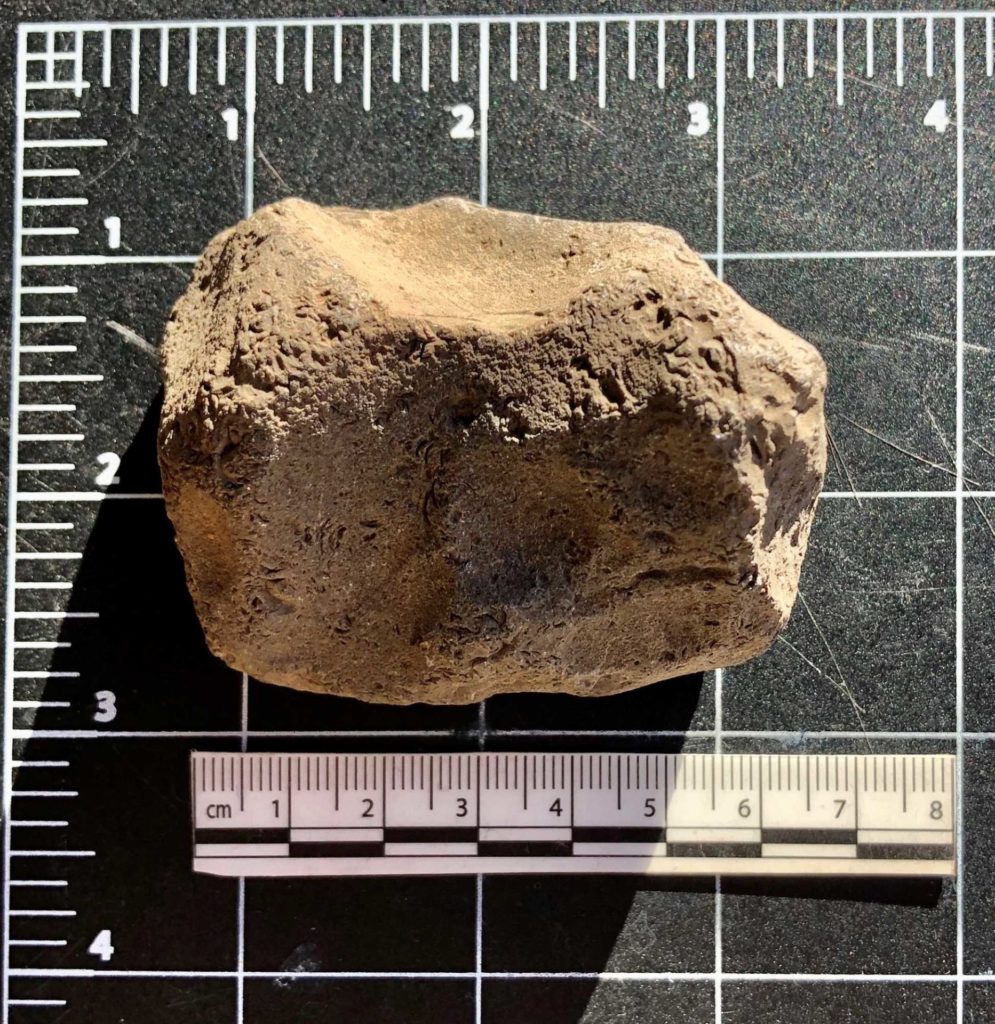
Ancient cruciforms often have grinding facets (ground surfaces) that show the grinding strategy used by the maker. I tried to follow the same pattern as the Los Pozos example in the quartz replica.
I started out by grinding on a slightly softer piece of sandstone slab but found it was difficult to see the facets. I switched to a larger, harder slab, and that fixed the problem. I also think it sped up the grinding process. This slab has a very fine grain that does not leave scratches on the cruciform. The drawback is that the slab needed to be pecked from time to time as the surface slicked off. Stopping to sharpen the slab added time to the process.
After 43 minutes of grinding, most of the shallower flake scars have been ground away. It’s the deeper scars that will take longer to completely remove.
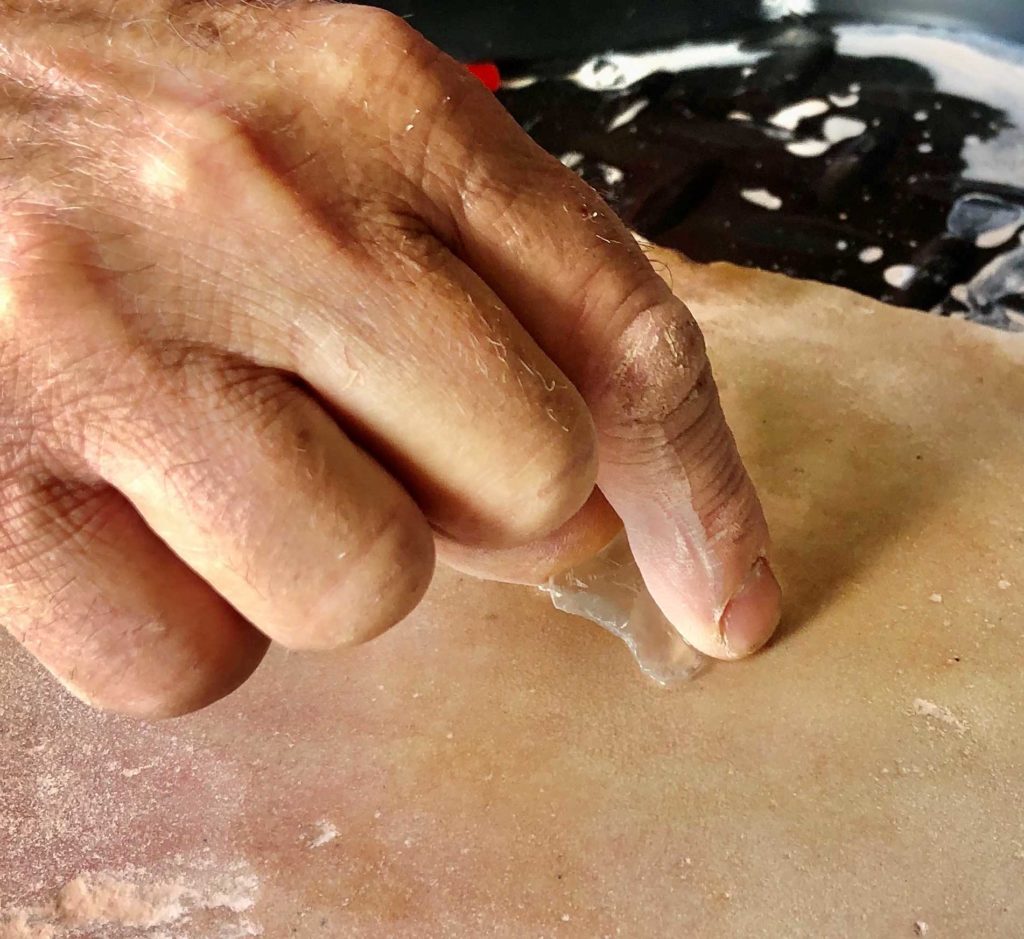
Here I am grinding one of the notches out. This is a long, slow process that requires care—if you push too hard, you can chip the edge. Once a notch is well rounded out, the danger of chipping lessens and you can push harder.
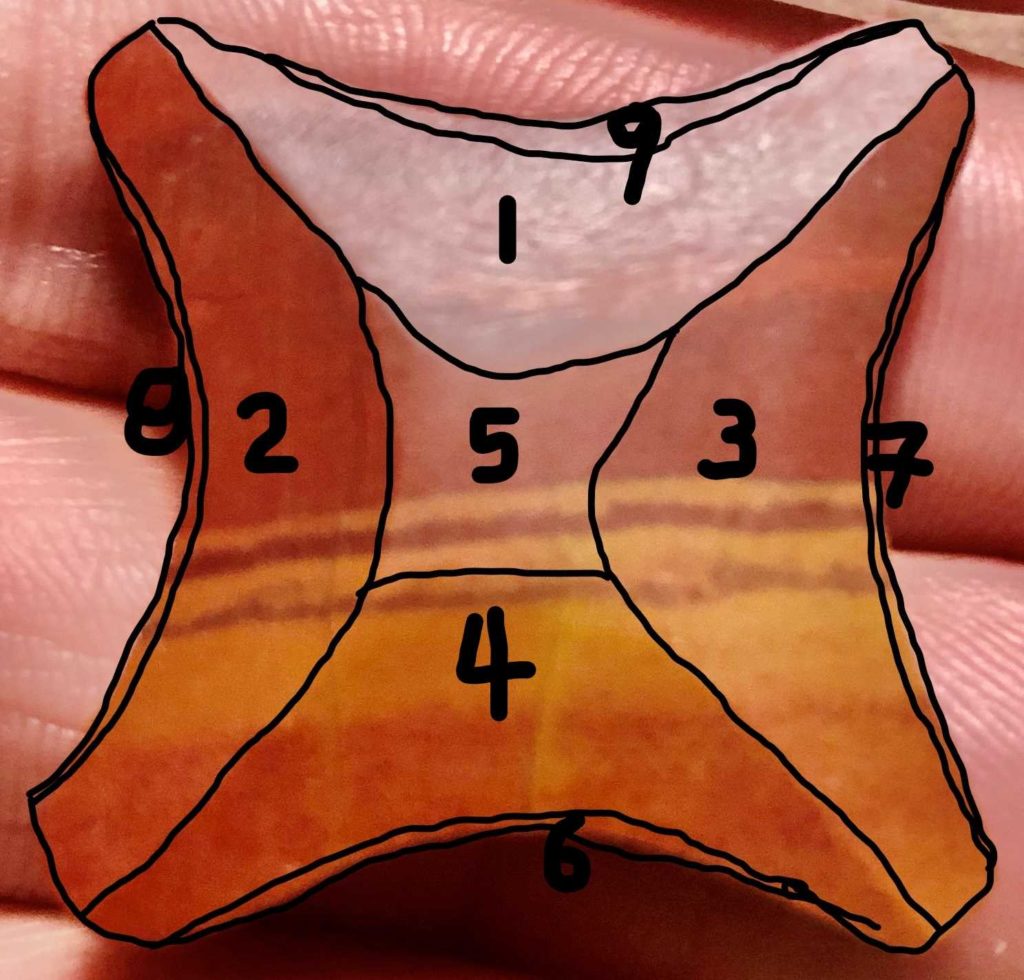
This shows the order in which I like to grind the facets, taken from my earlier jasper replica. Facets 1 through 4 are beveled-off facets between the tines. 5 is the middle; some ancient examples do not have a 5. Facets 6 through 9 are bevels in the notches. On some ancient examples of these are flat, but makers typically rounded them off. They probably created the rounded notches by pressure flaking.
The ends of the tines or ears are also ground.
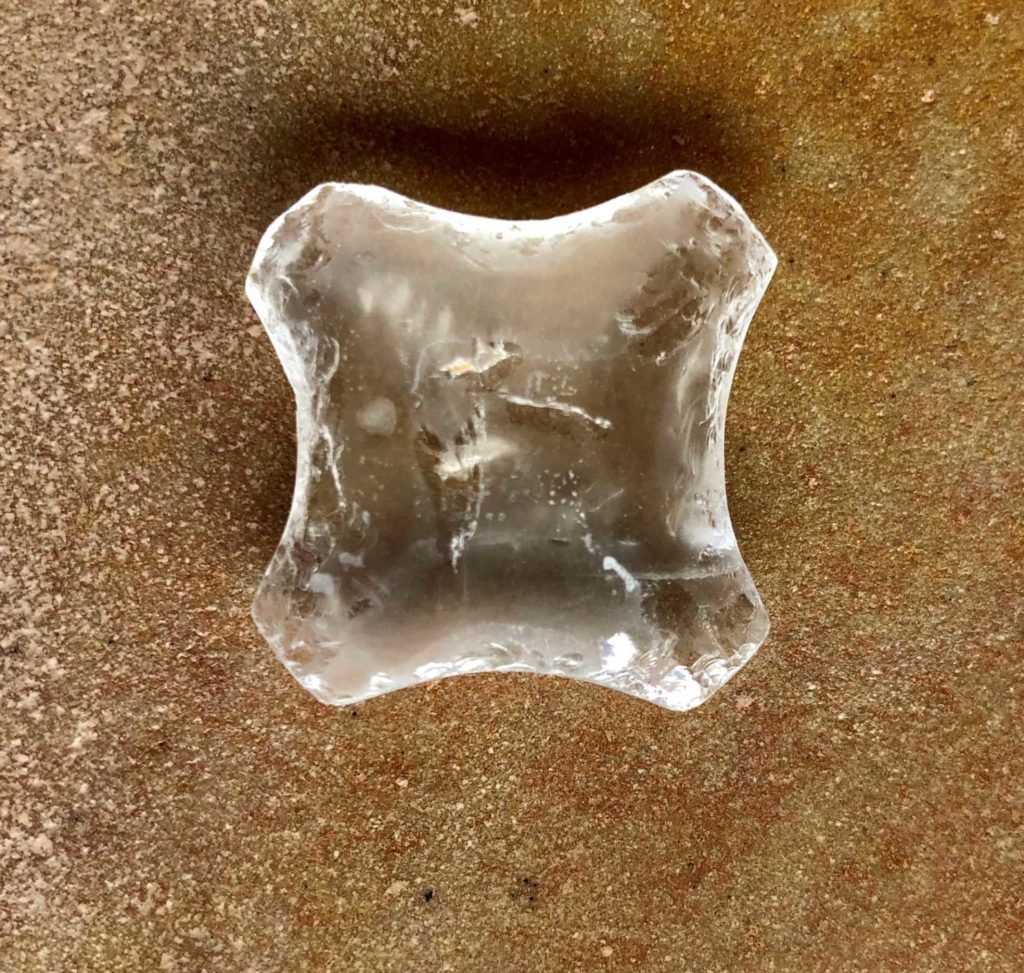
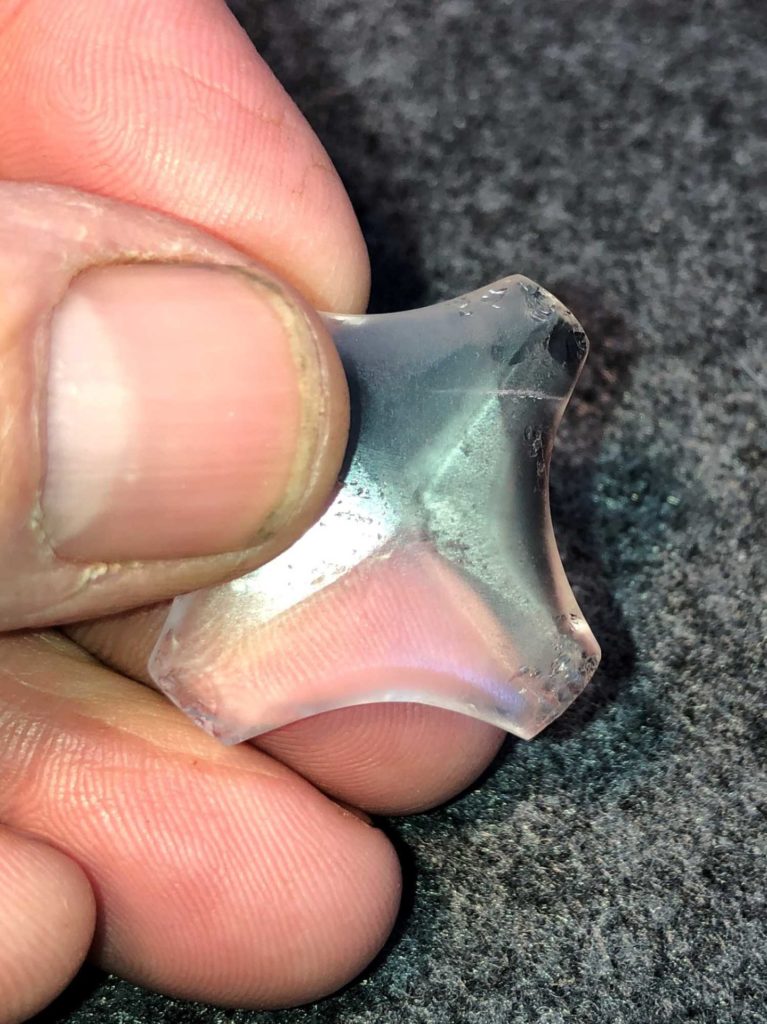
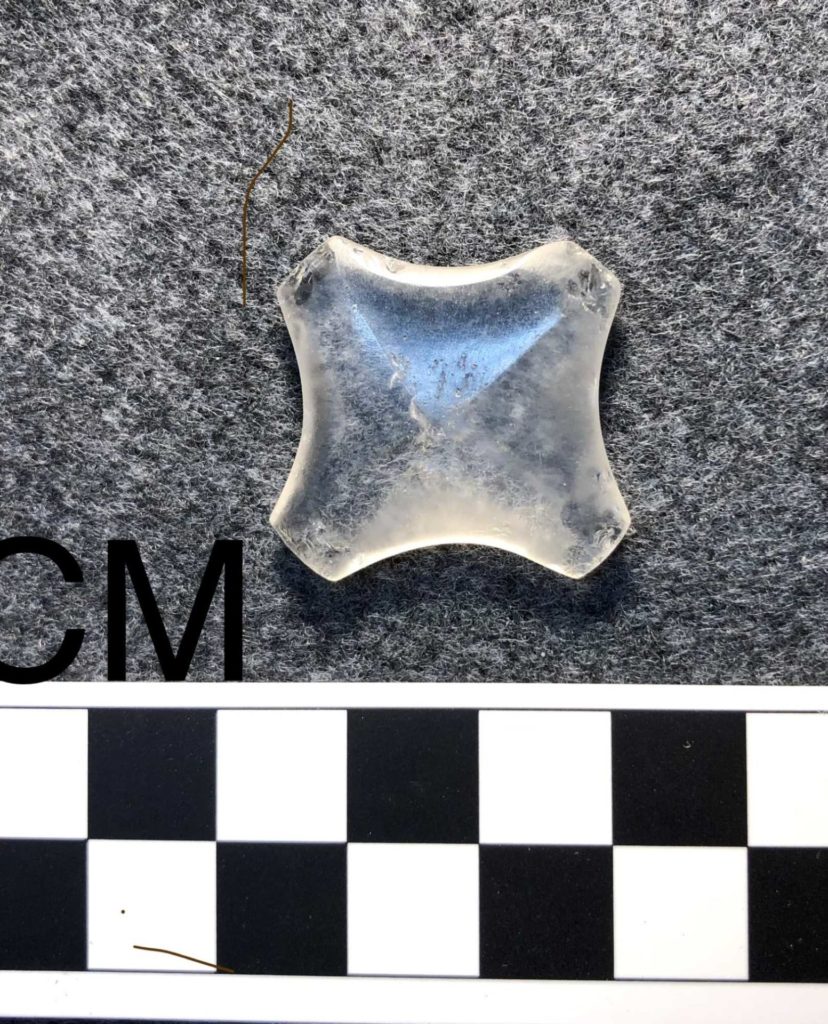
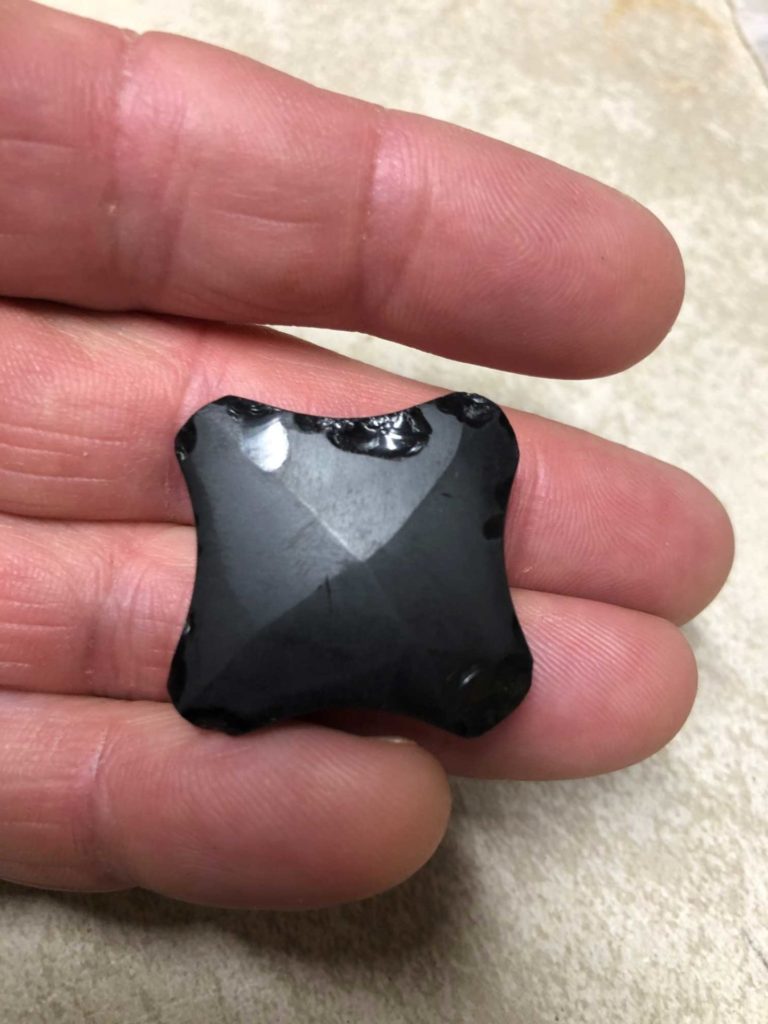
It started to look pretty good at this stage, but there were still flake scar remnants on both faces and in all four notches. The cruciform from Los Pozos was completely ground with no flake scars visible. You can see that the facets were now very striking. Many ancient examples do have remnants of flake scars, but some are completely ground and polished.
When I saw the crack forming, I stopped grinding on the sandstone and began polishing the cruciform by rubbing it on a wet piece of leather.
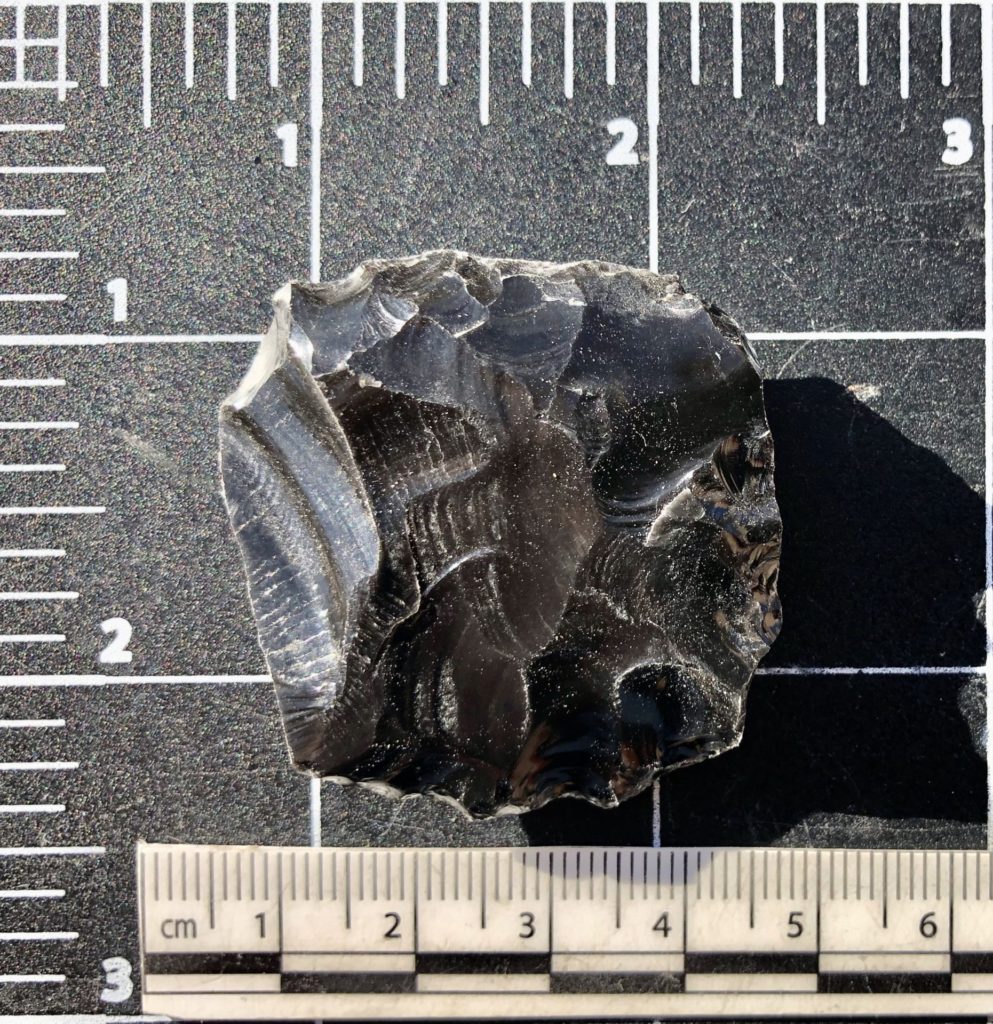
Now, on to the obsidian…
Here is the preform prior to pressure flaking.
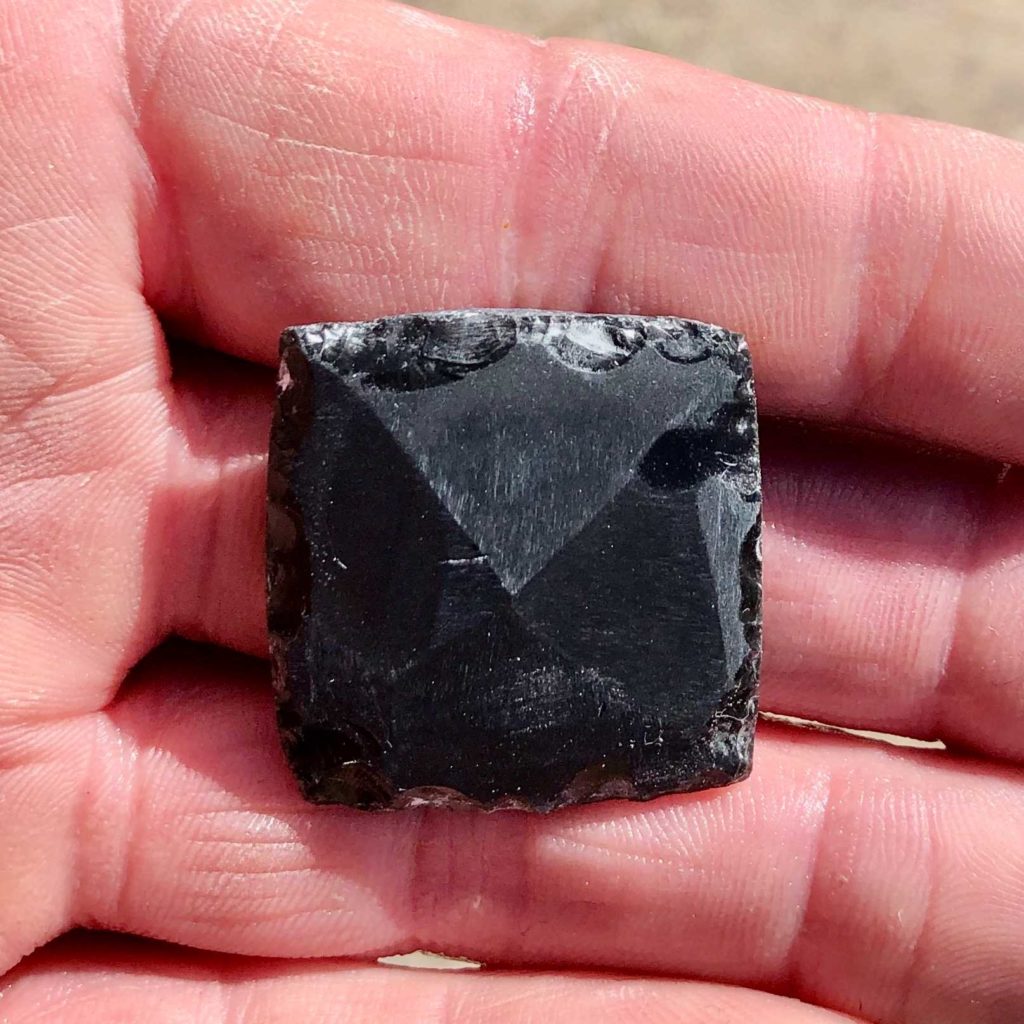
Here I have ground away most of the flake scars.
I decided to grind out the notches instead of flaking them for this cruciform. This creates a flat notch cross-section instead of a rounded one. The flat notch is present on some known ancient examples.
The problem with doing it this way is that now I can’t directly compare the total grinding time between the two replicas.
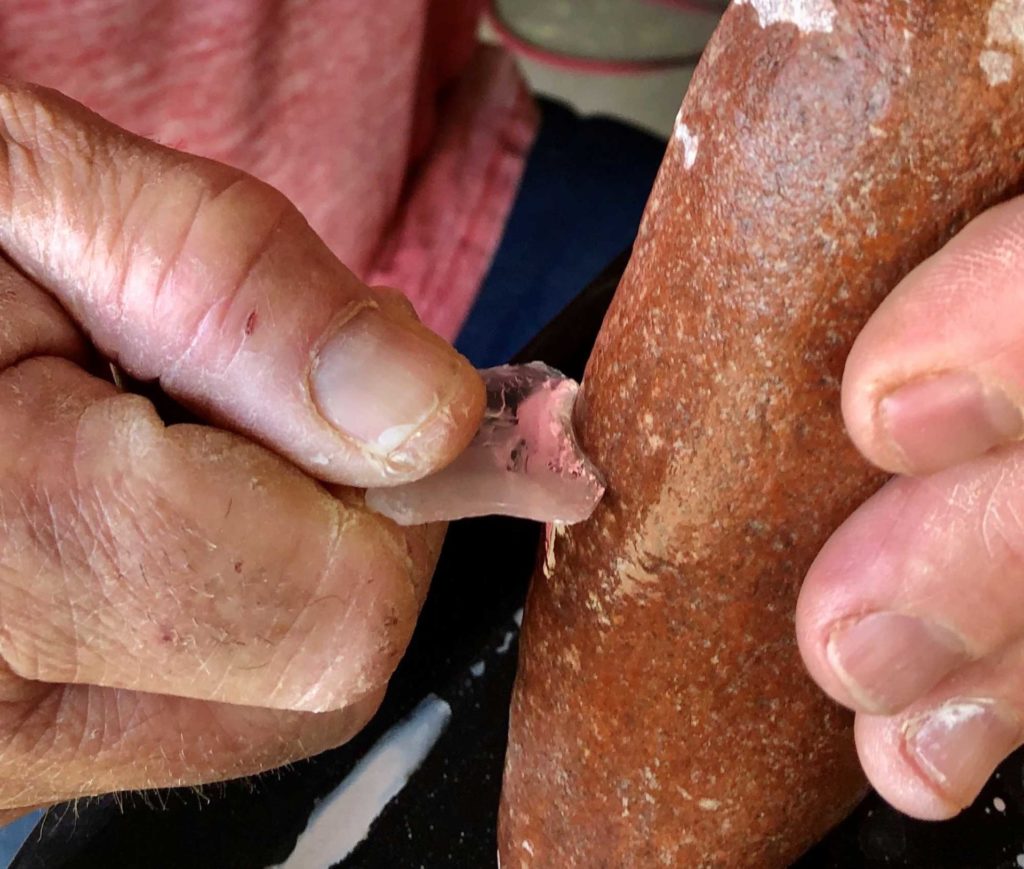
Here you can see my progress on two of the notches. With the other example, I was able to flake the notches in about 5 minutes. Grinding the notches is a much slower process, but flaking the notches makes it much more difficult to create that squared-off notch style.
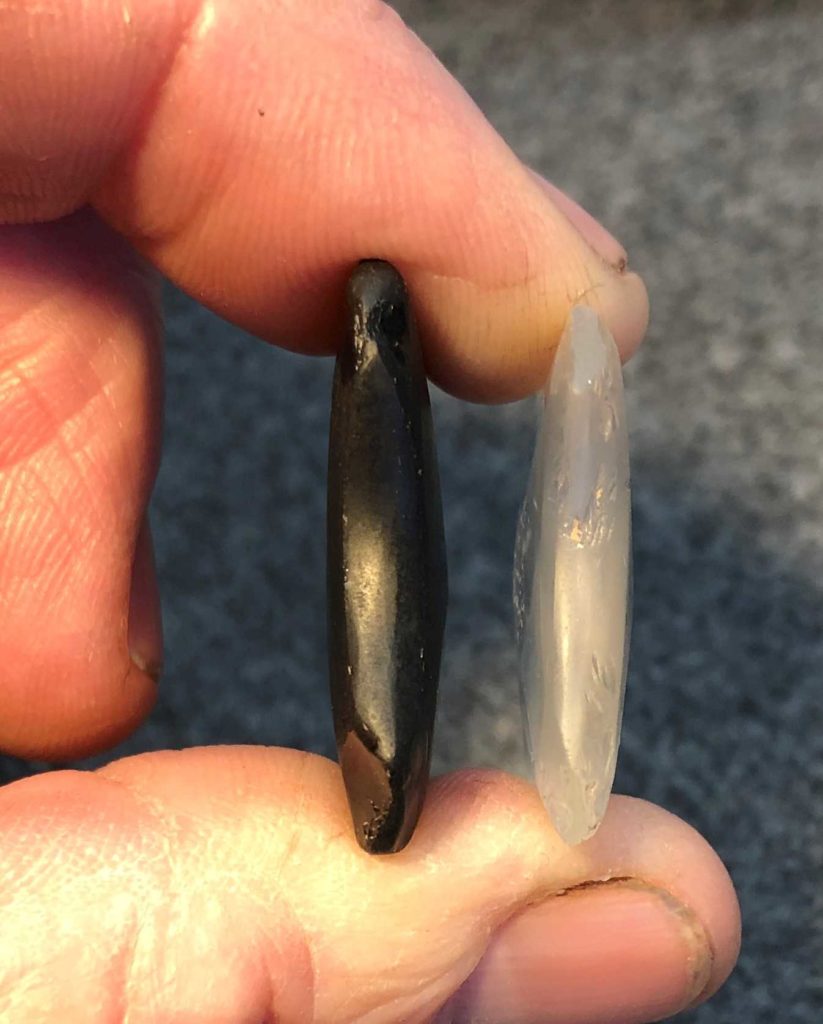
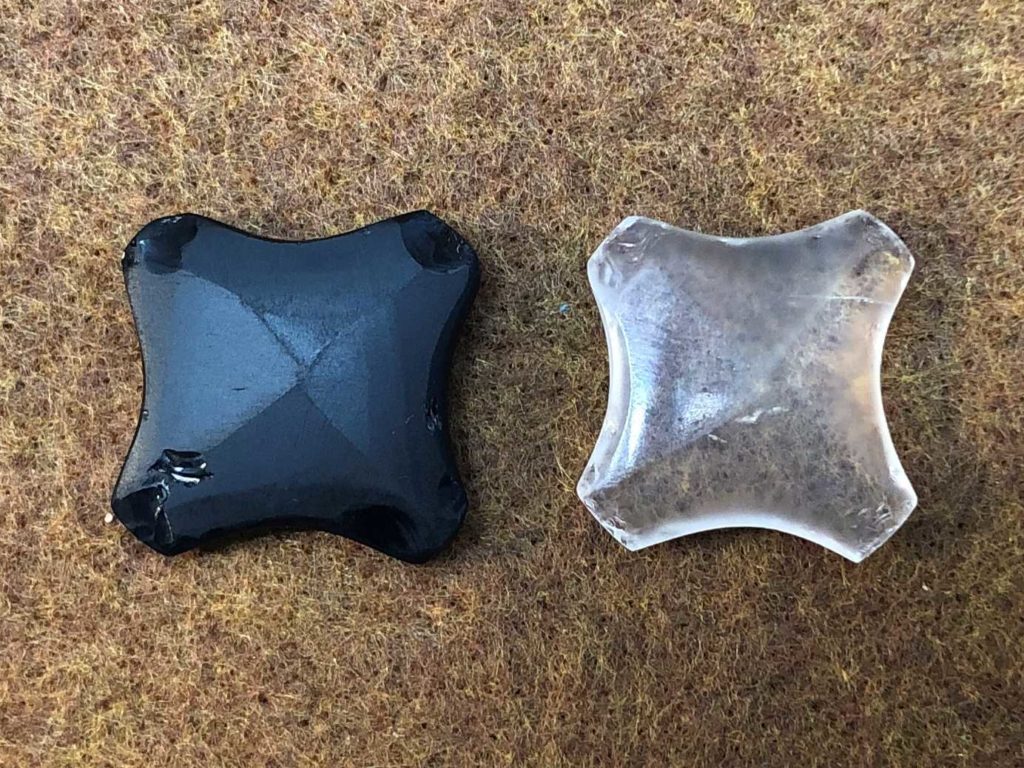
Here is a side view of the two cruciforms. Six hours of grinding have gone into the obsidian one, and four hours have gone into the quartz crystal one. It’s clear that pressure flaking the notches speeds up the process.
4 thoughts on “Hands-On Archaeology: How to Make a Cruciform”
Comments are closed.
Very cool!
All I can say is WOW! Great work!
Beautiful and interesting, especially the combination of flaking and grinding necessary to make the piece. (But the Santa Cruz jasper is my favorite, even without seeing the steps you took How did that rate (approximately) in difficulty and time?)
I would say it was pretty much the same as the Quartz crystal. It’s really hard to find a piece of that jasper that’s solid enough to flake. The trick is just having the patience to sit there and grind for hours.