
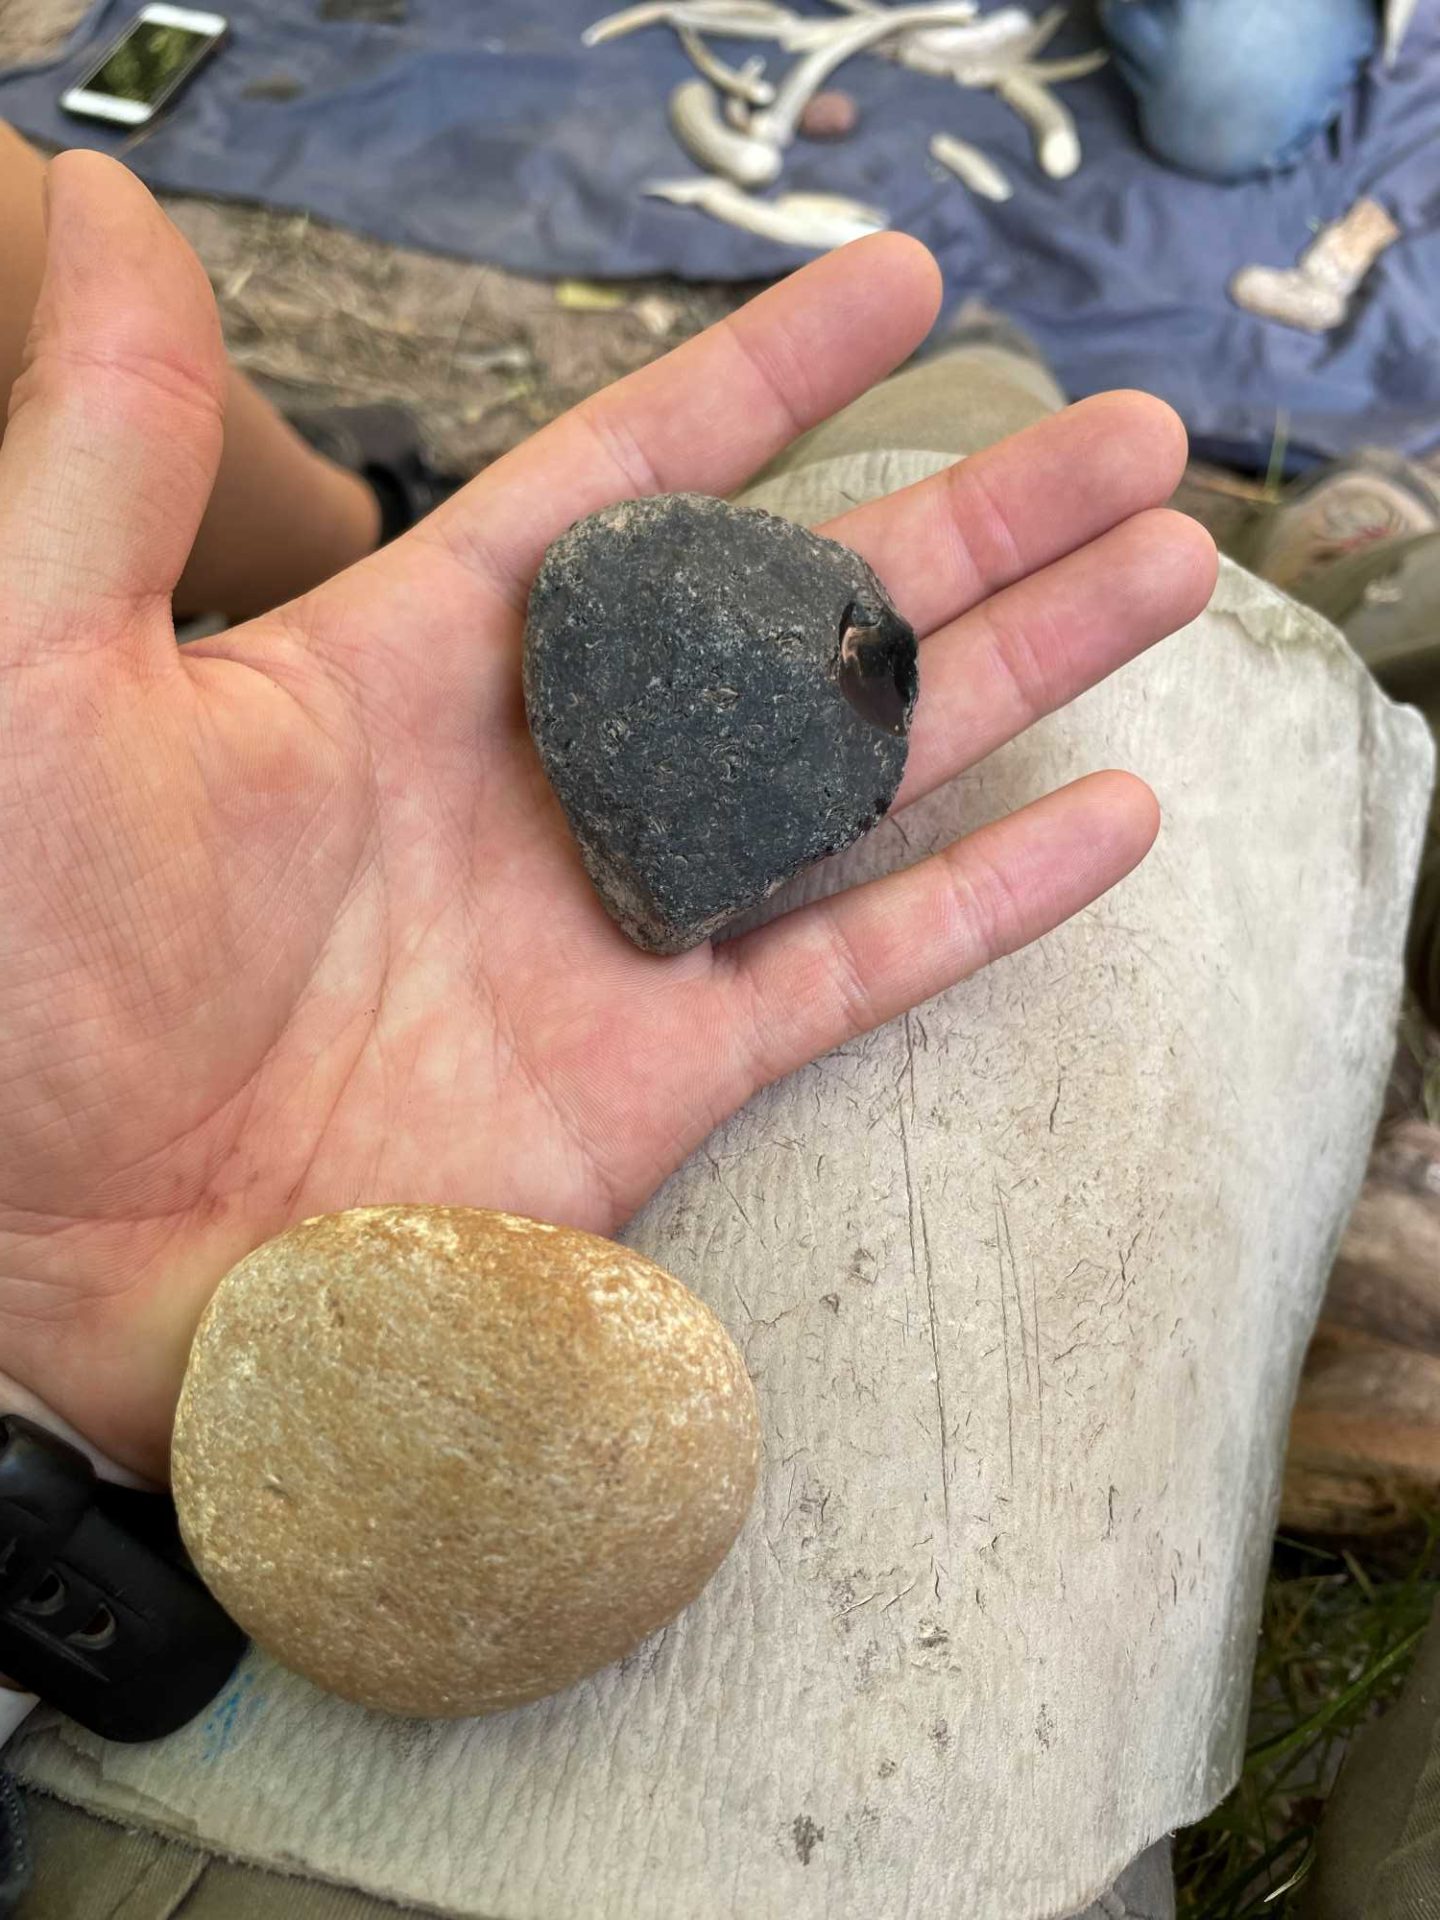
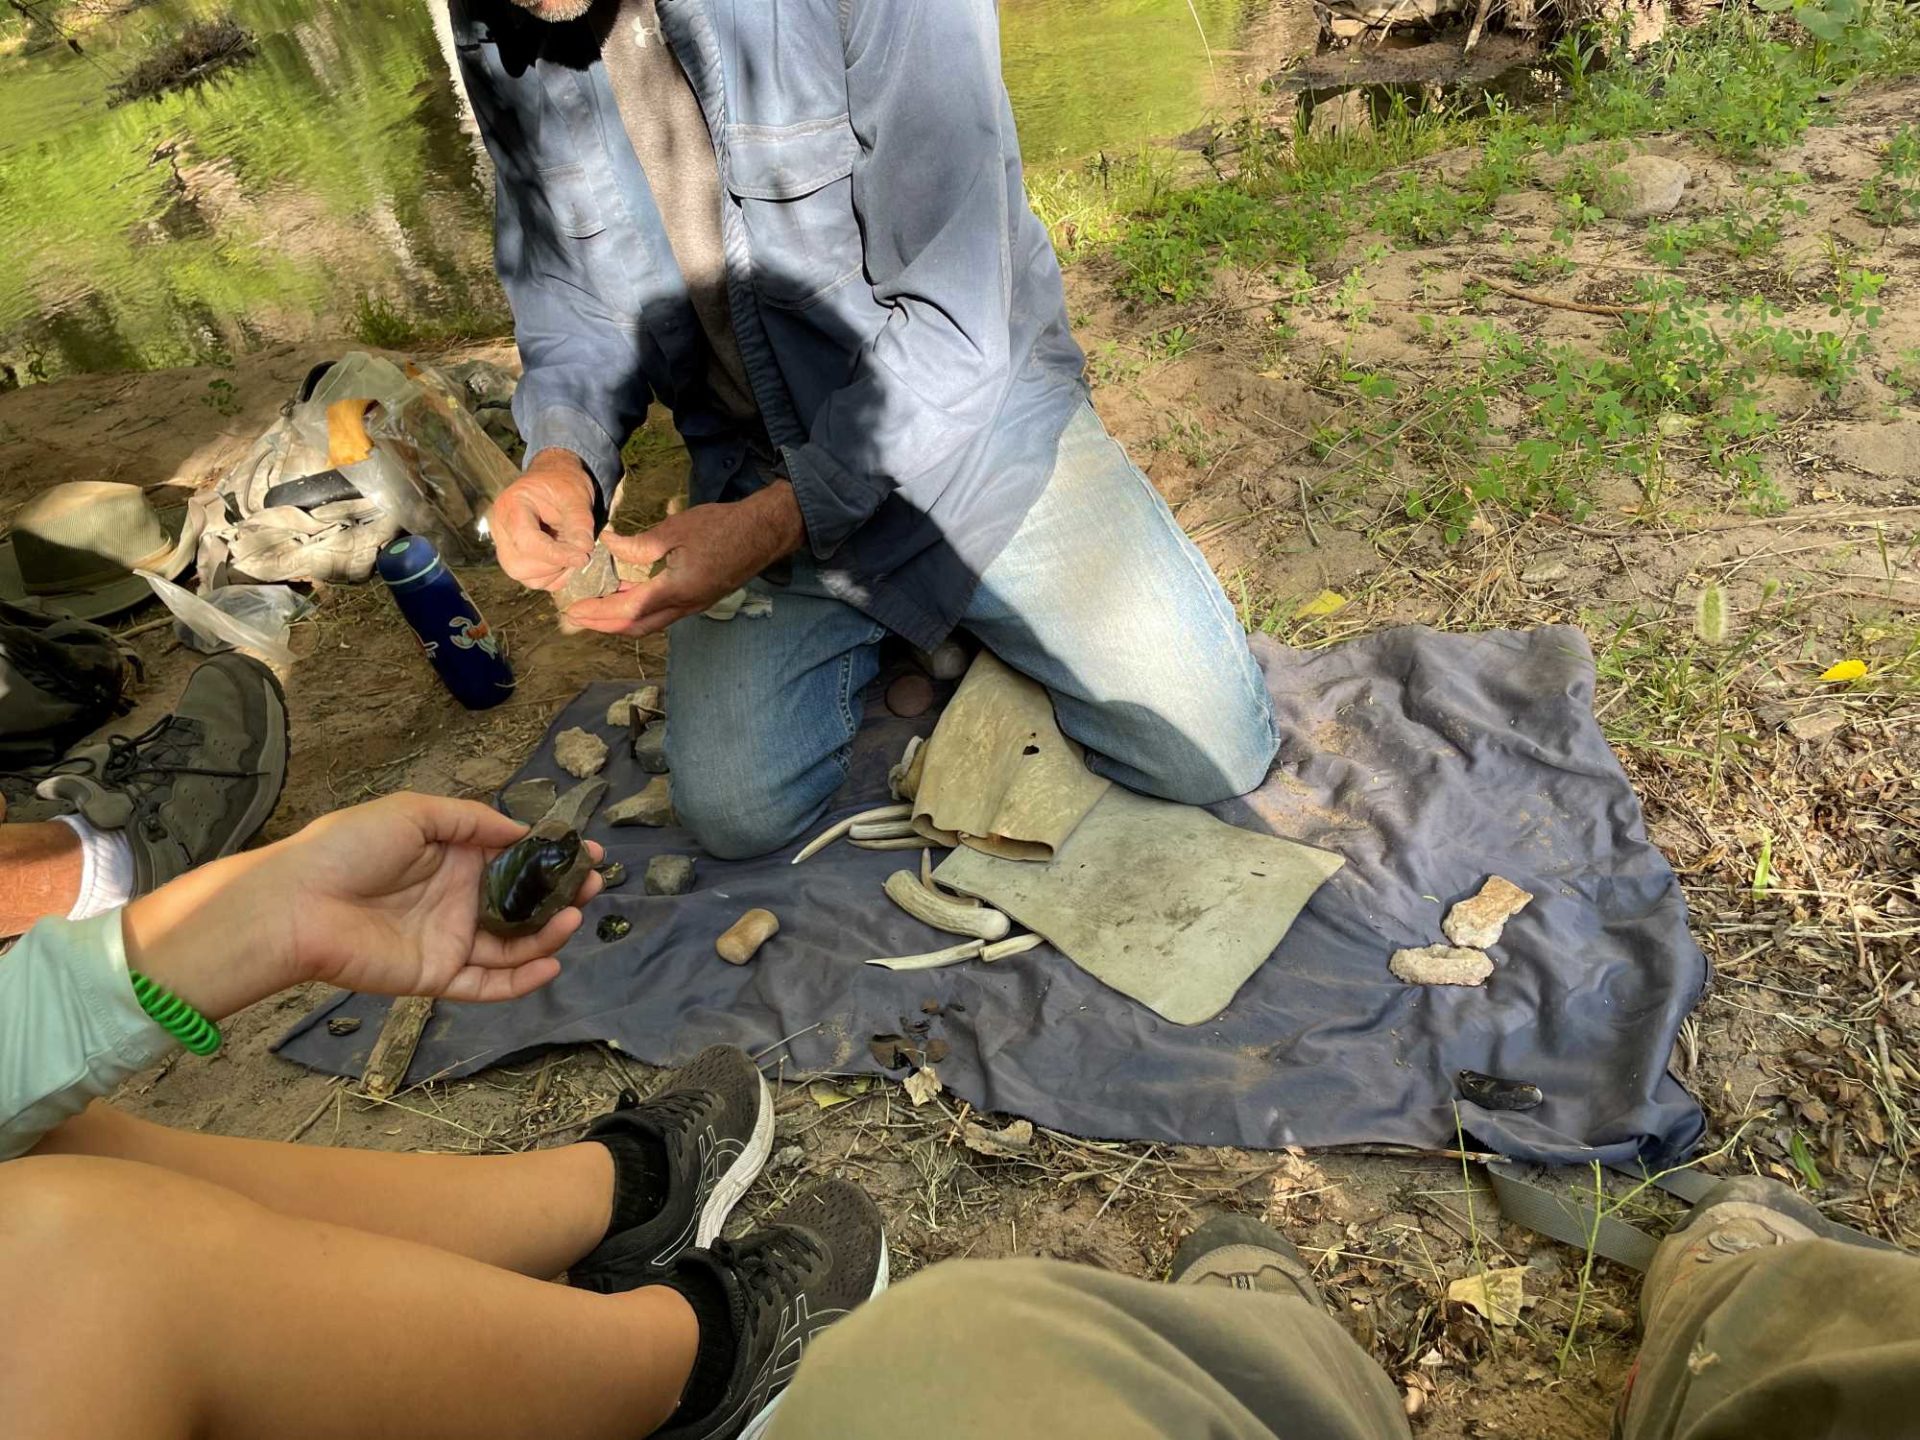
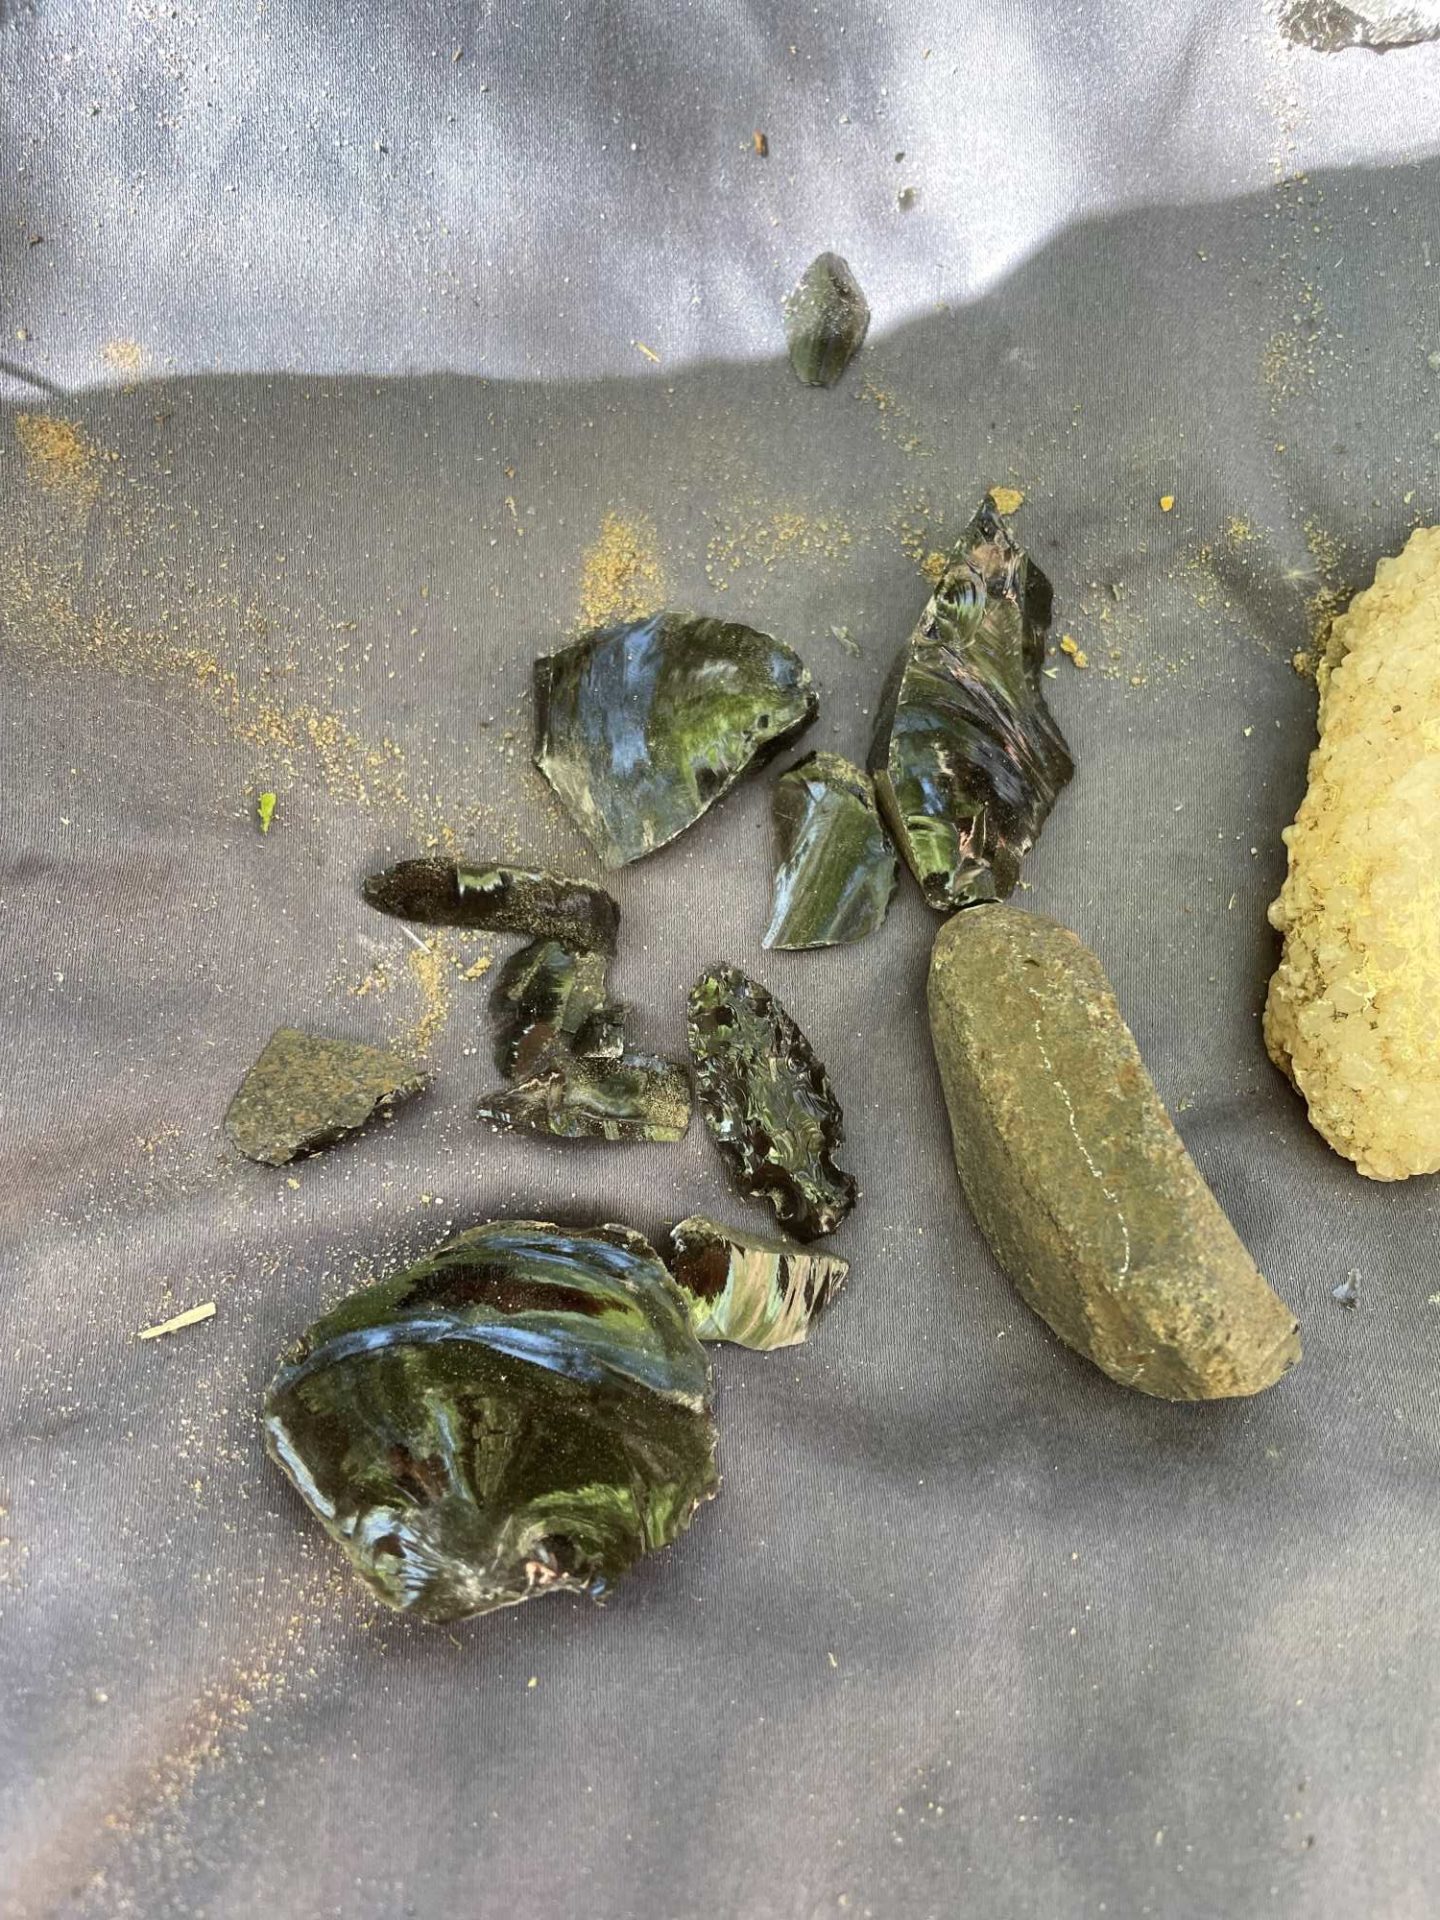
(June 29, 2022)—Today [6/10/22] was my first day of experimental archaeology with Allen Denoyer, along with Aleesha and Tots. After a short, steep hike down to the San Francisco River, we sat on the bank and Allen began to show us the basics of flintknapping.
First, we selected our hammerstone and obsidian nodule from the Mule Creek source and looked for a good platform to strike the first flake. The best material for knapping a blade or point would contain a high level of silica, which is what makes up glass and creates sharp edges. Obsidian is volcanic glass.
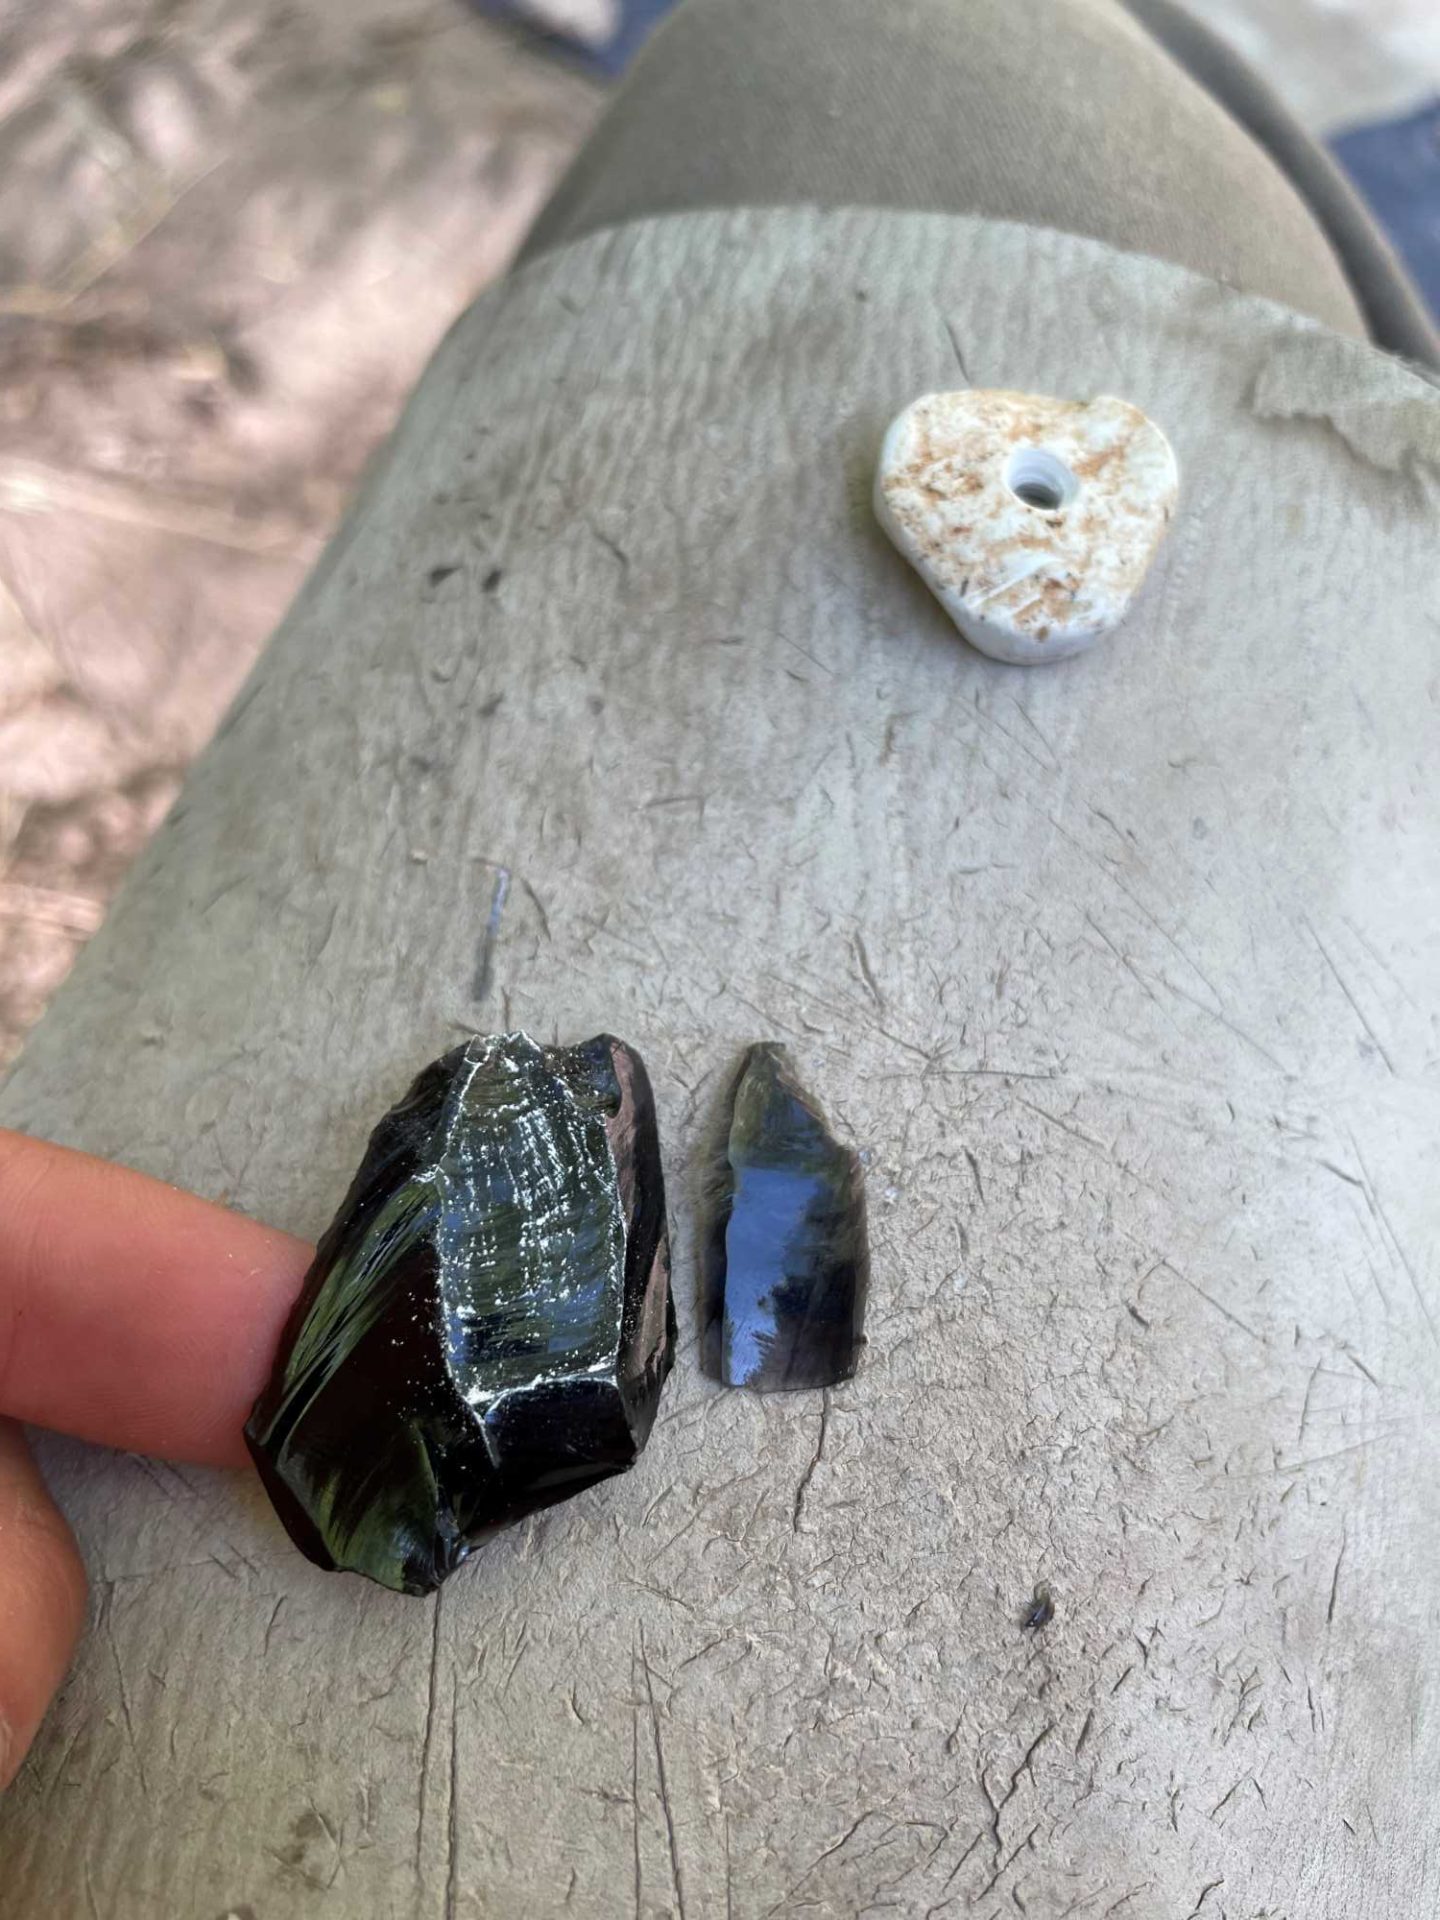
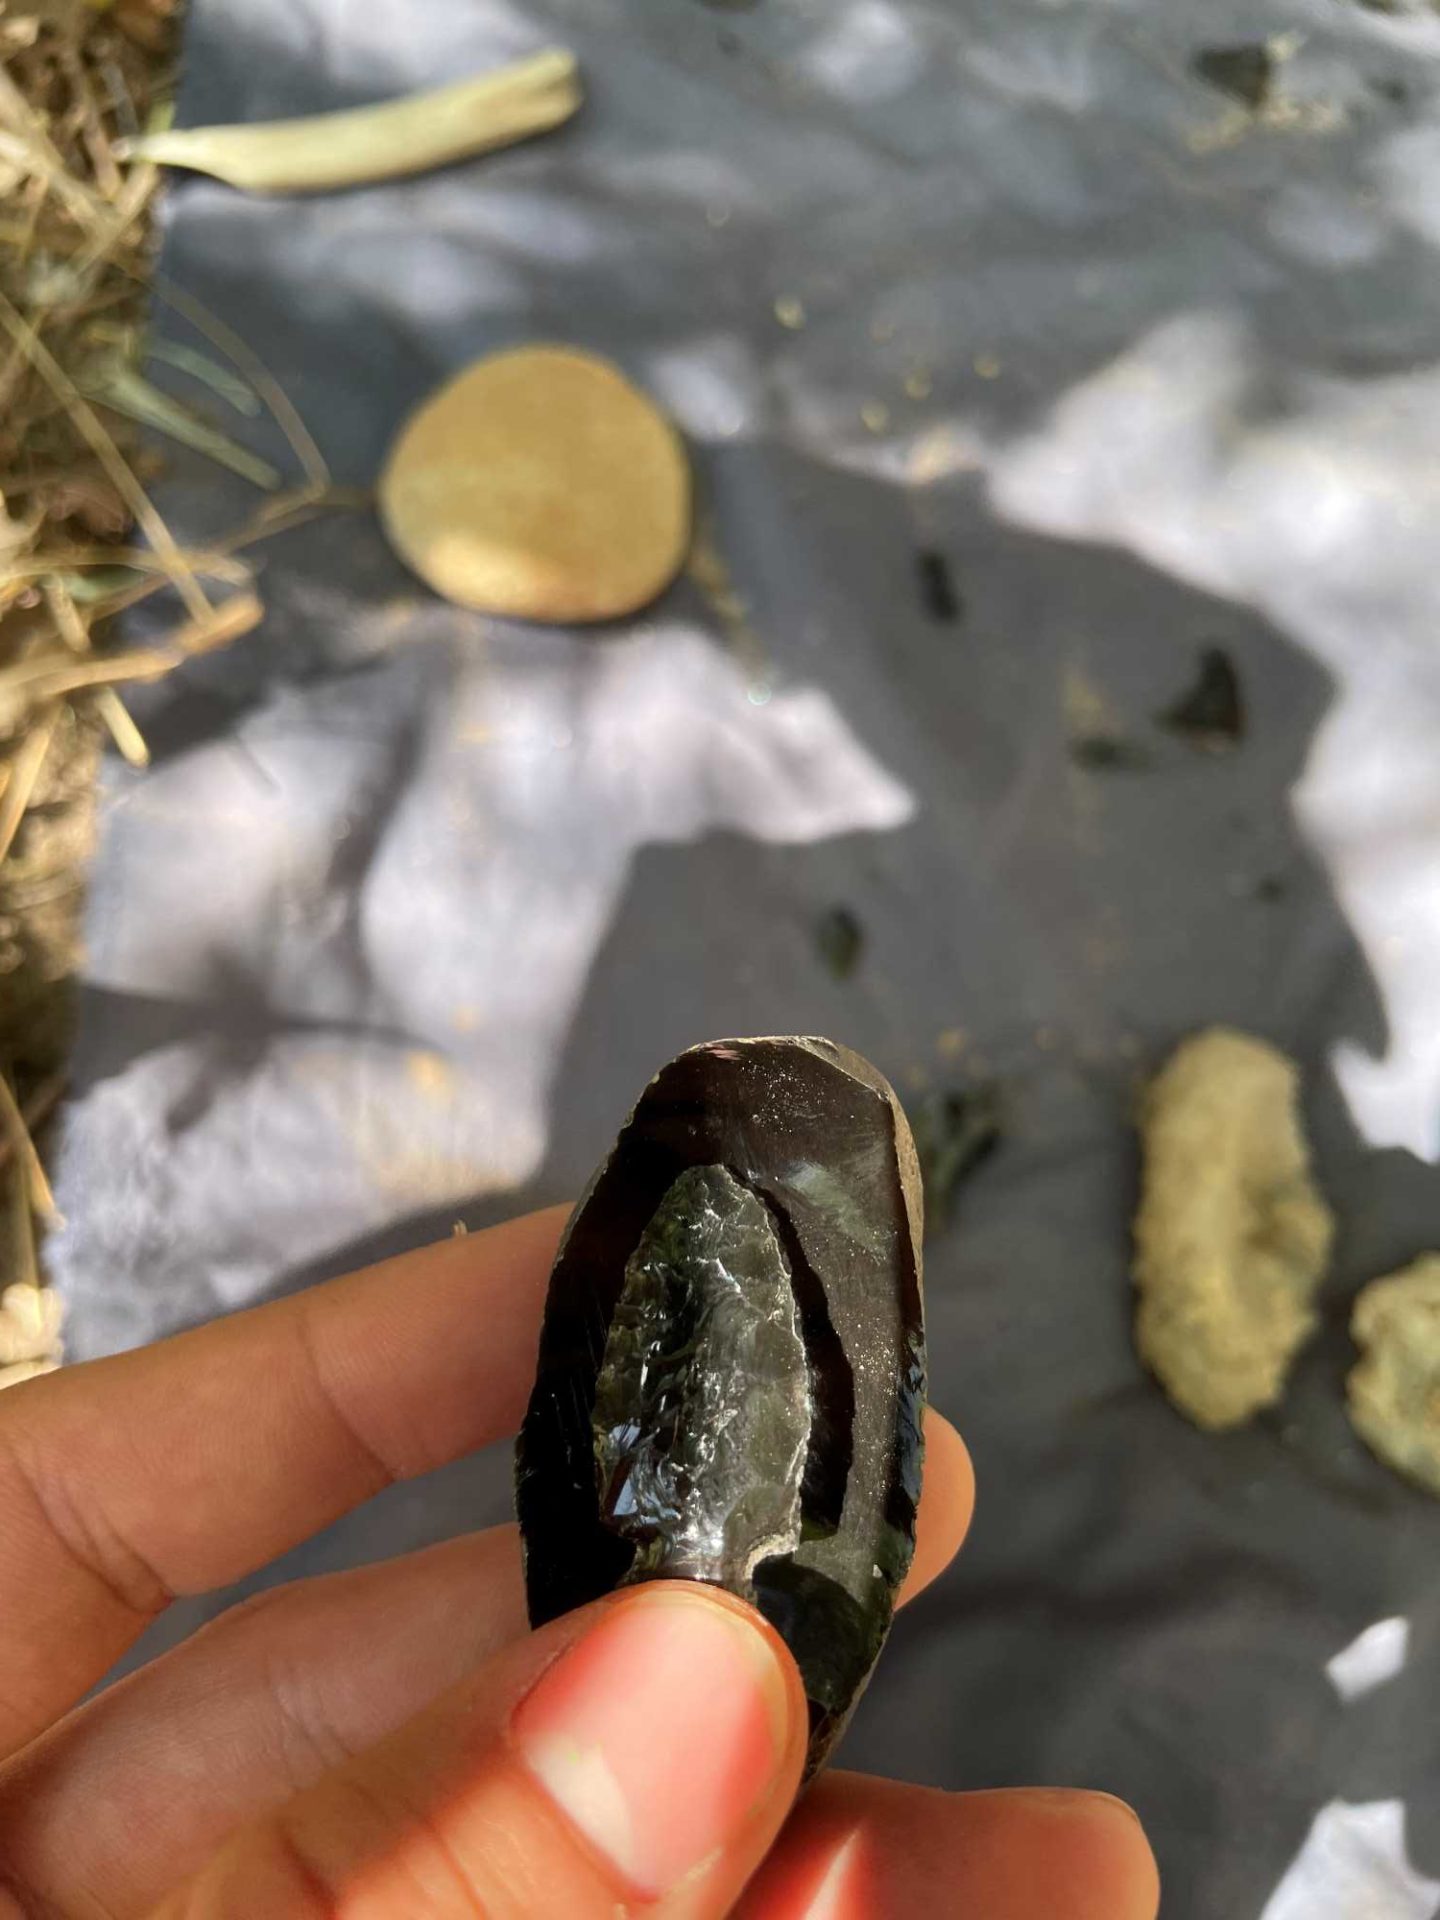
Ideally, Allen explained, you want to strike on a point that is less than 90 degrees to start removing the cortex (outer layer of the cobble) to reveal the pristine black obsidian. Preparing a platform—the striking point for the hammerstone—is essential to getting good flakes across the core of the nodule. This is done by rubbing down the edges to dull it so it does not crush when struck. The key is to try to control the energy that is transferred from your arm into the nodule/flake, making a bulb of percussion that is seen as waves across the stone.
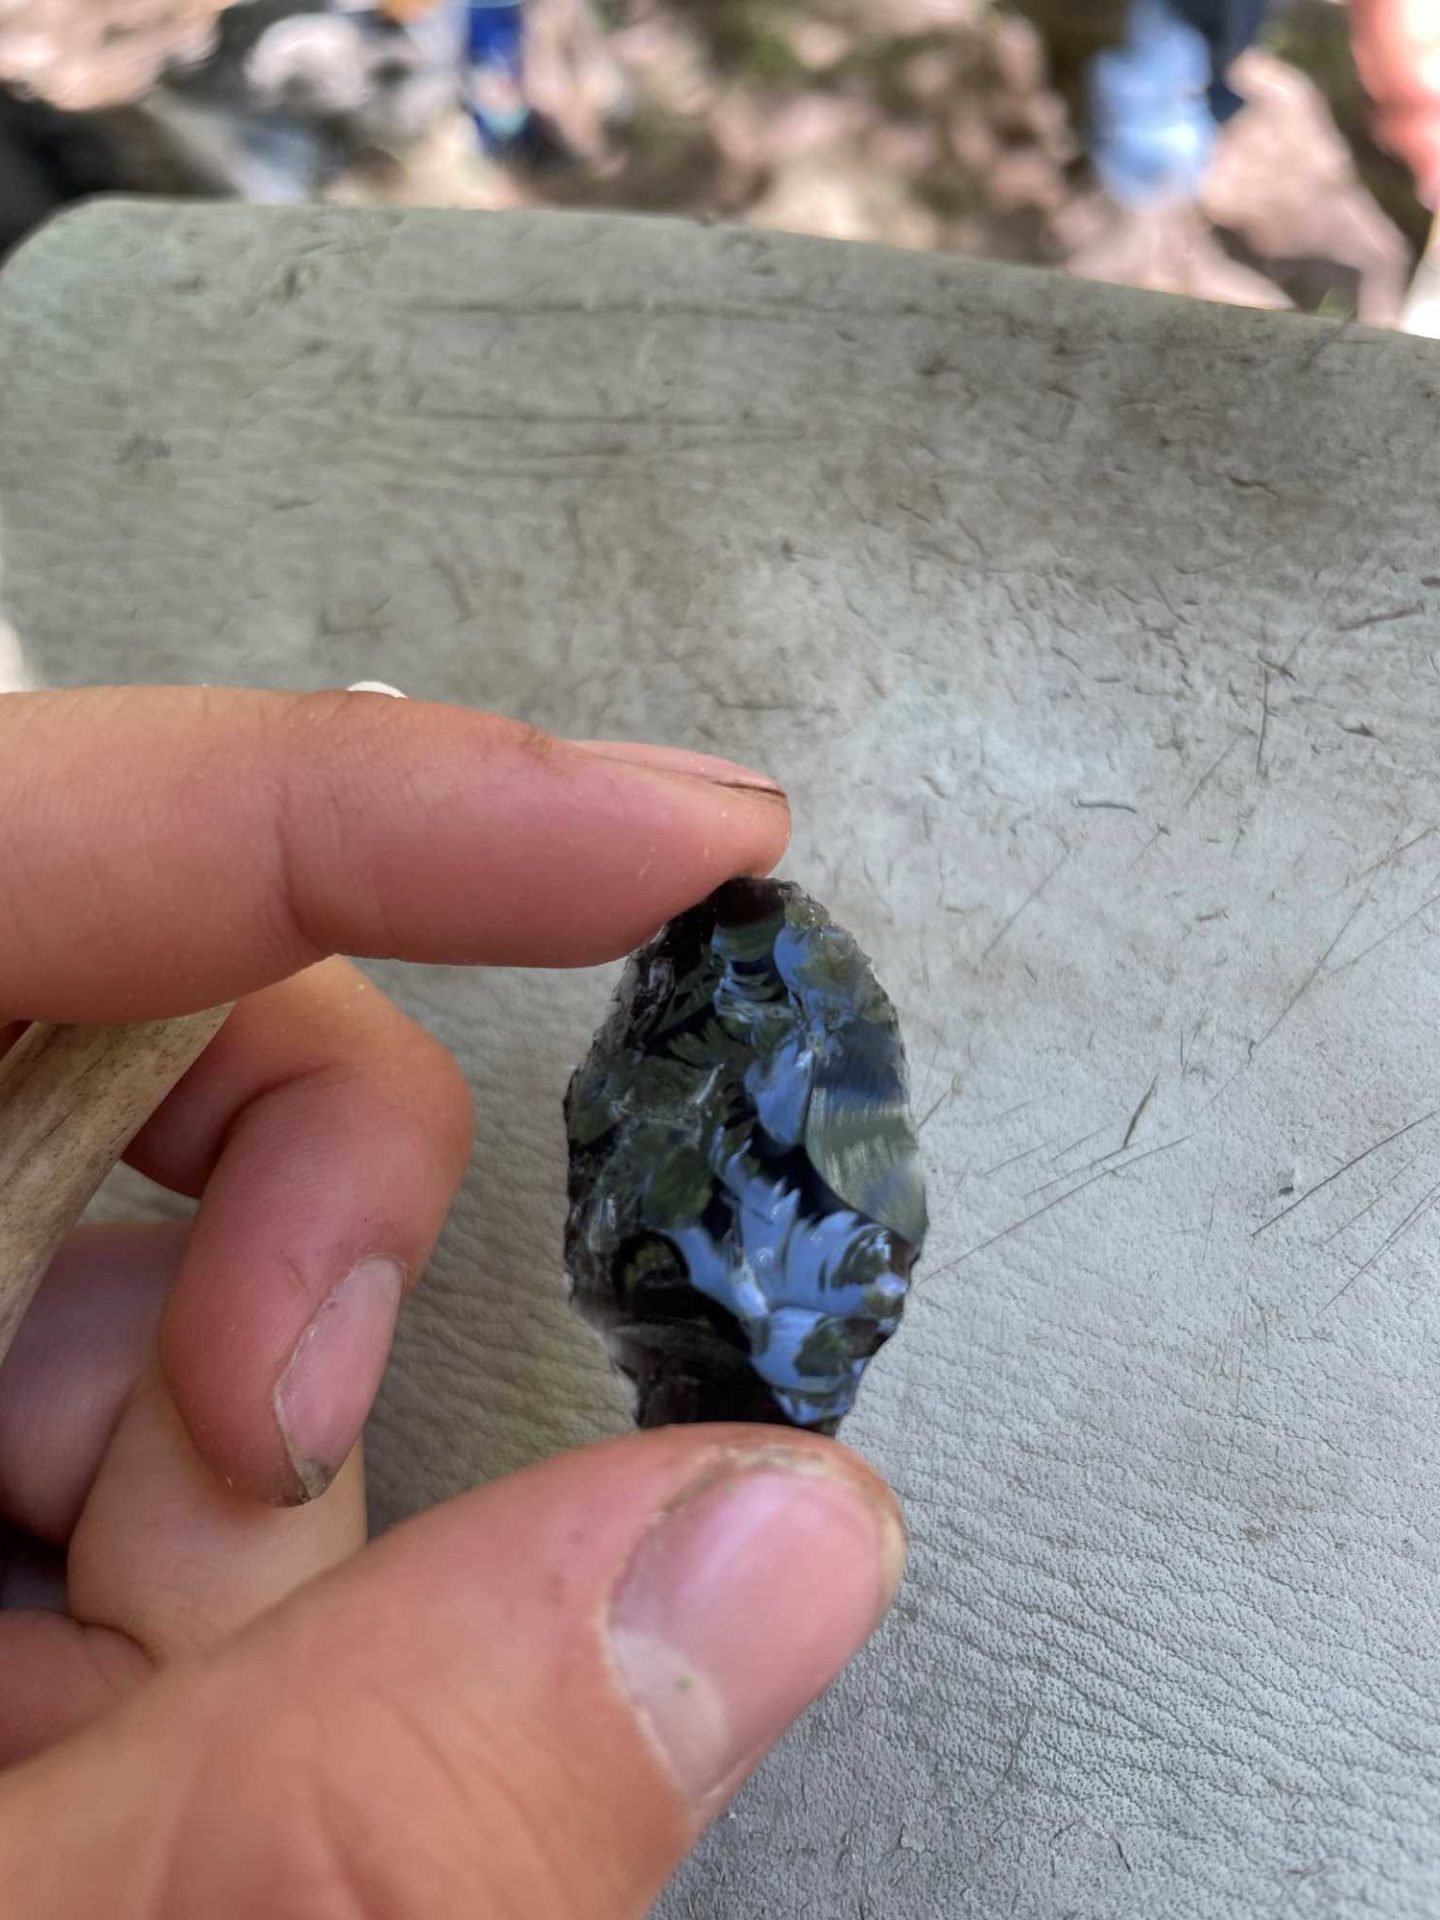
With a good platform to strike, you can flake off a nice thin piece that will be ready to start pressure flaking with an antler tine. Not every flake will come off perfectly, and many will have humps and ridges that can be taken down with a billet made from the base of an antler. Once the flake is thinned down enough, the billet is used to form the basic shape of the point by beveling the edge to ready it for pressure flaking. A tine made from the distal end of an antler is the ideal tool for removing small pressure flakes that create the final shape of the point. You can then use the tine to make a sharp and/or serrated edge.
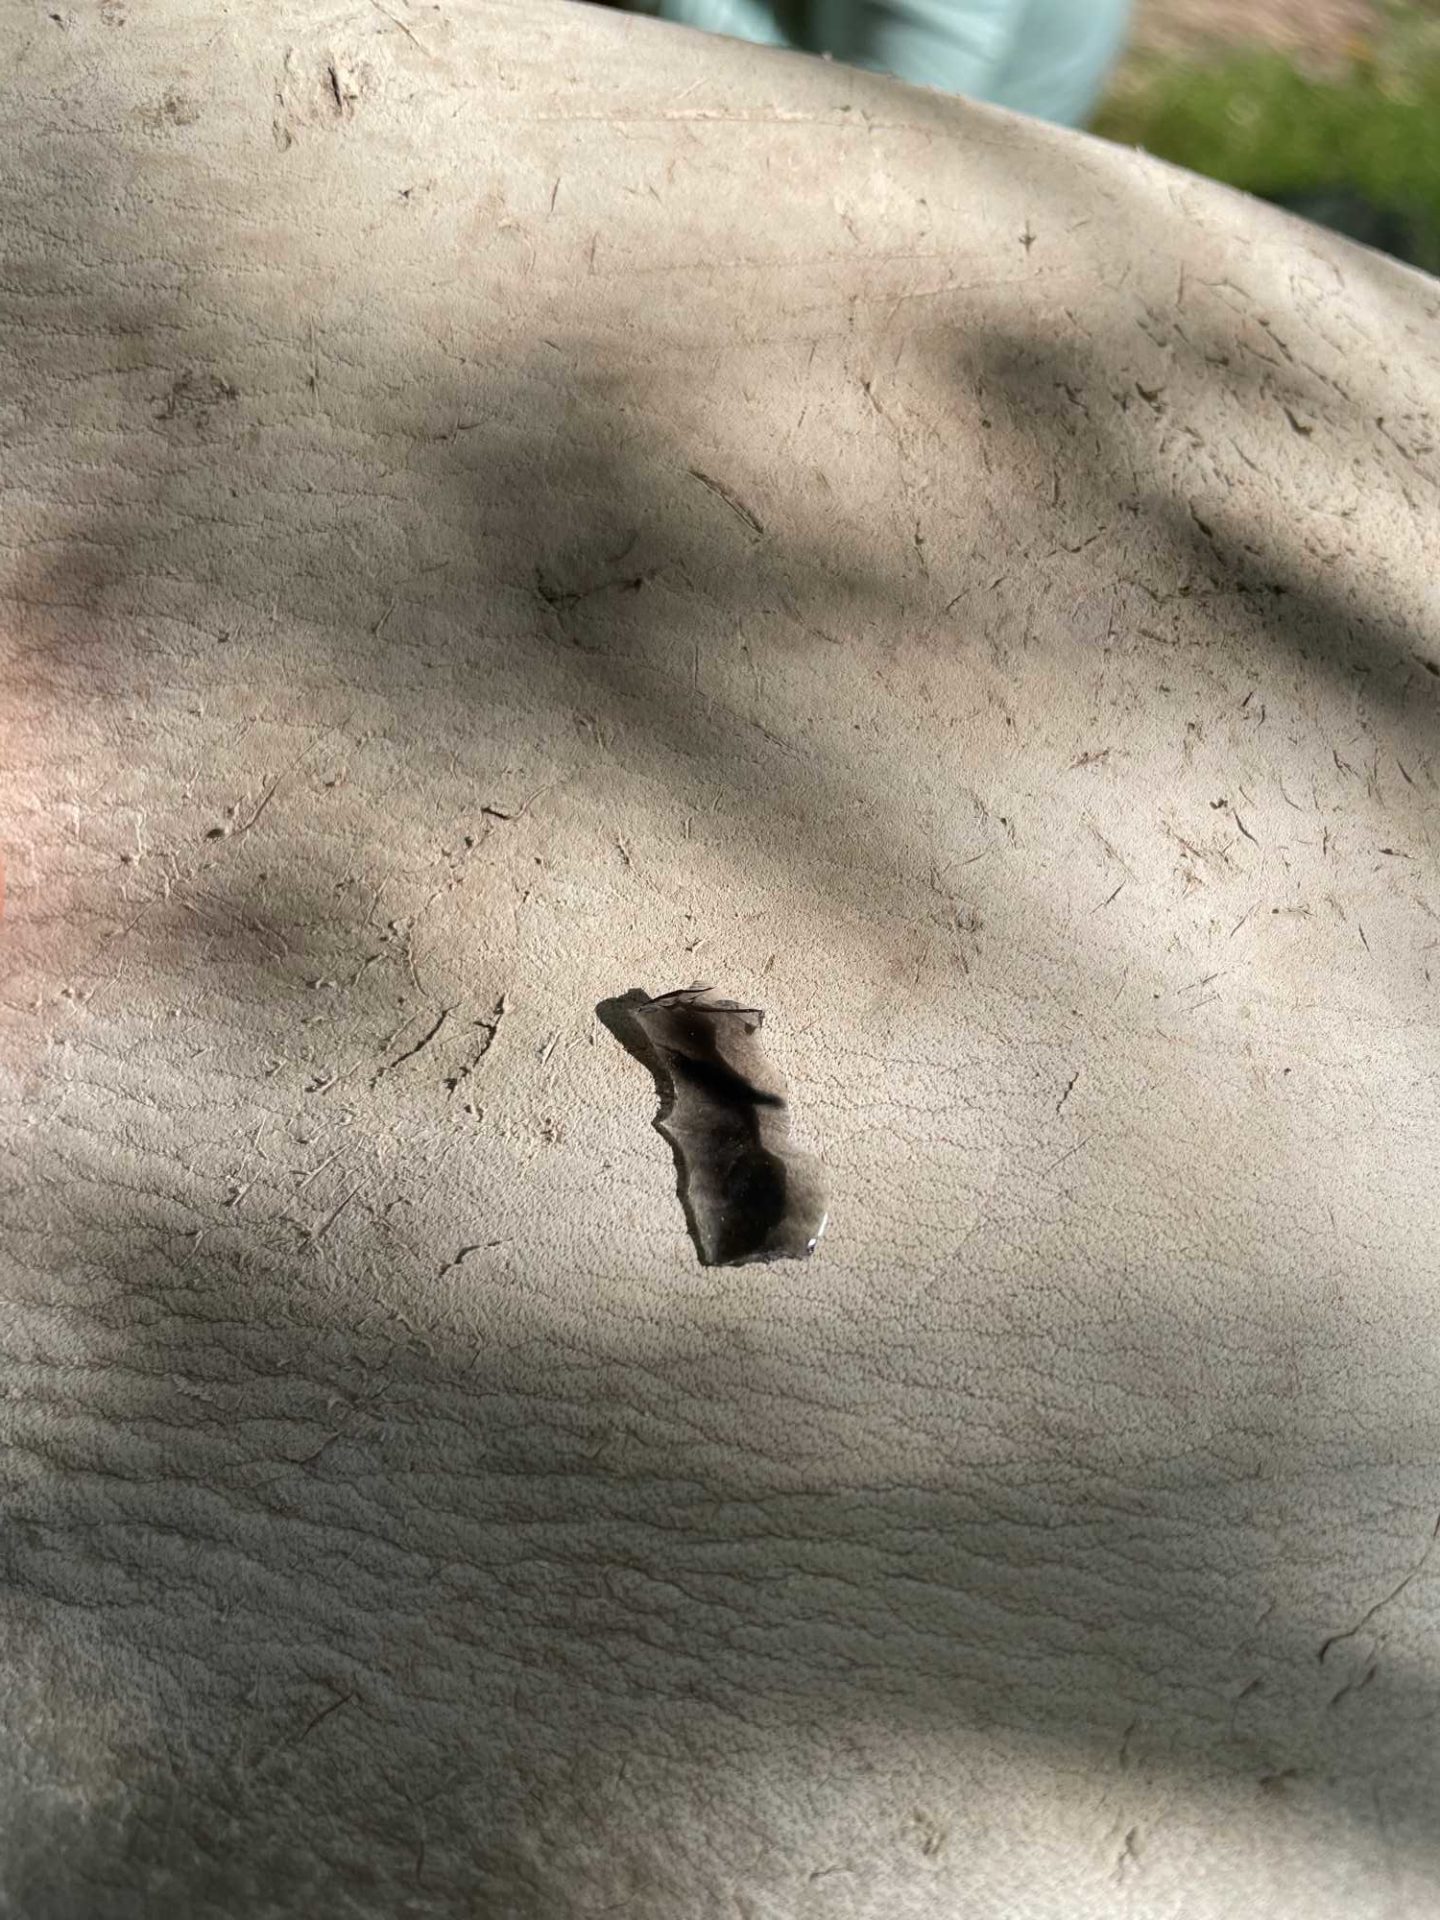
After the point is finished, a notching tool—also made from antler—is used to create various styles of notching, such as corner or side, or a combination of both. The notcher can also be used on the edge to flake out even tinier flakes to achieve nice serrated edges.
Once the point is to shape, sharpened, and notched, it is ready to be hafted onto a shaft or handle using pine pitch or lack from creosote.
One thought on “Knapping by the River”
Comments are closed.
Nice work! You have the best teacher.