
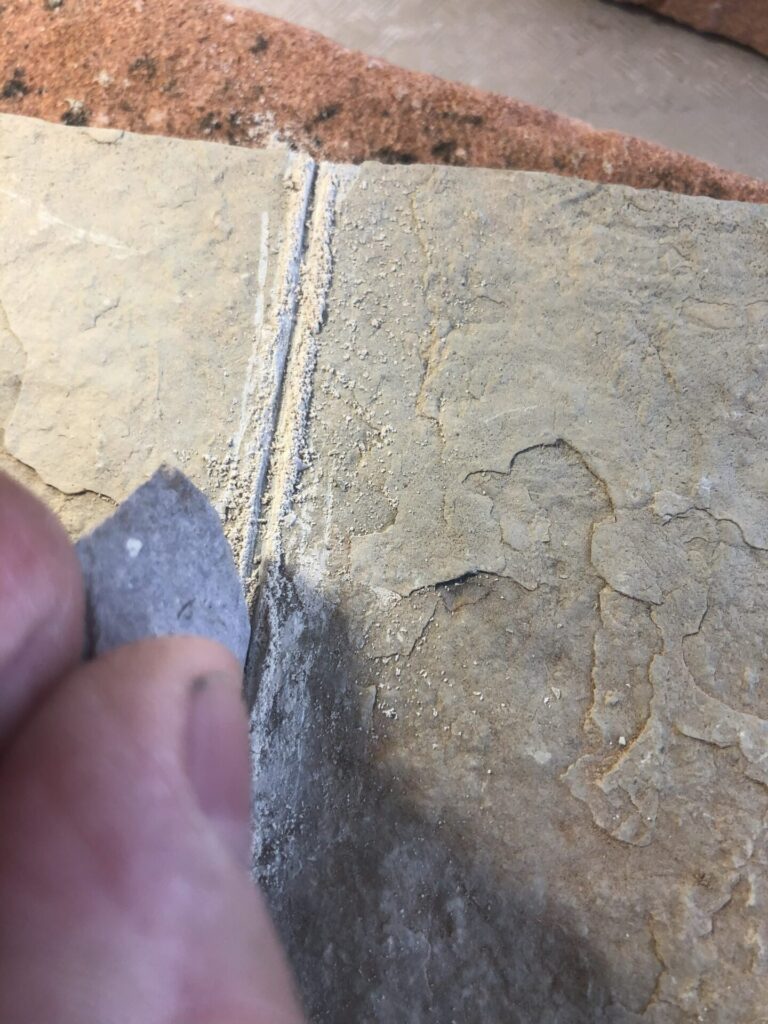
(January 8, 2024)—In today’s post, I’ll show you how to make a simple agave-processing tool. Although archaeologists generally call these “tabular knives,” experiments indicate that people probably used them more like saws. In her seminal guide to ground stone analysis, Jenny Adams also calls them saws.

Tabular saws are common in Hohokam archaeological sites, and are occasionally found at Mimbres sites, too.
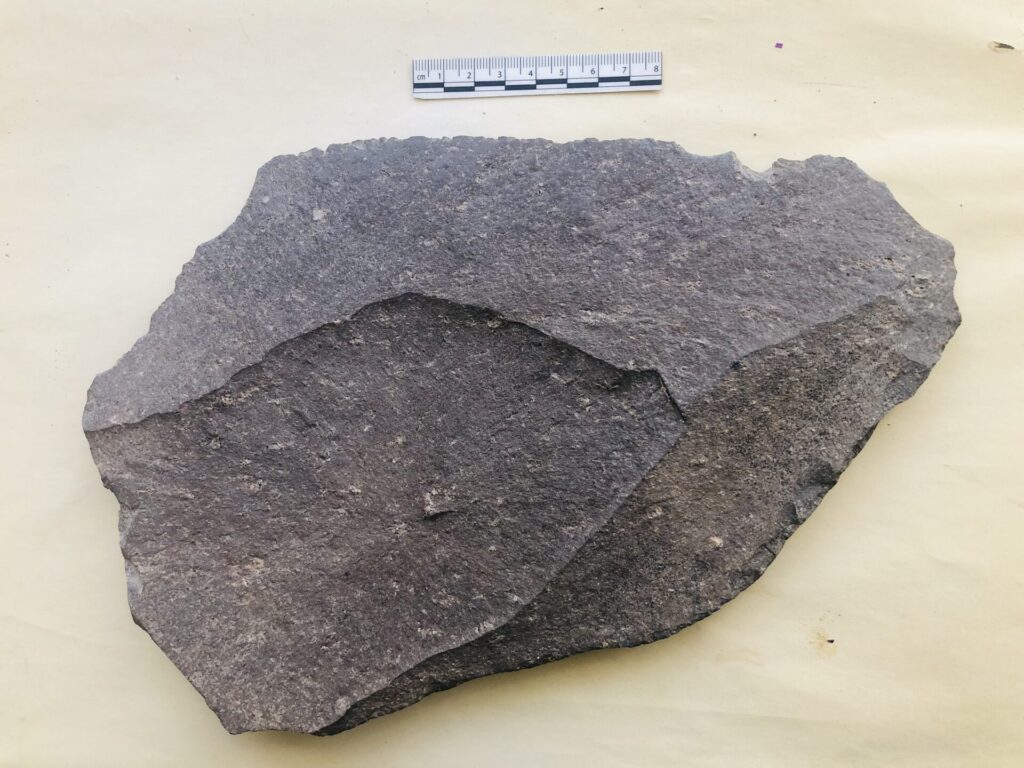
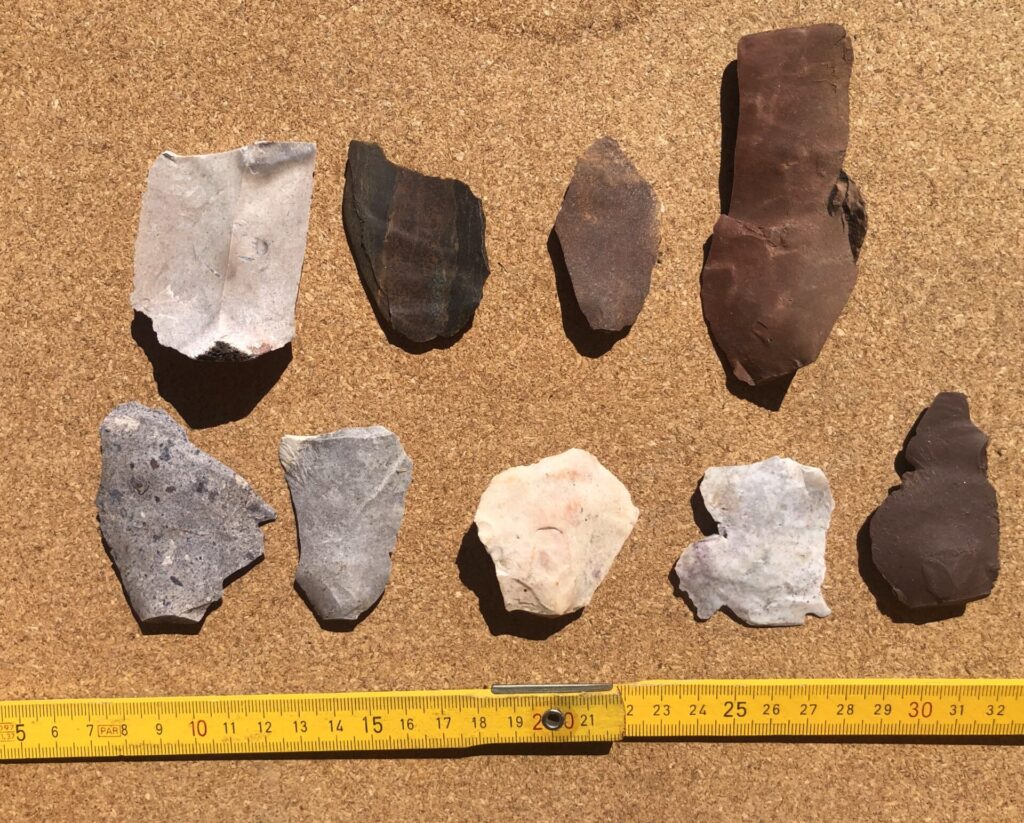
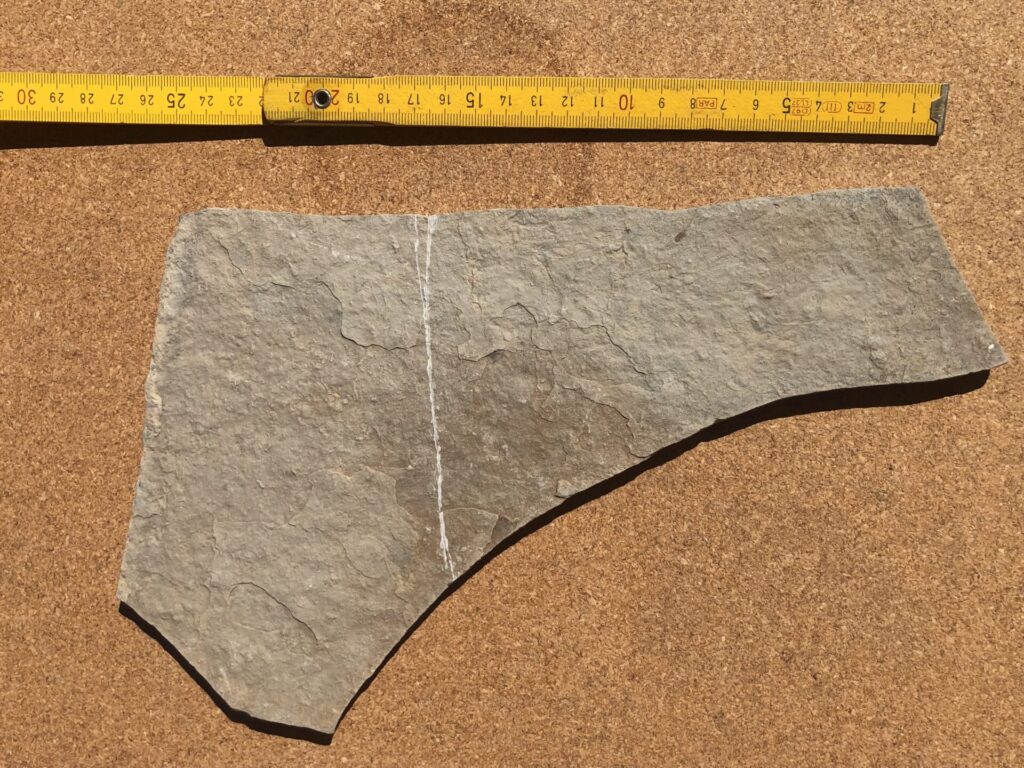
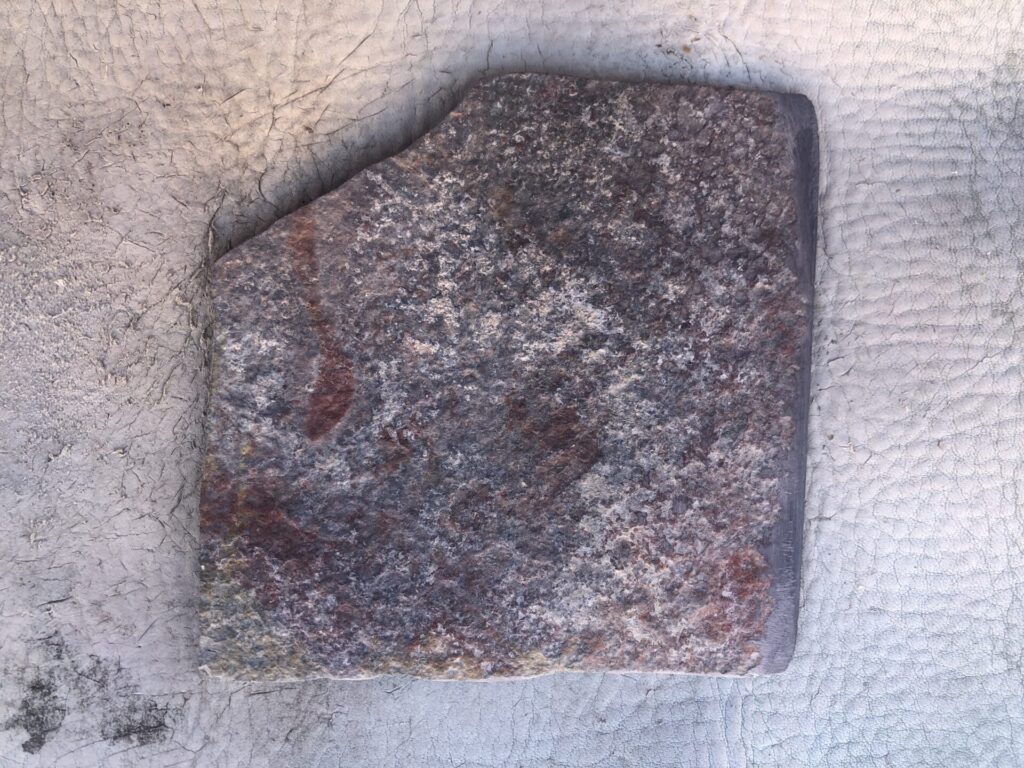
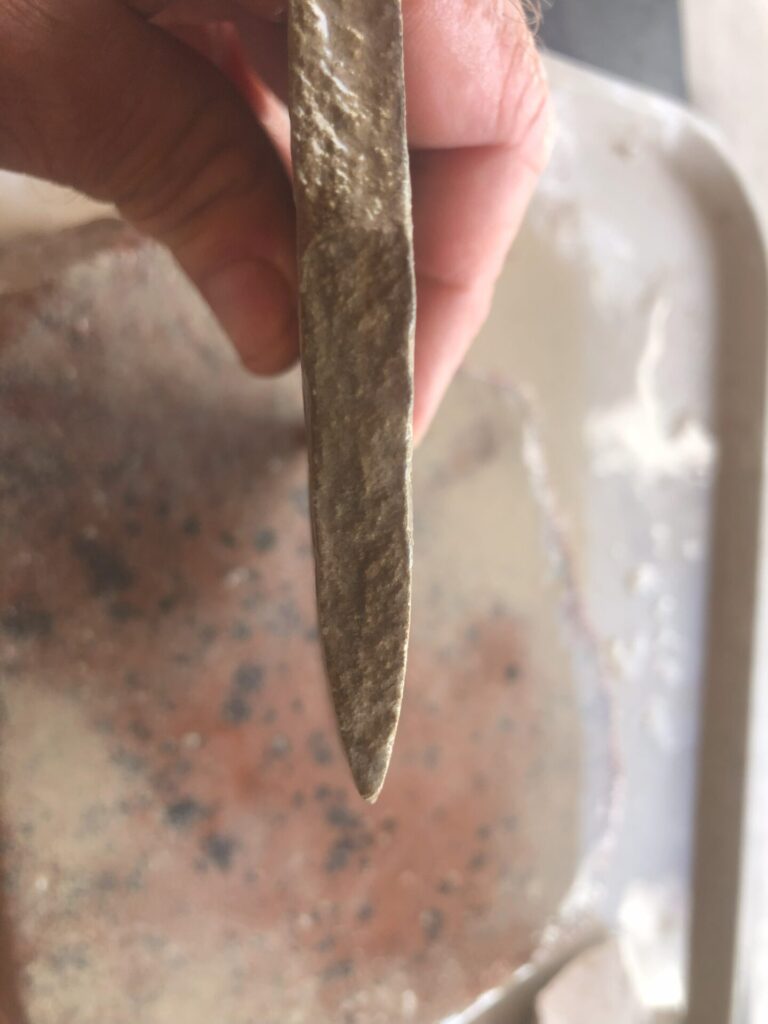
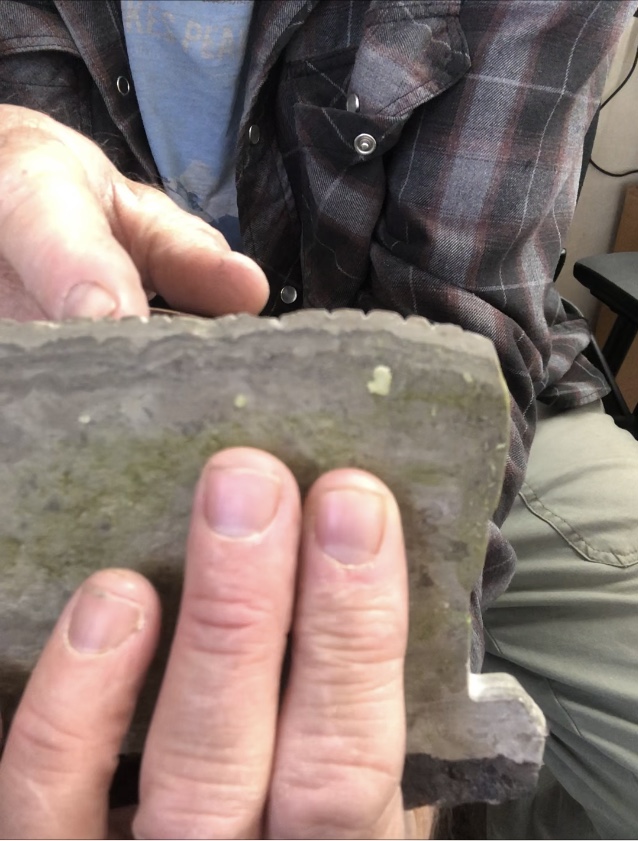
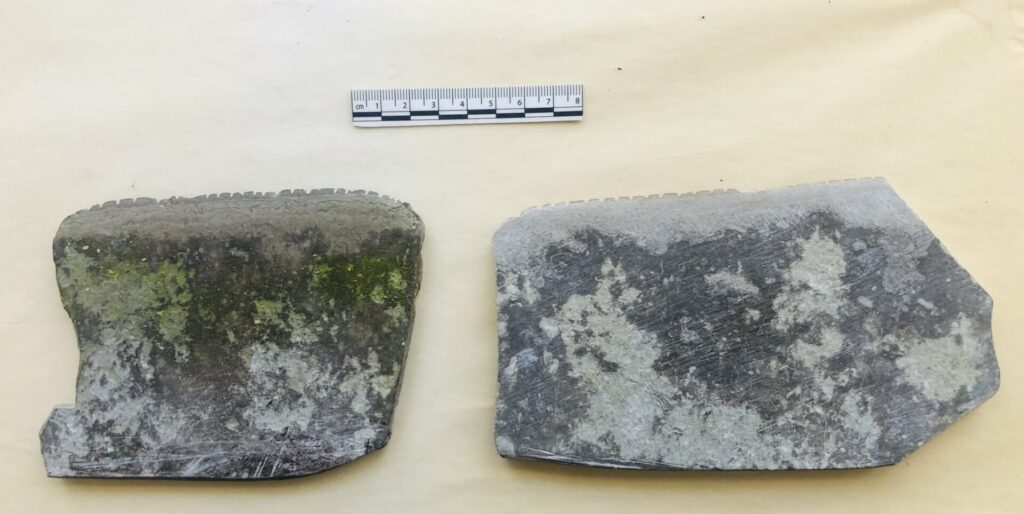
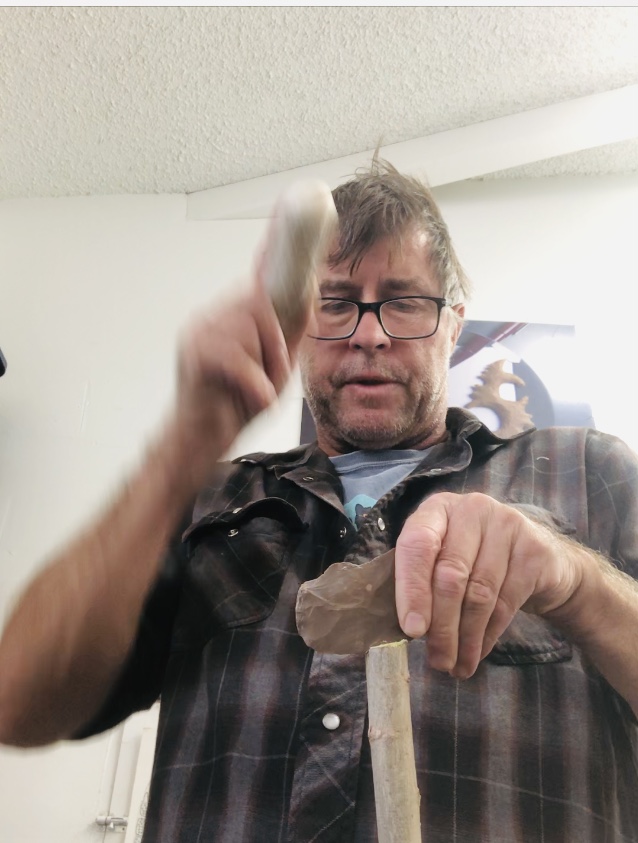
That being said, there is quite a bit of variation in terms of their forms and how they were made. Most are made of tabular stone—think schists and rhyolites. The stone is typically soft enough that it would not be suitable for chopping, as with an axe. Sometimes, the working edges have been pressure flaked to shape, and other examples have been ground to a sharp edge and flaked to create serrations.
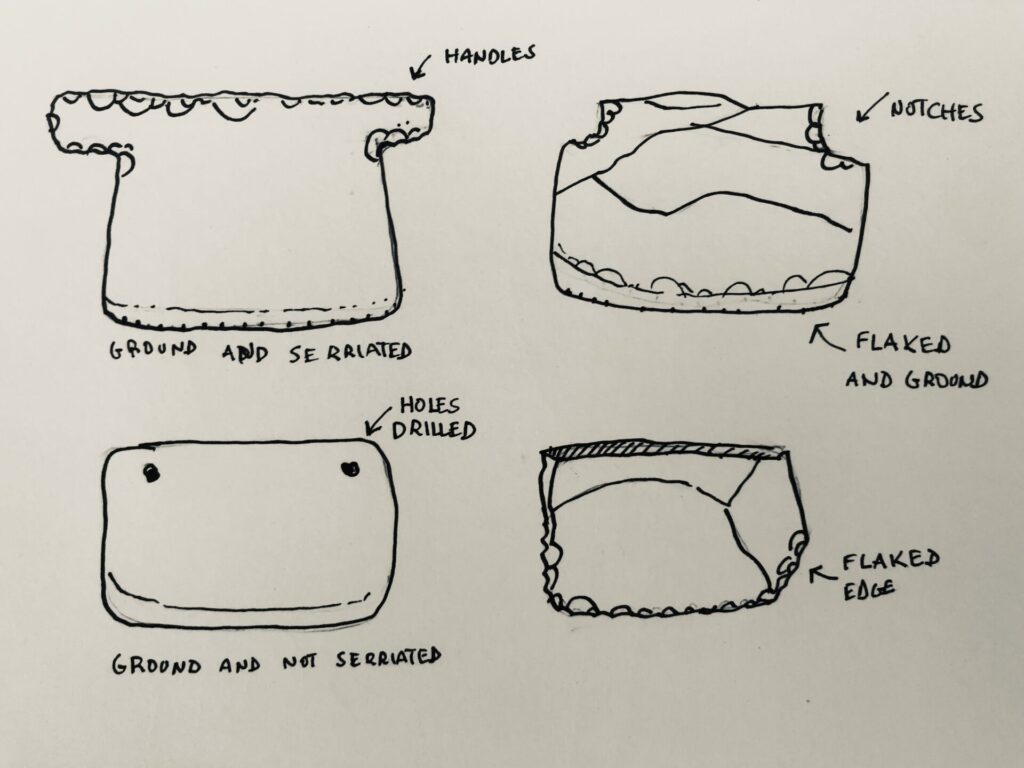
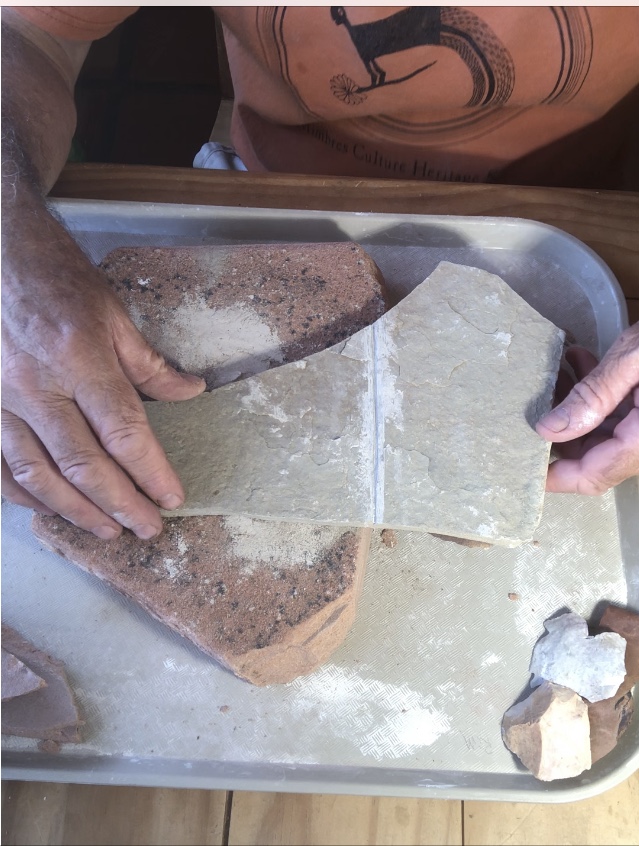
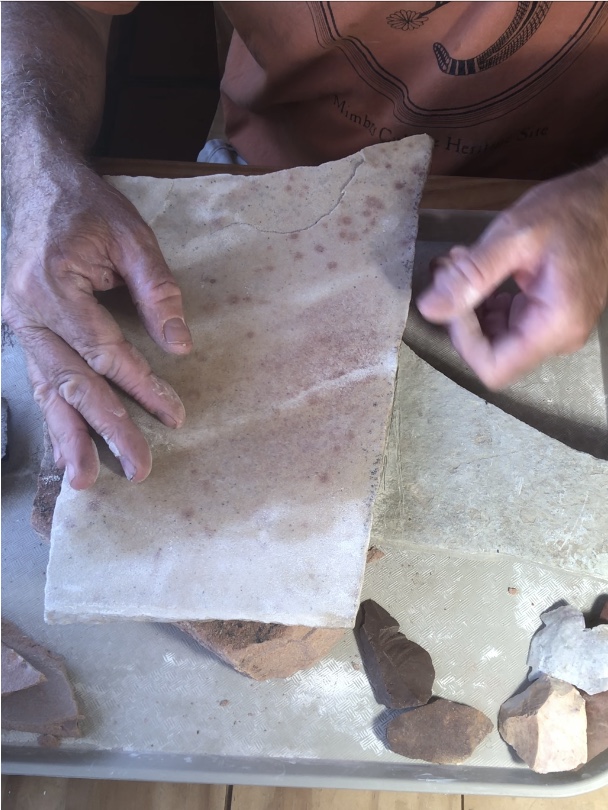
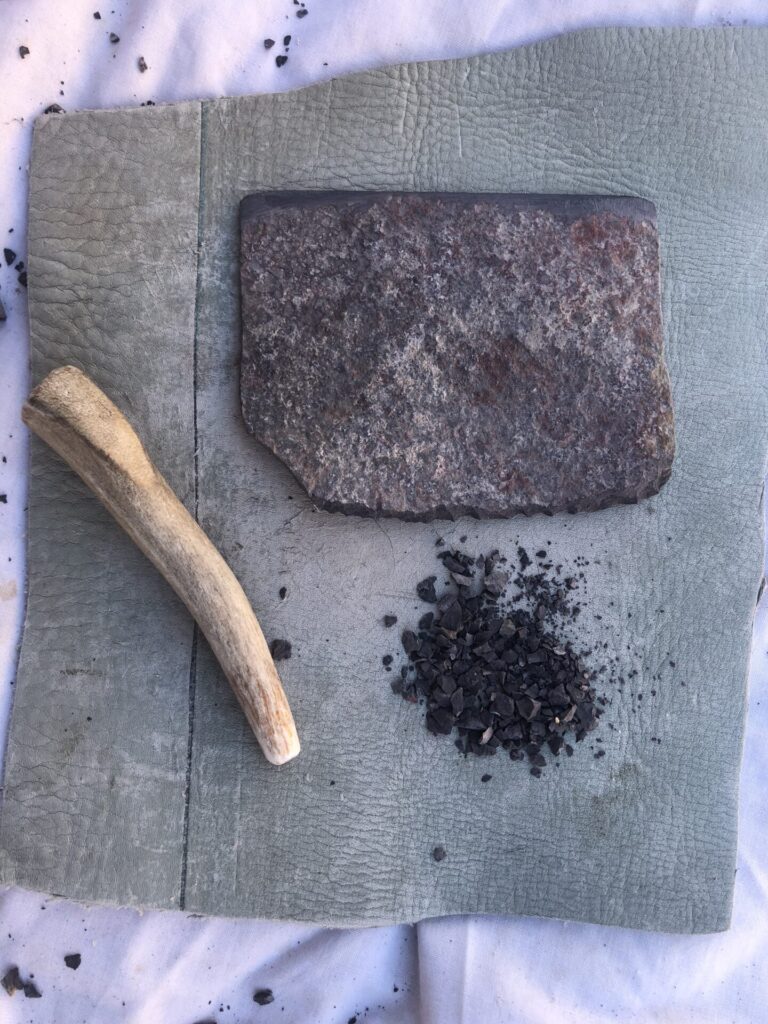
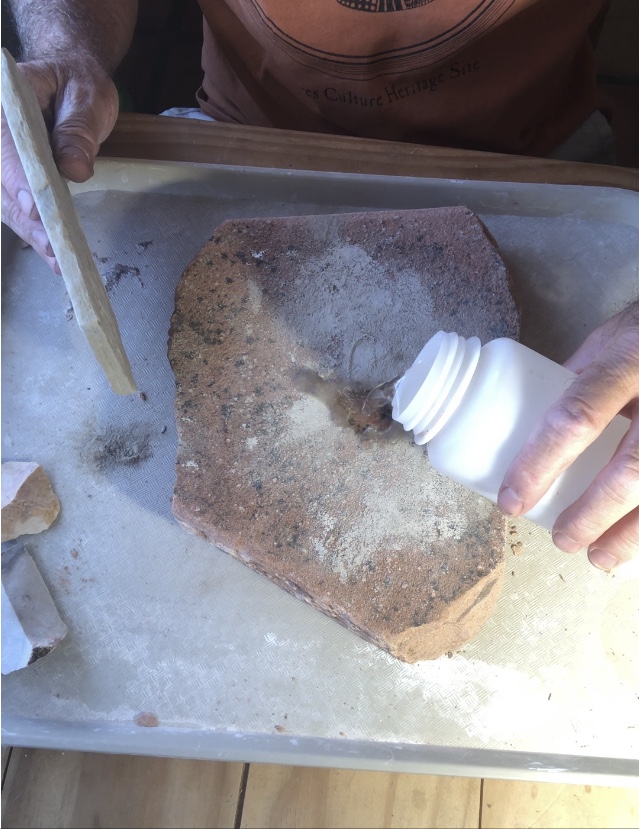

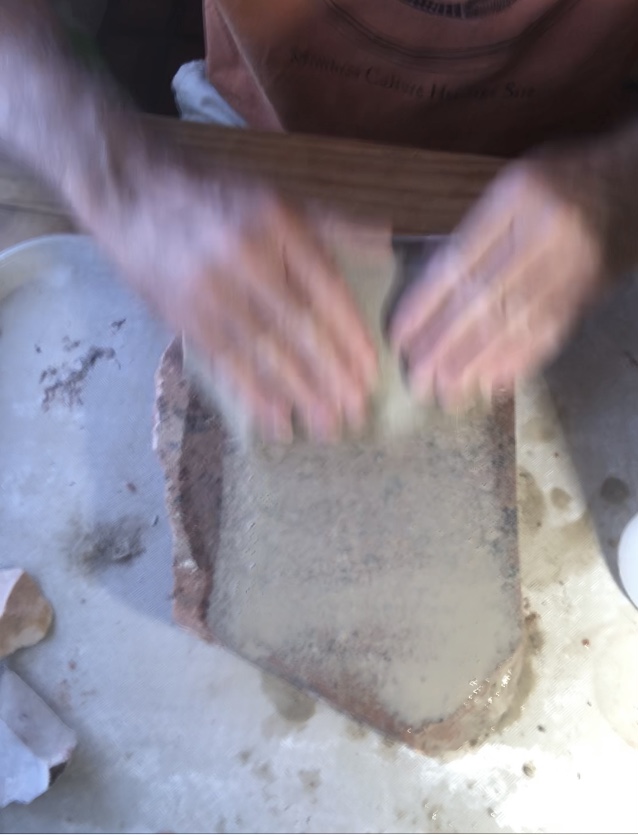
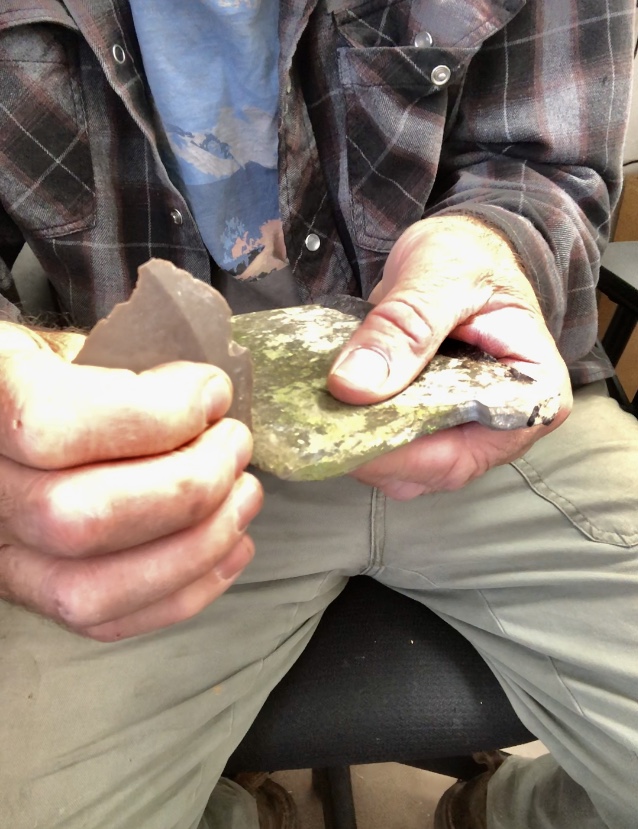
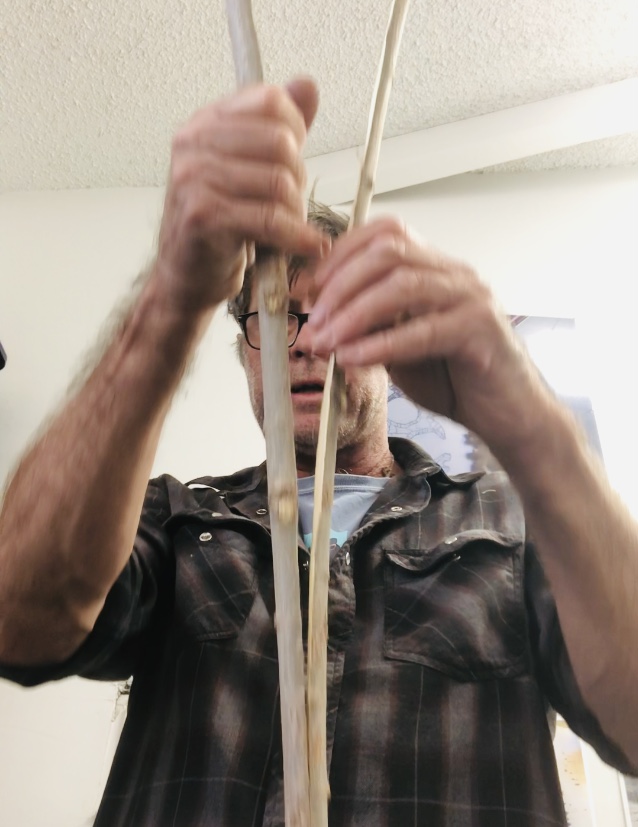
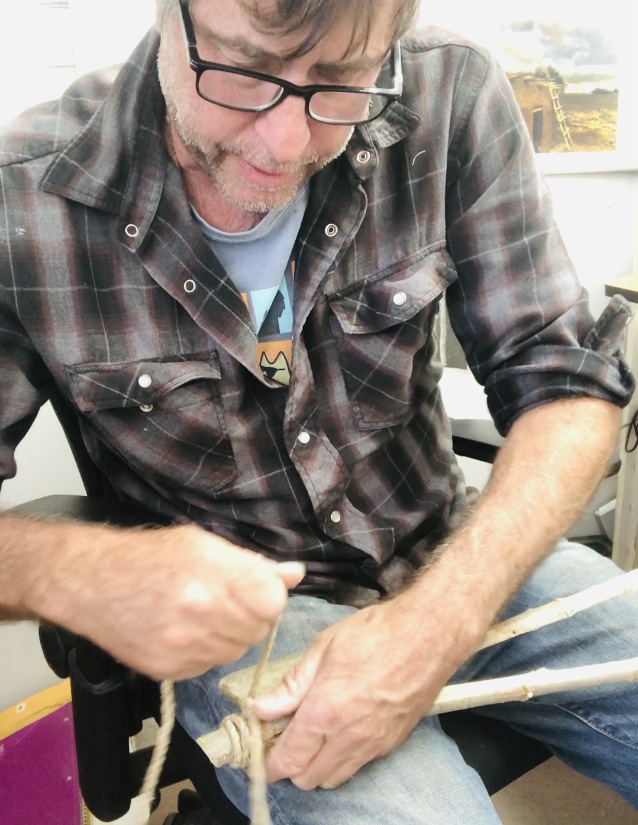
I have never seen an example that is preserved with its handle intact, but I have seen an example from a site in the Tucson basin that had some kind of resin where it had been hafted to a handle. There are several probable means of making and attaching a handle, and here’s what I decided to try.


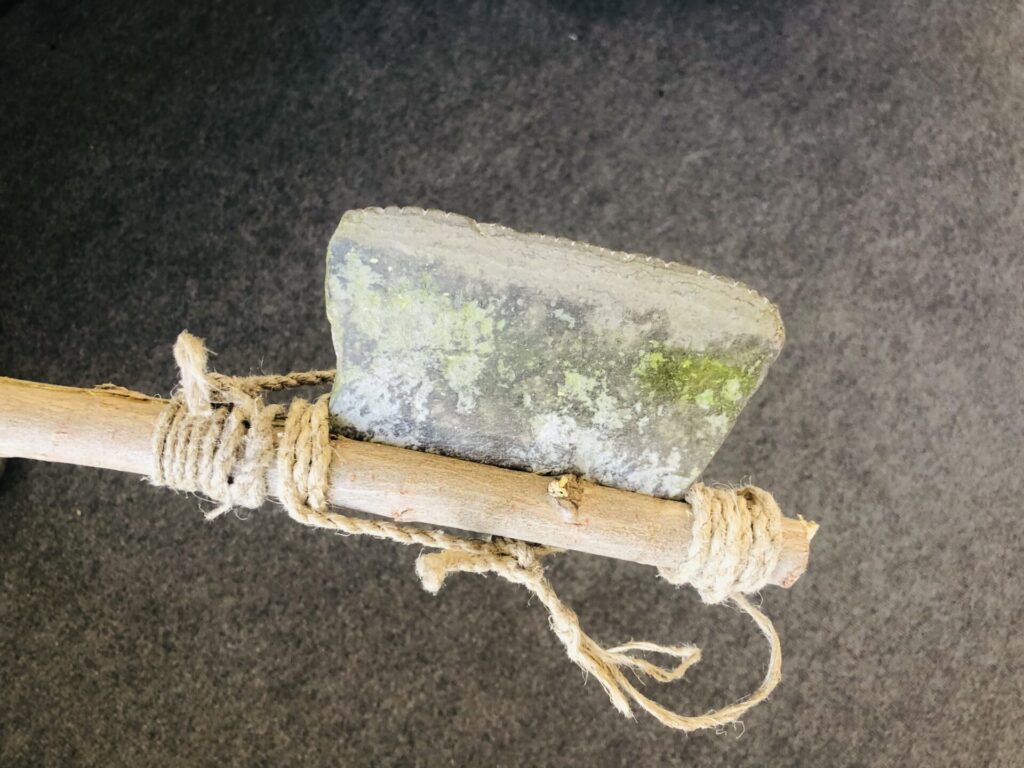
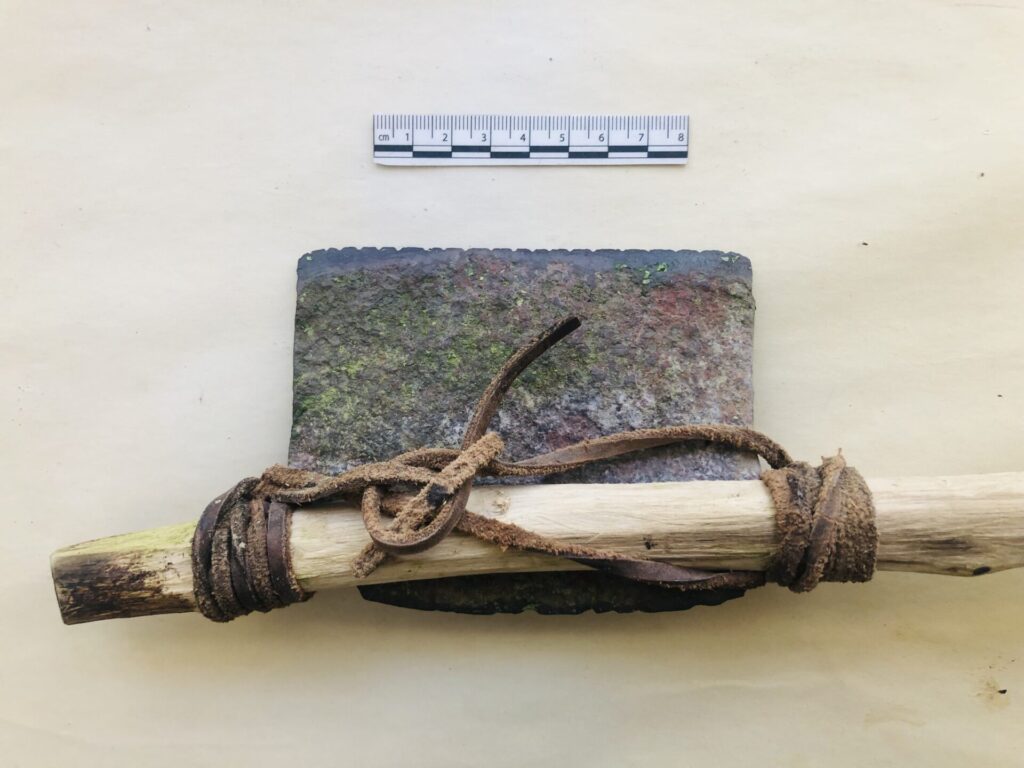
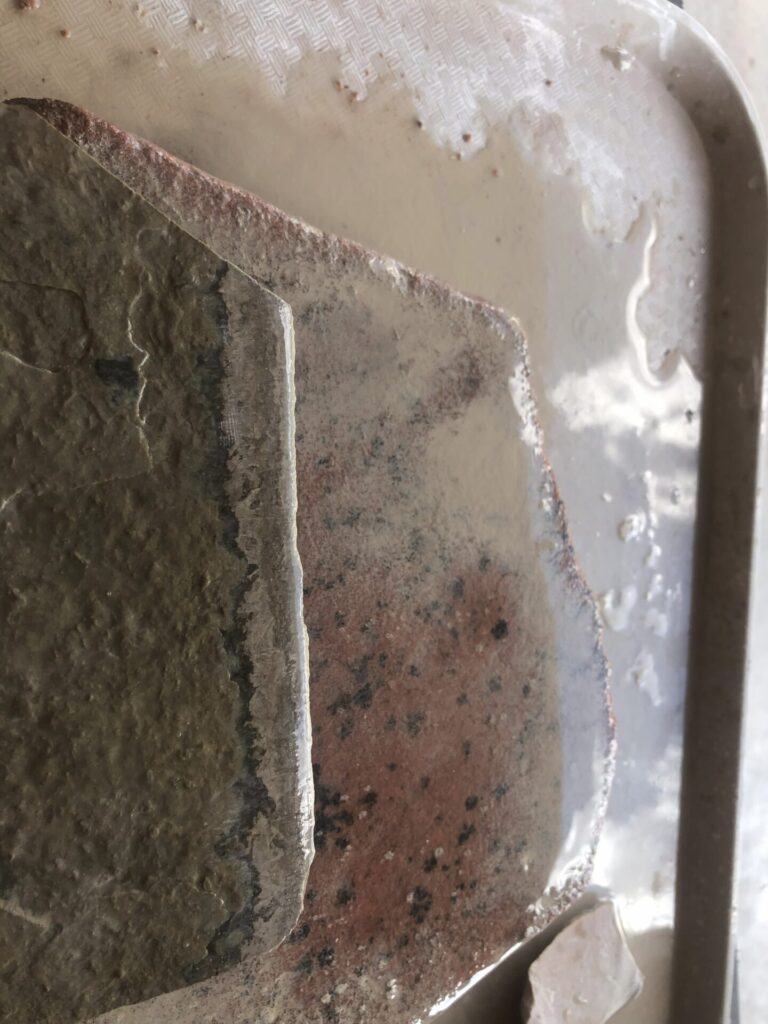
Did you notice the green on some of the saw blades in this post? Those have already been used to successfully cut agave!
Want to learn more with Allen? He’ll be teaching two classes soon at our Tucson headquarters: Jan. 20, How Did People Make Stone Tools?, and Feb. 3, How Did People Haft a Knife?
One thought on “Hands-On Archaeology: How to Make a Tabular Saw”
Comments are closed.
You never cease to amaze me. (Was that strawberry jam on your hand for the photo?)