- Home
- >
- Preservation Archaeology Blog
- >
- Hands-On Archaeology: How to Heat-Treat Rock
(September 23, 2016)—In this post, I show the process I use to heat-treat rocks. I learned this technique years ago and have been using it ever since.
Why heat-treat rock? In short, because it makes tough or grainy rock easier to flake. The best rock for flintknapping works great right out of the ground and does not need to be heat-treated, of course. Many rocks of poorer quality can be heat-treated and made into quality tool stone. In the distant past, people learned to bury flakes and bifaces under fire pits to improve their flake-ability. Archaeologically, we can recognize heat-treated rock due to color and texture changes that happen to the stone. Fresh flaking after heat treatment always appears glossier, and the stone is easier to break.
Other materials you can use while learning flintknapping, so as not to destroy good natural rock:
(Click on any image in this post to enlarge it.)
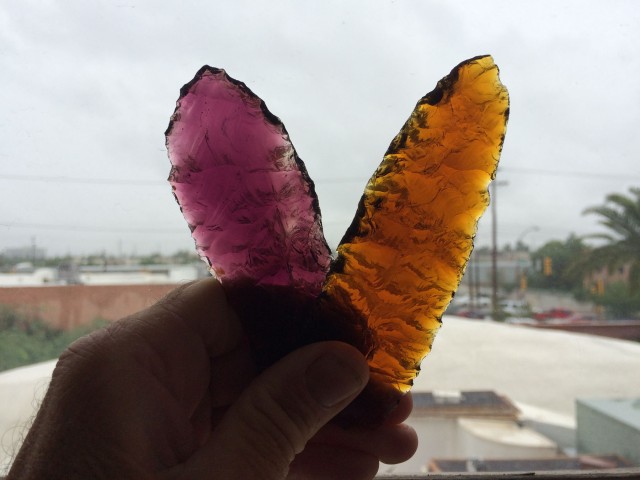
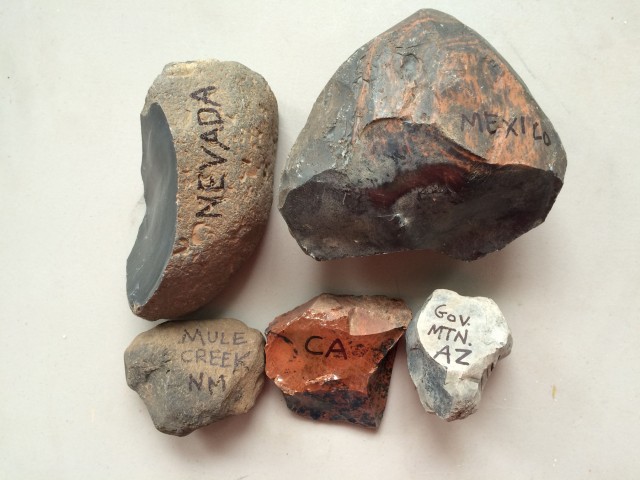
Manufactured glass and volcanic glass (obsidian) are fairly abundant and can be obtained online or in rock shops for fairly low prices. You learn a lot just using glass-bottle bottoms. A rock shop in Tucson sells obsidian chunks for around a $1.00 per pound; you can’t go out and find rock any cheaper. John Stone—old toilet porcelain—is another great material to learn on, as well. (You will never need to heat-treat obsidian—it is as good as it can ever be, and would melt or blow up!)
When you heat-treat rock it makes the stone brittle and shinier; it is prettier to look at but less durable for use as tools. Projectile points are essentially a single-use item, because you cannot expect to get more than one shot out of them before they break—you might get more than one shot, but as a hunter you can’t count on it. If the dart misses the animal, it’s going to hit the ground, and unless you are in a sandy or soft soil area, it breaks. So, using heat-treated rock does not change the functionality of points.
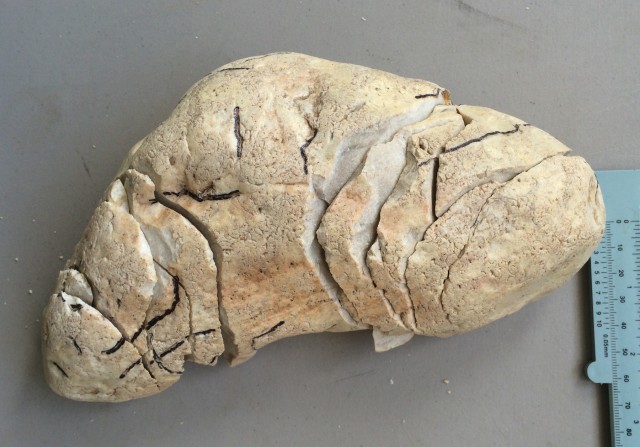
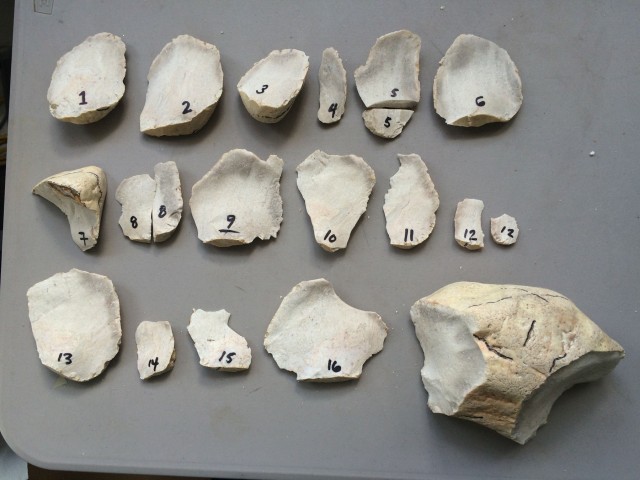
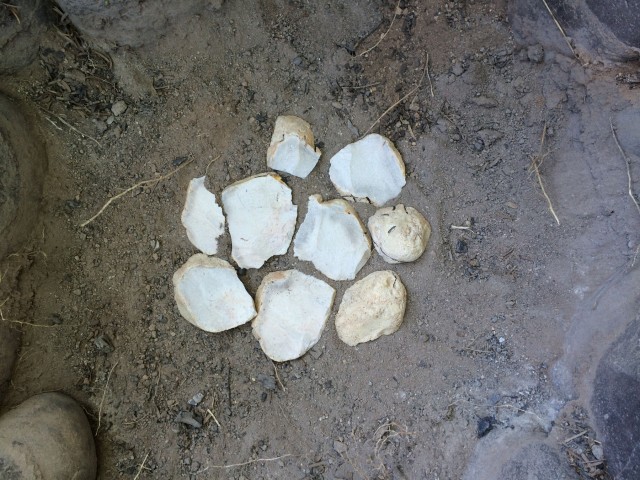
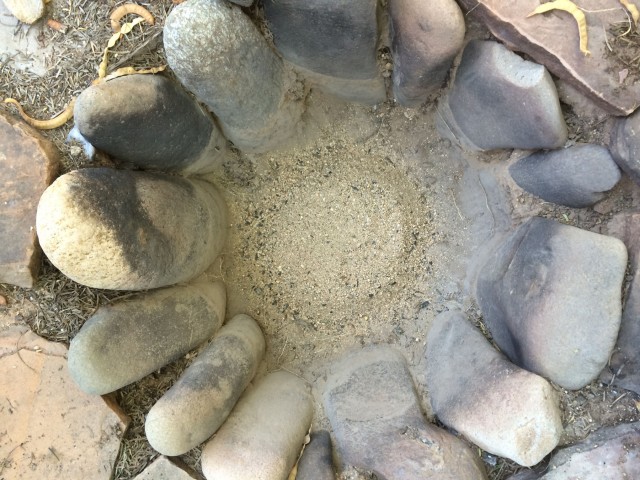
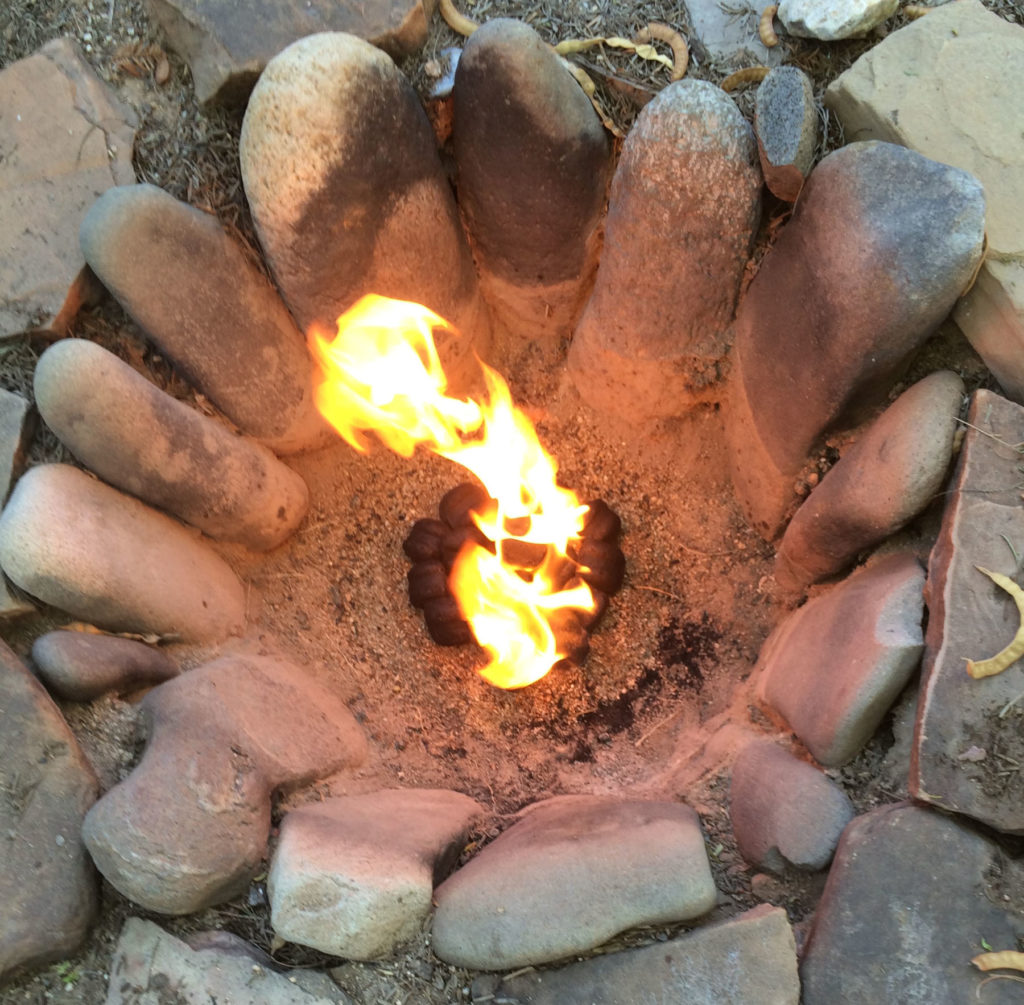
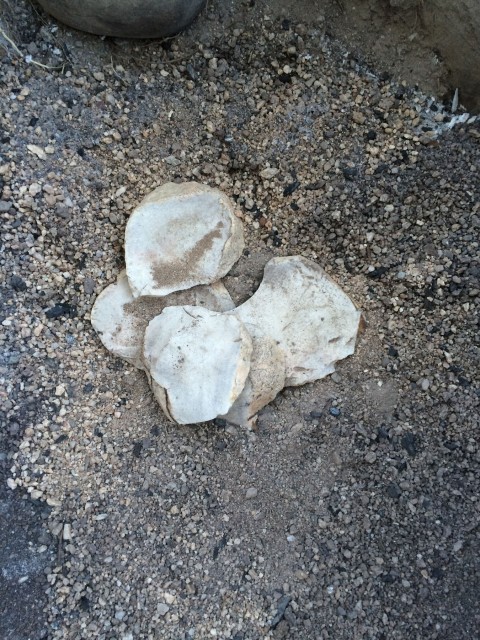
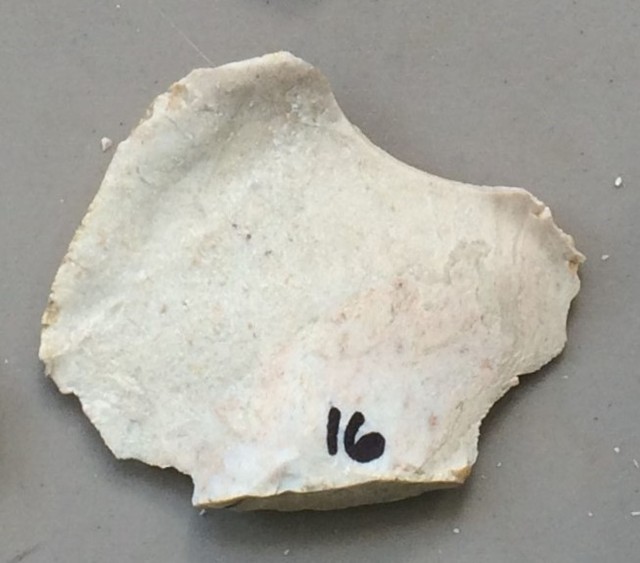
In this example, I used the rock from my forthcoming “How to Find Flaking Rock” blog post. I took 13 of the flakes in the above photo and heated them in a pit. These were the better flakes; I did not use three of the flakes or some of the smaller flake fragments. These flakes are big enough to make nice atlatl dart points. I used my backyard fire pit here, but any relatively shallow, flat-bottomed pit will work. It does not need to be stone-lined like the one here. Having the fire down in a pit helps hold in the heat and allows for more gradual cooling. My pit is a little over 20 inches deep and about 25 inches in diameter.
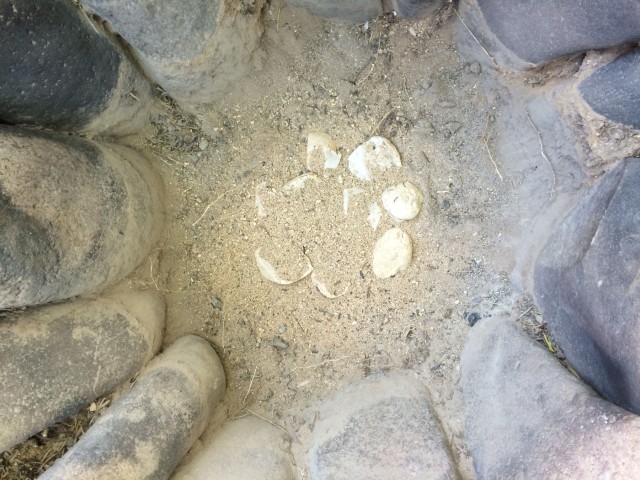
You do not want to shock the rock with rapid cooling, as this can cause it to fracture. I like to do my heat-treating when the weather is dry and calm. I start out by laying a bed of bifaces across the bottom of the pit, and then I put a little sand over them and lay the thinner flakes on top. I then cover all of the flakes and bifaces with a layer of clean sand about 1 or 2 inches thick. The sand allows for even heating and cooling and keeps the fire from touching the bifaces. If they get too hot, they will explode. I prefer to use less heat and do a second treatment if necessary.
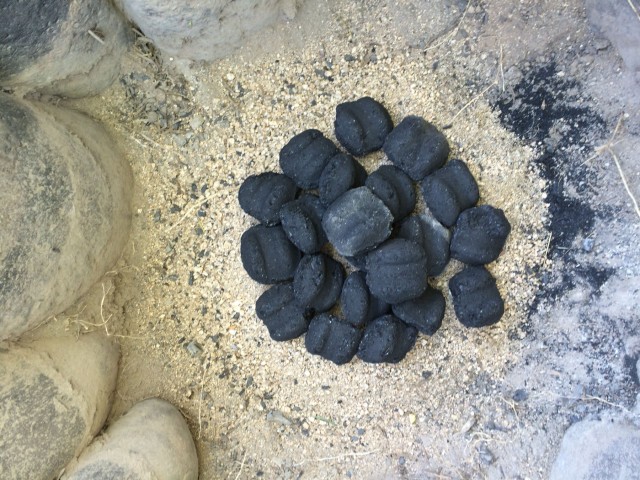
I tend to cover with a thicker layer of sand if I am building a hotter fire, to protect the stone from thermal shock. Charcoal briquettes work fine, but you can use wood, as well—just be careful not to overheat the stone. If it is under-heated, just repeat the process with more fuel for the fire. Some stone, like chalcedony, requires a lot more heat to improve, but other materials, like cherts, require much less heat. It is best to experiment with lower levels of heat and gradually increase the amount of fuel used until you achieve the desired flake-ability.
I wait until I can stick my fingers into the sand without getting burned to uncover the flakes or bifaces. When I open the pit, I try to scrape as much of the ash off the sand as possible, as over many heat treatments the sand gets very ashy. I periodically switch to clean sand to help keep ashy dust from building up in my fire pit.
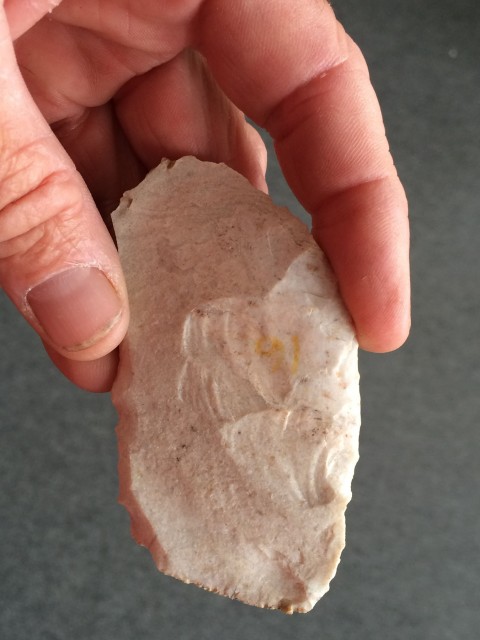
In the second photo, you can see the difference in texture from the old flake surface to the smoother, shinier surface left by flaking after the heat treatment. This was a relatively low-temperature heat treatment. These flakes could probably stand another treatment at a slightly hotter temperature to make them a little less tough. For making atlatl dart points, however, I prefer tougher material like this, so for my purposes, this treatment worked well.
2 thoughts on “Hands-On Archaeology: How to Heat-Treat Rock”
Comments are closed.
Explore the News
Related to This
-
Project Hands-On Archaeology

Allen this is a great article and I hope you’re still here to answer my question. I’ve been wanting to learn more about this heating process because many of the artifacts I find in the place I search have sand stuck on them and it takes a great deal of scraping to remove it so I don’t bother removing it. Is this sand that is stuck on the stone caused by heating the stone?
Can Heat treating chert be done in a gas kitchen stove? If so, at what temp. & heating time?
Can you heat treat chert that has not been flaked?