- Home
- >
- Preservation Archaeology Blog
- >
- Hands-On Archaeology: Some Insights on Salado-Era ...
(February 20, 2018)—I was up in Coolidge, Arizona, at Casa Grande Ruins National Monument last month to talk about the Salado-style rooms we have been building with our Preservation Archaeology Field School students in Cliff, New Mexico. I took this opportunity to more closely inspect the “big house” in light of insights I have gained from our experimental constructions.
I was surprised to see that the construction techniques were pretty much identical. But upon further consideration, I’m not sure why I was surprised—mixing adobe is incredibly simple, especially if you are just using the local dirt available.
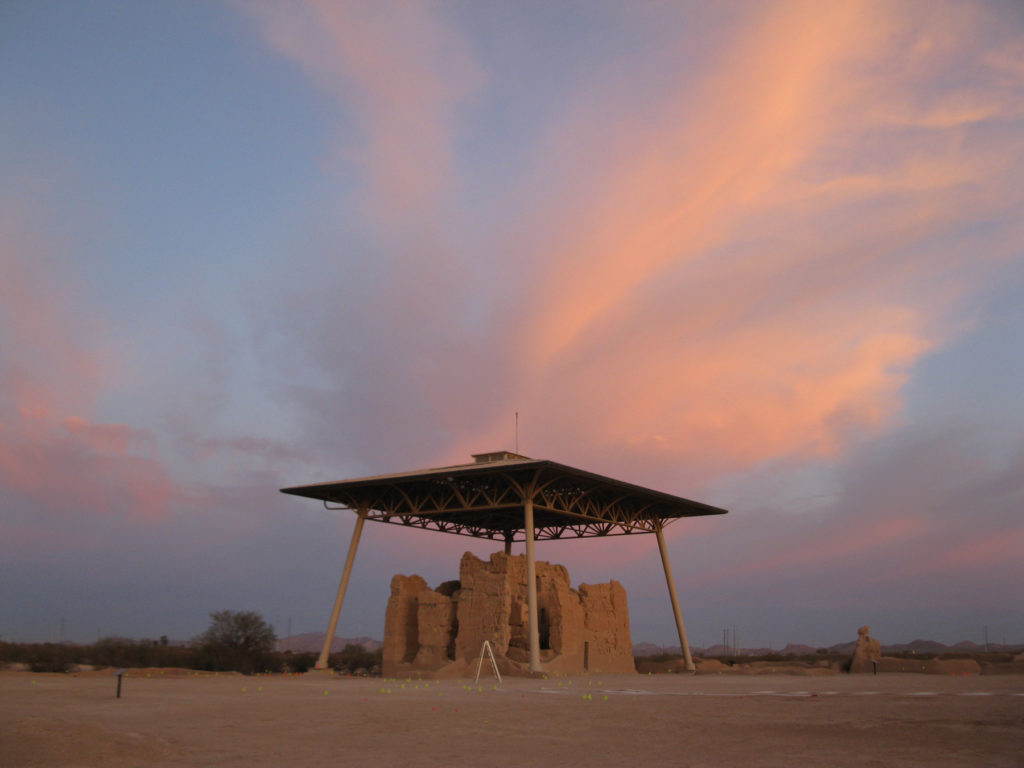
The scale of the Great House dwarfs the structures our field school has been building, of course. At Casa Grande, builders were probably using soil from right there on site, creating some pretty massive borrow pits. Another possibility is that they were using soil excavated out from canal construction. I suspect they aimed to reduce the distances they had to carry the dirt as much as possible, and having canals nearby would have been handy during construction. It takes a lot of water to make all that mud.
Geoarchaeologist Gary Huckleberry inspected some of the ancient walls we had exposed at the Gila River Farm site in New Mexico. He said it looked like people brought soil from the adjacent floodplain.
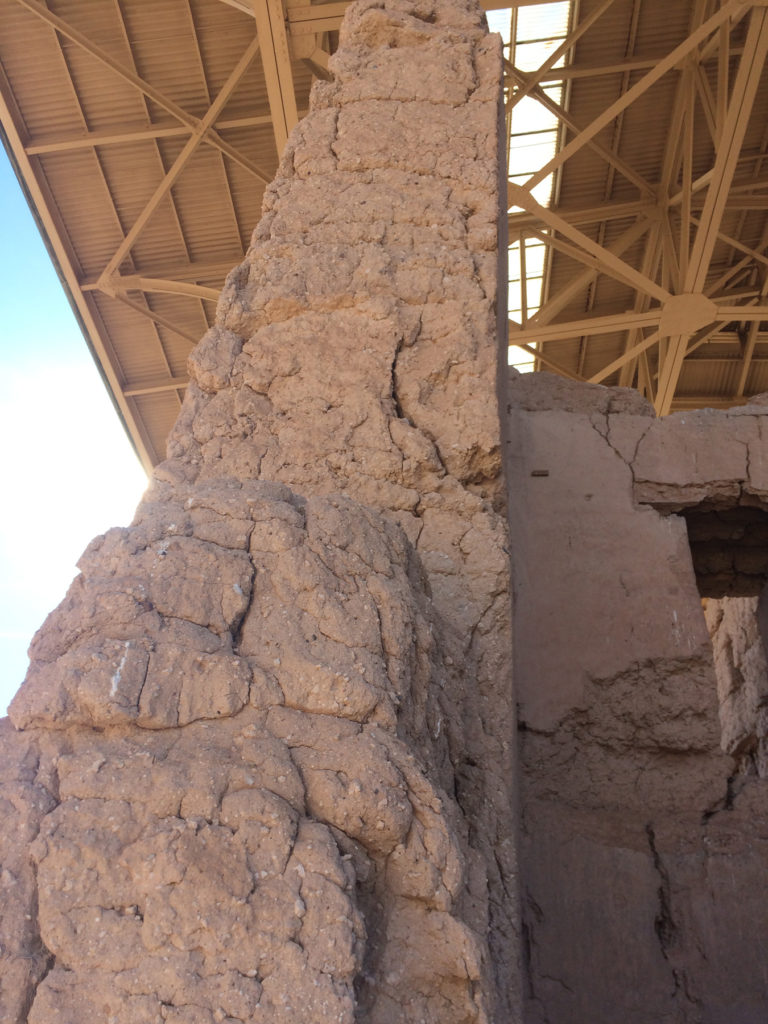
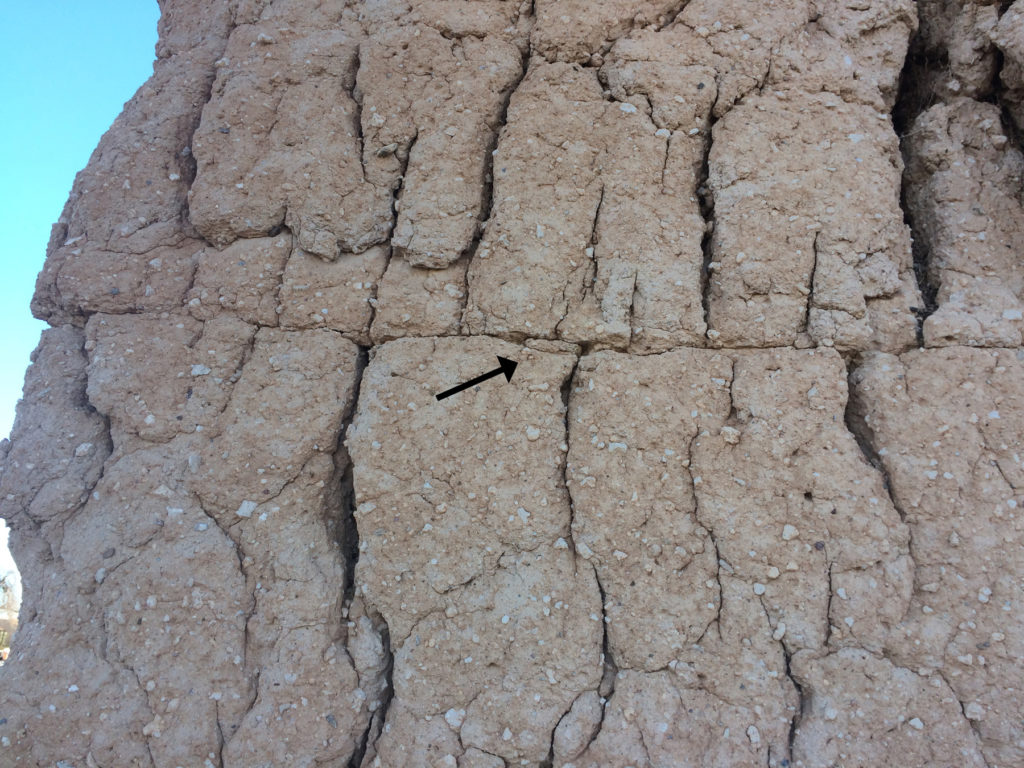
This is a close up (in cross-section) of one of the walls at Casa Grande. You can clearly see a parallel seam in the adobe (arrow). The other cracks were created by weathering, but the parallel seam is a joint between two adobe pours. What I mean by “pours” is work days; the joint is created by the differential drying that occurs between days the adobe was placed on the walls. Archaeologists call this “puddle” adobe. People probably mixed the adobe in pits near the construction site and then hauled it in baskets they overturned on the wall. They patted the wet mud into shape by hand or used flat rocks as trowels.
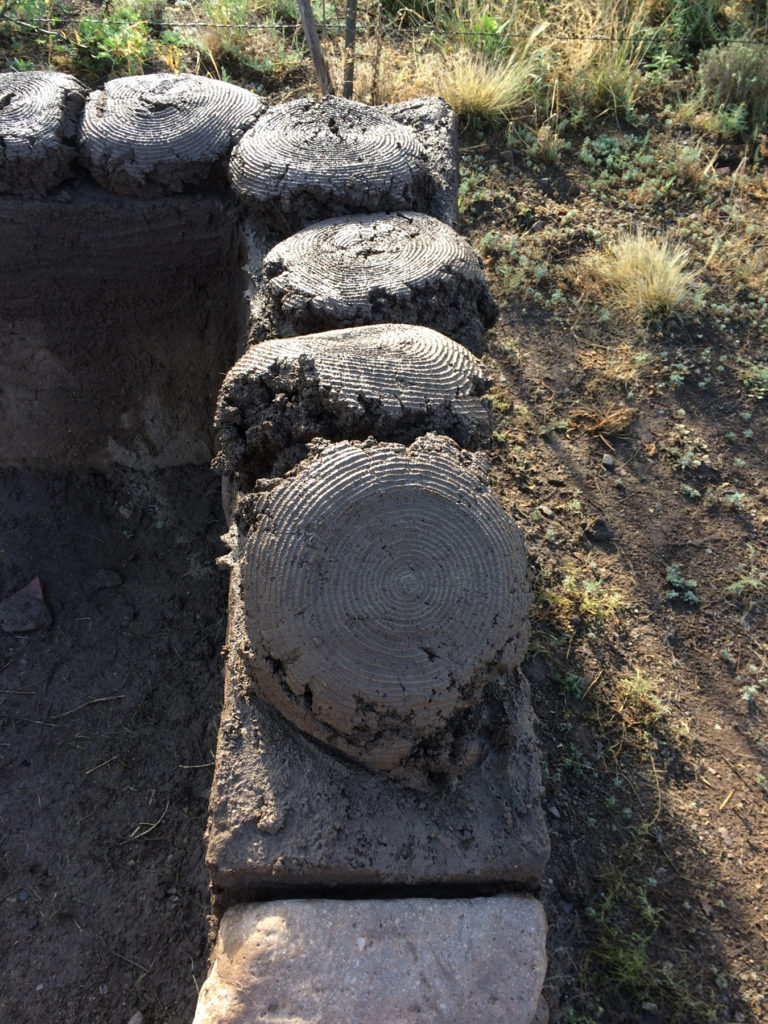
Basket-loads of adobe dumped onto our rising house wall. This is the new house we have been working on at our field school camp in Cliff, New Mexico. Our mixing pits are large enough to fill several baskets at a time. Having several mixing pits makes for faster wall-raising. We rarely had more than two pits in use at a time, though.
For this house, we have had to quarry our dirt from about 20 yards away. This has really slowed construction down, compared to a house we built at an earlier field camp.
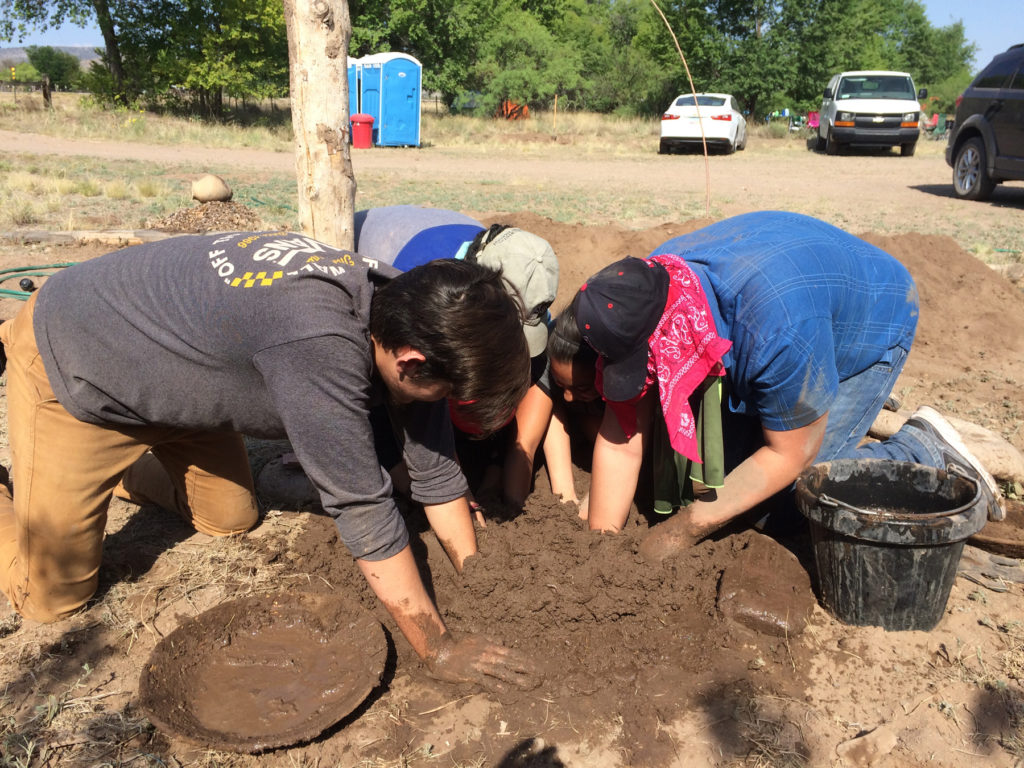
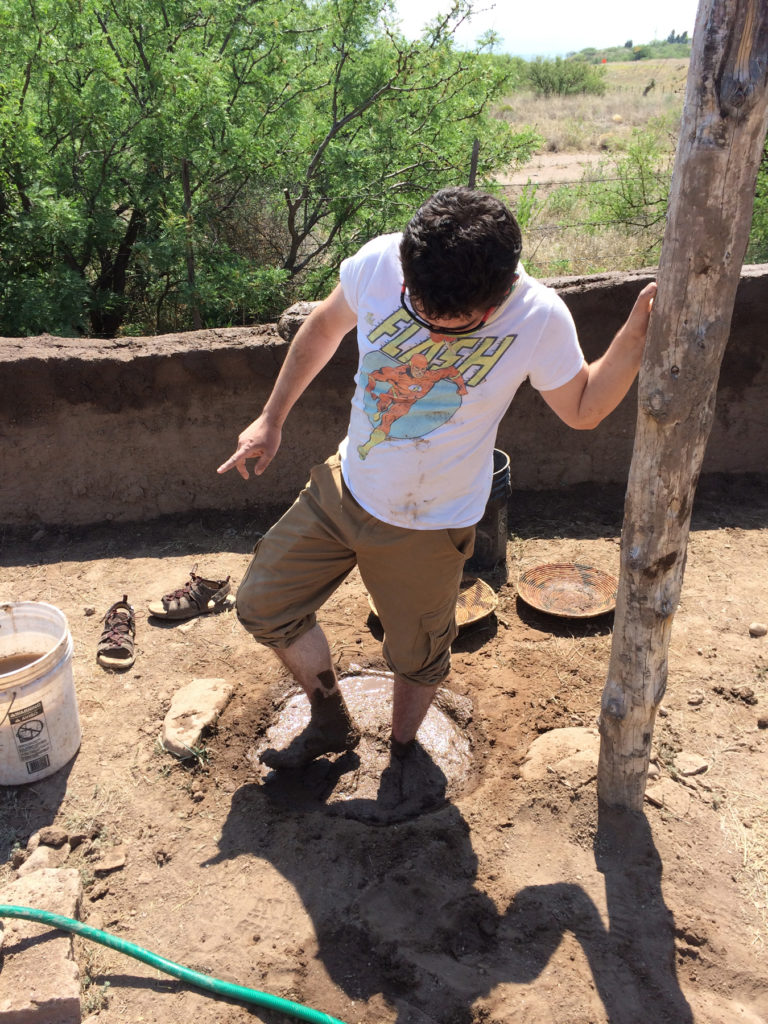
Students mixing mud with their hands. This is the best method for mixing all the mud in the pit. If we add too much water in the pit, it takes even more mud to reach the proper consistency—and the mud overflows the pit. Last summer we screened the dirt to remove bigger gravels and thus save the skin on our hands.
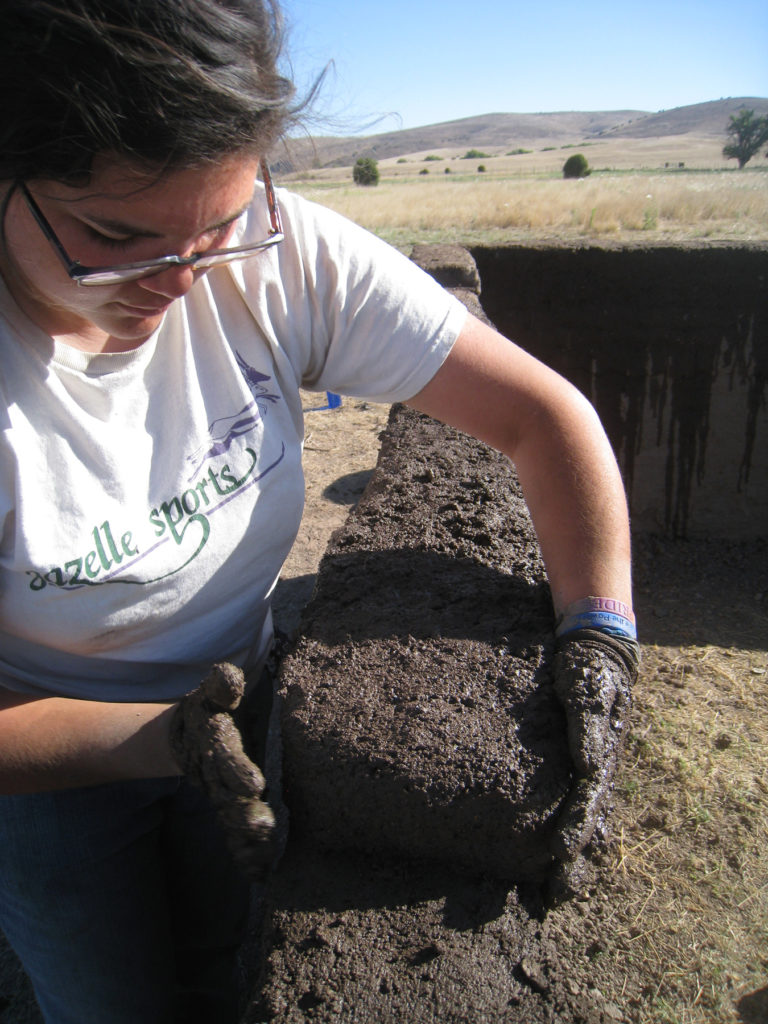
When placing mud on the walls, the adobe has to be thick enough to hold itself up. I like to mix it to about the consistency of cookie dough. We dump baskets of mud right on the wall and shape them to the wall. We have to be careful not to make them so thick that the mud starts to bulge out. On good, warm days, we can add another layer in about an hour or so, after the mud reaches a leather-hard stage.
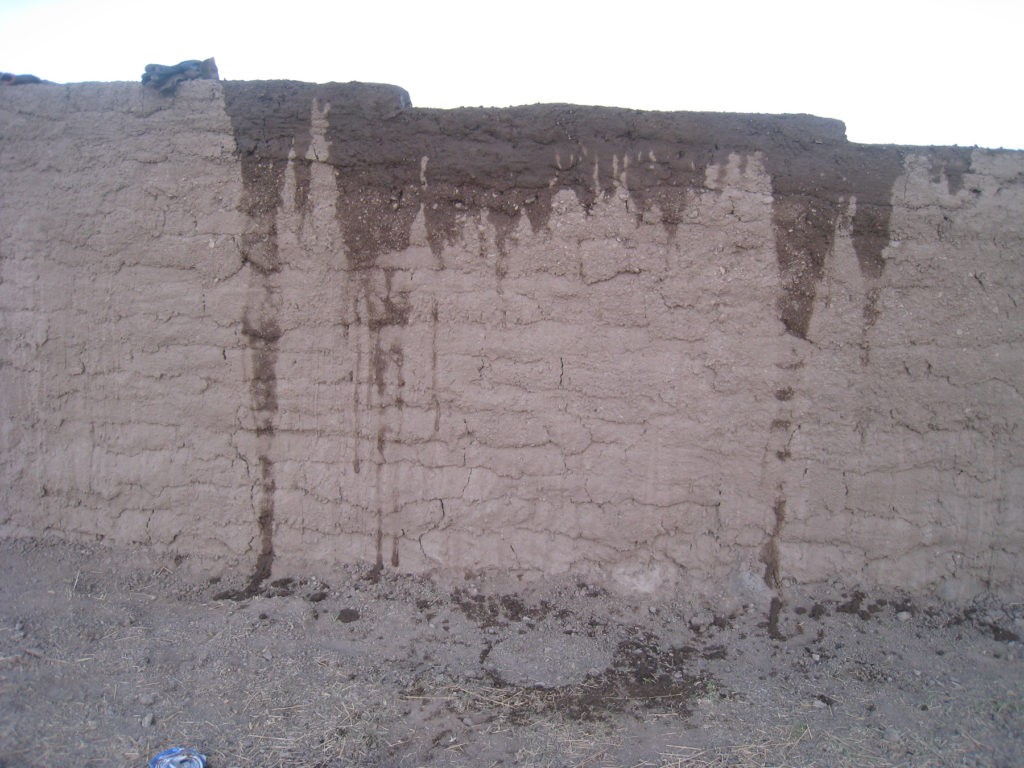
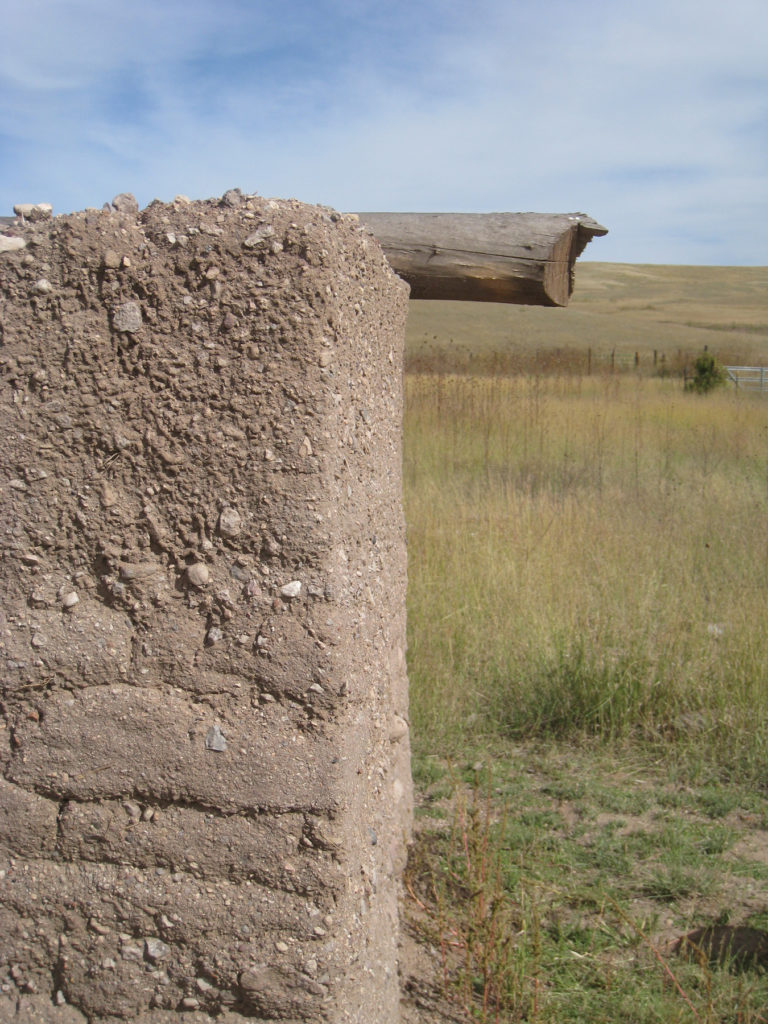
This is a wall from a structure we built at our previous field camp. It shows the joints between mud loads clearly. This wall is not accurate to what we see in most ancient adobe walls in the Southwest. In this experiment, I had students made almost brick-like rectangular blobs of mud, and we did not work the mud as well. I am sure this is not as structurally sound as having a more solid mass of adobe. Major joints are visible between different work days. When the mud dried, the wall looked like it was made out of adobe bricks. We could have hid this by smearing a layer over the outside of the wall, which is how we think people maintained such walls in the past.
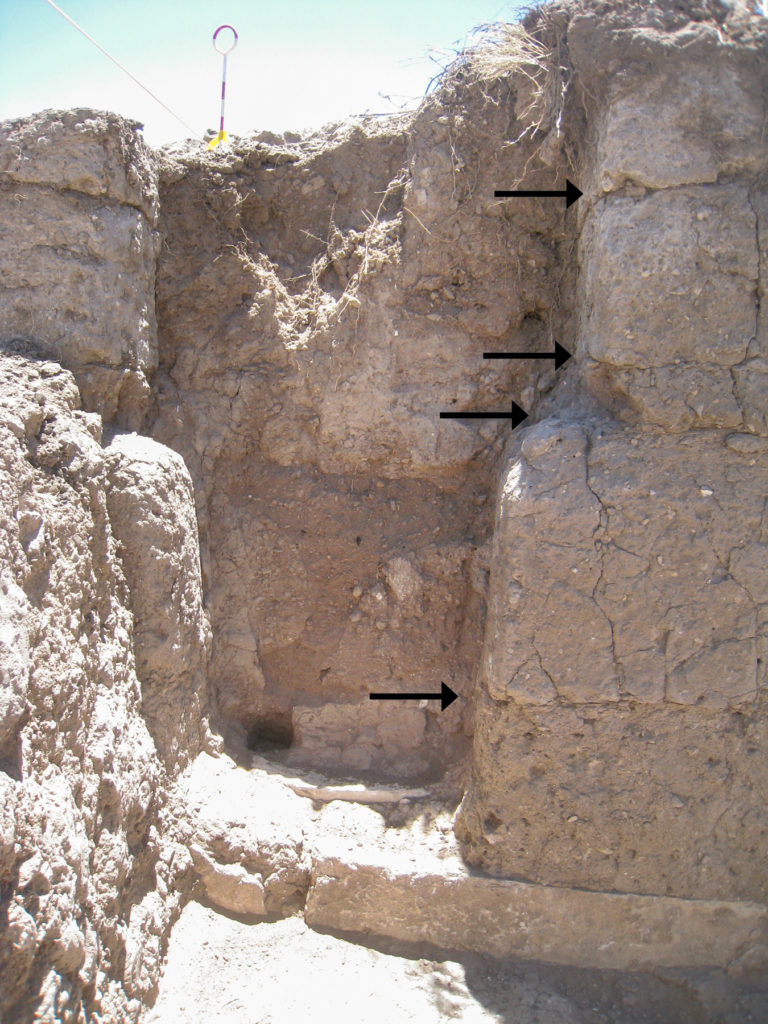
A T-shaped doorway at the Dinwiddie site near Cliff, New Mexico. The arrows point to joints between work episodes, and in some cases it appears the dirt came from different borrows pits. The joints seem to match up in thickness on either side of the doorway. Some layers are thick and others are thin, possibly showing work on different days or by different people, or both.
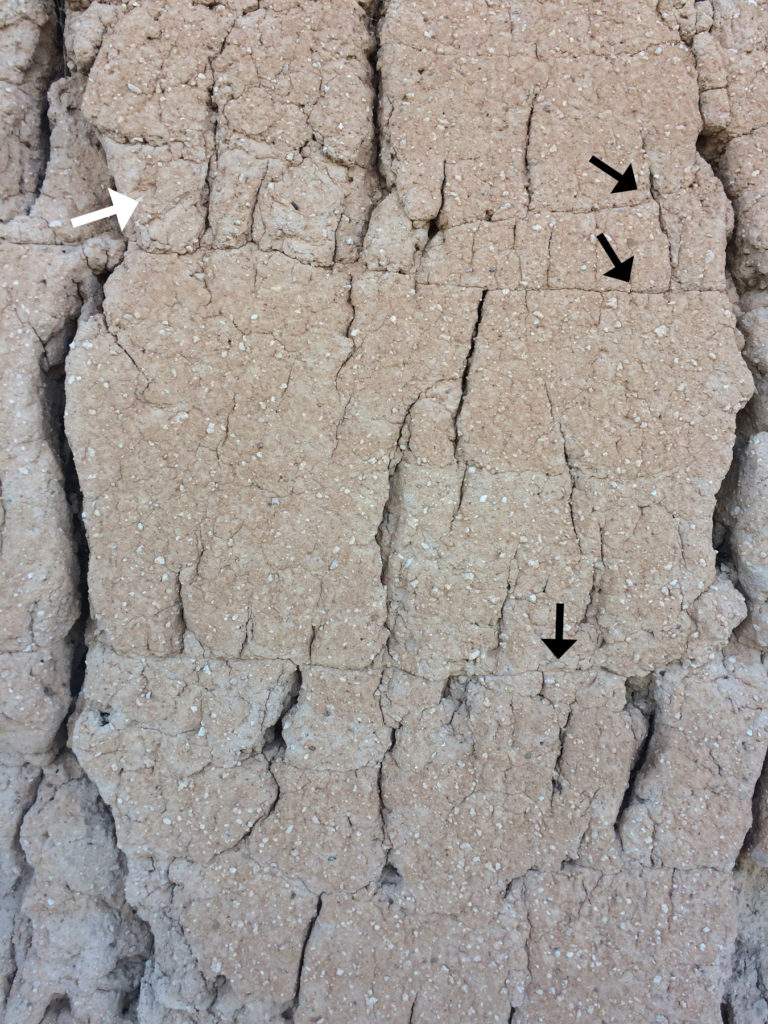
This is another cross section of a wall at Casa Grande, and it shows at least three seams. The white arrow points to a blob of adobe that had higher caliche content than that of the adobe above or below. I’m pretty sure all the vertical cracks were created by erosion, and they may show some of the stress the upper weight put on the walls. I love this photo because it shows the pour so nicely.
From what I can tell, the dirt was used straight out of the borrow pits. Even rocks up to a couple inches in diameter were mixed right in. Builders may have been selecting for the more caliche-rich dirt, as this dirt sets up even harder, and better resists erosion. Archaeologists have documented borrow pits from which caliche-rich soil was mined for house construction at a number of sites.
This summer we will continue work on the second structure at our camp in Cliff. The students will get to mix lots and lots (and lots) of mud. We will be building a new roof, and I hope to begin work on a wattle-and-daub (sometimes called jacal) wall, as well.

