- Home
- >
- Preservation Archaeology Blog
- >
- Mud and Rocks—What More Do You Need?
(May 23, 2023)—I recently participated in a workshop at the National Park Service’s (NPS) Desert Research Learning Center (DRLC). NPS employees Sharlot Hart and Chris Schranger ran the program, which is designed to train certain NPS, USDA Forest Service, and Pima County employees on how to build and repair walls at regional parks and monuments. Now the walls we built will show future DRLC students a few of the different architectural styles they may encounter on the job.
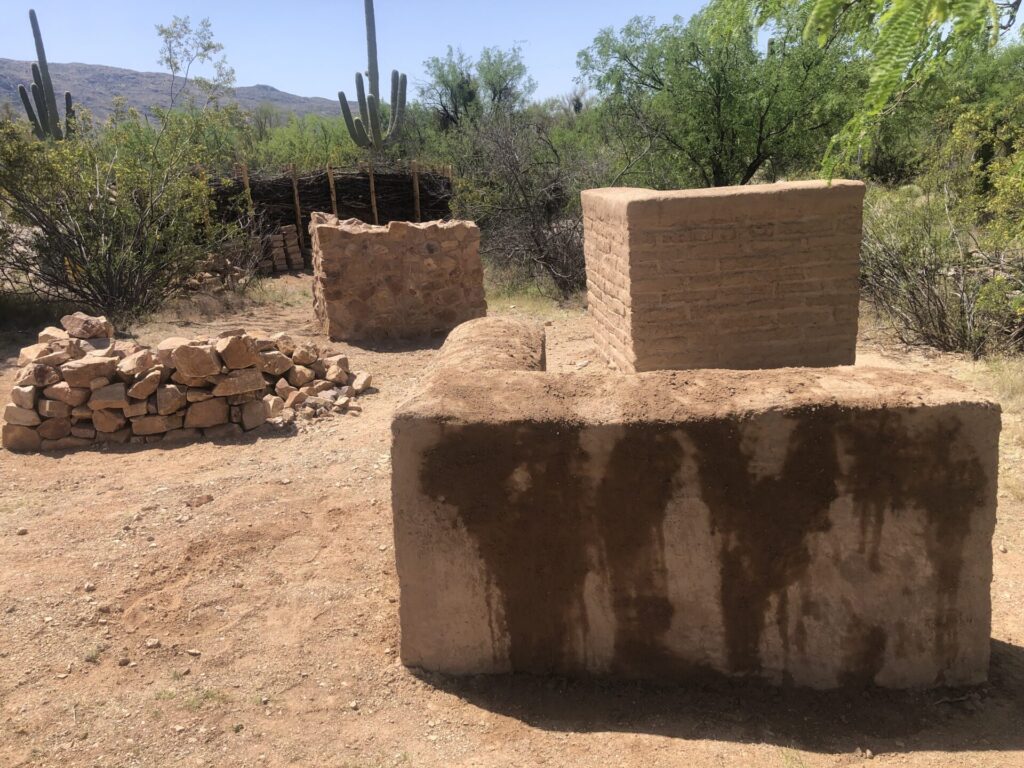
I joined the workshop after the other participants had already built an adobe brick wall and a stone and adobe mortar wall. I helped the group build a dry-laid masonry wall and a puddled adobe wall.
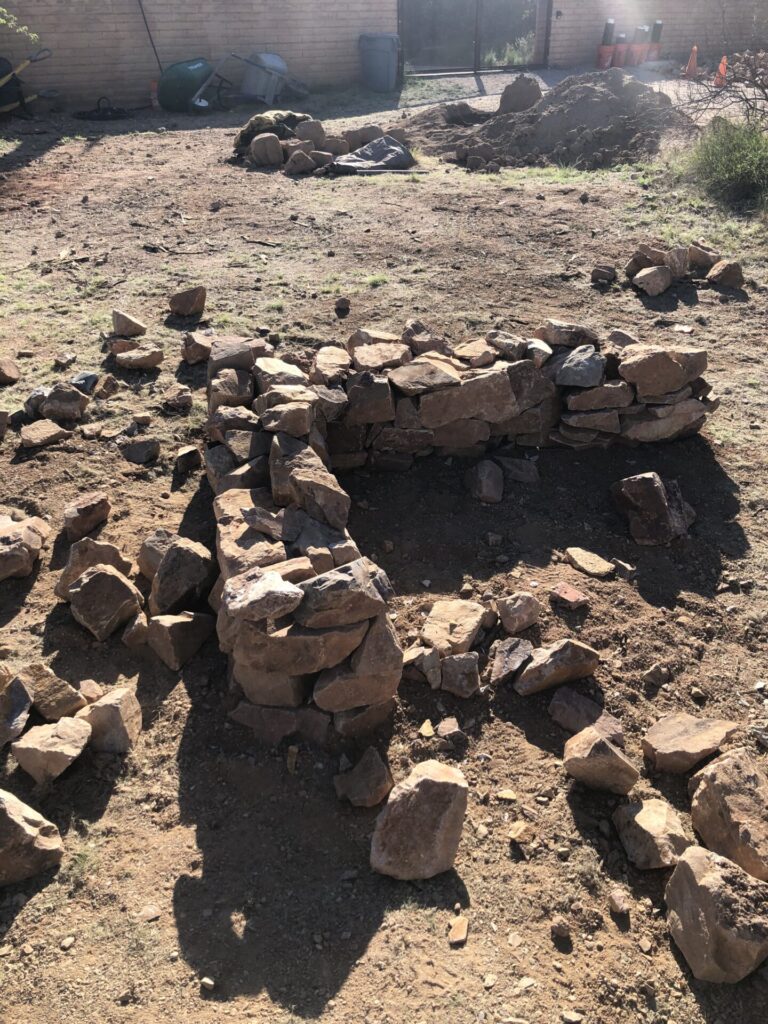
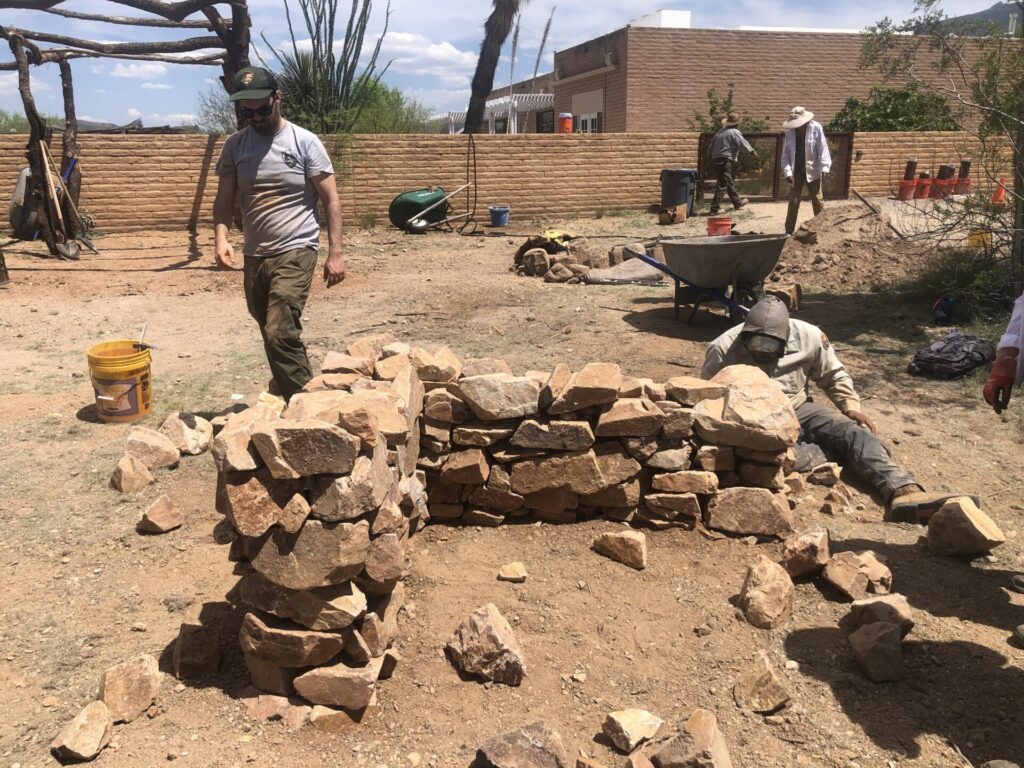
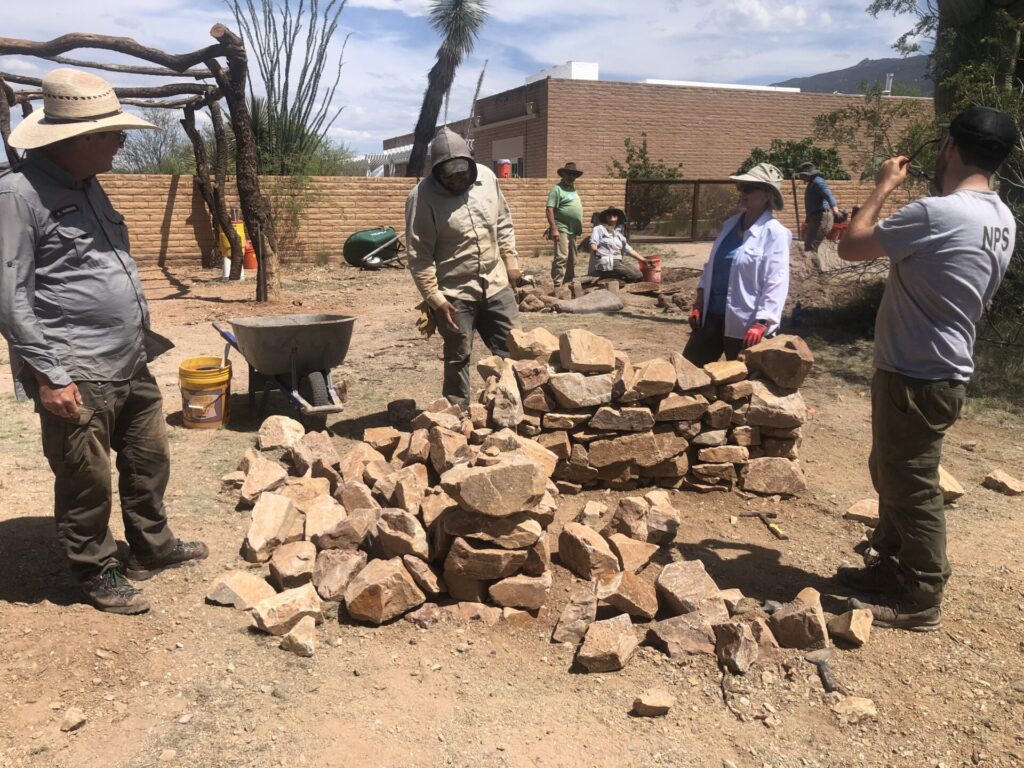
Puddled adobe is my specialty, and that’s what I was brought in to teach the DRLC group. Together with our Preservation Archaeology Field School students, I have built two complete puddled adobe replica room blocks in New Mexico. This is the style of construction we find at Salado sites (circa 1300–1450 CE).
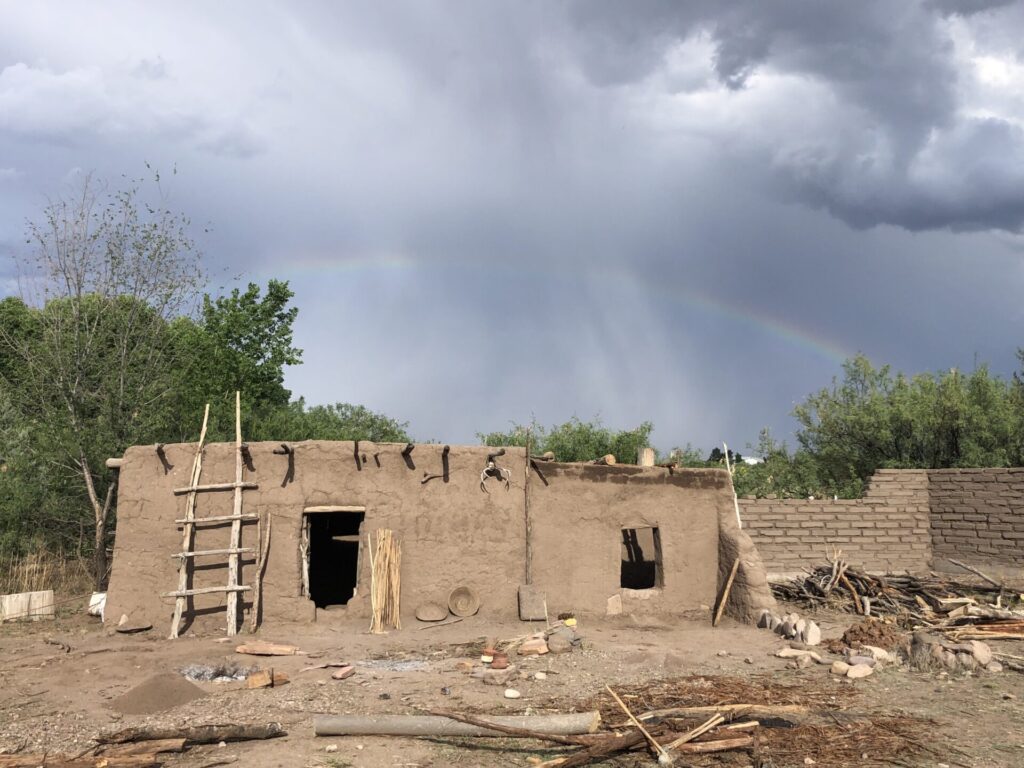
First, I had my crew dig a footer trench.
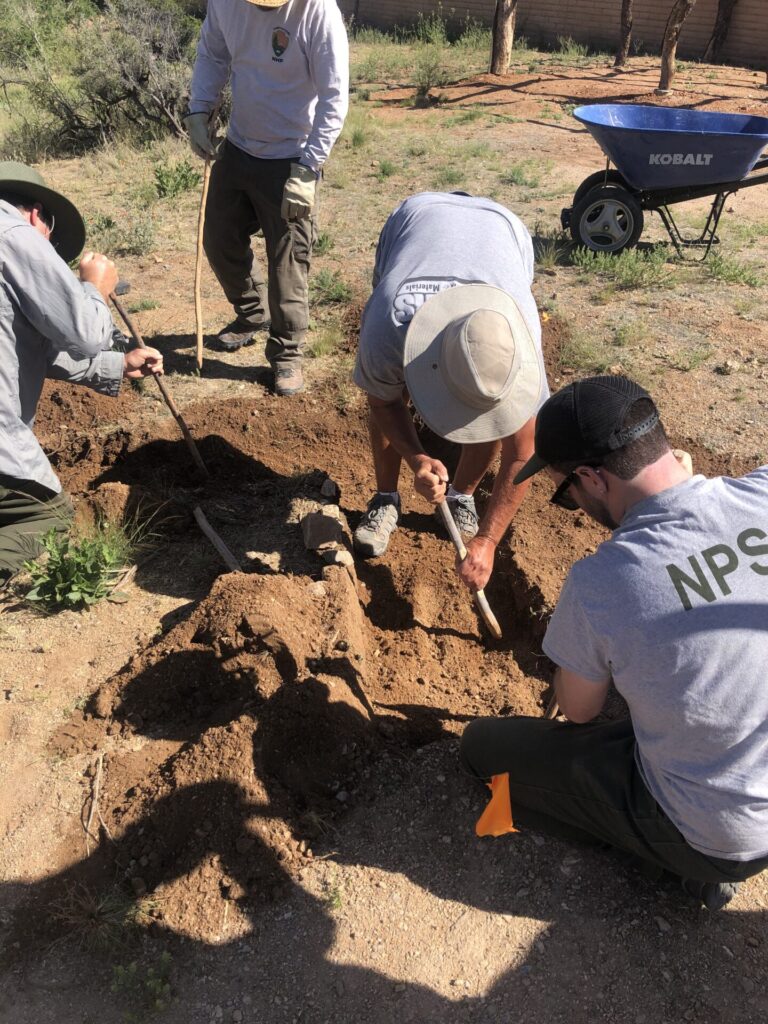
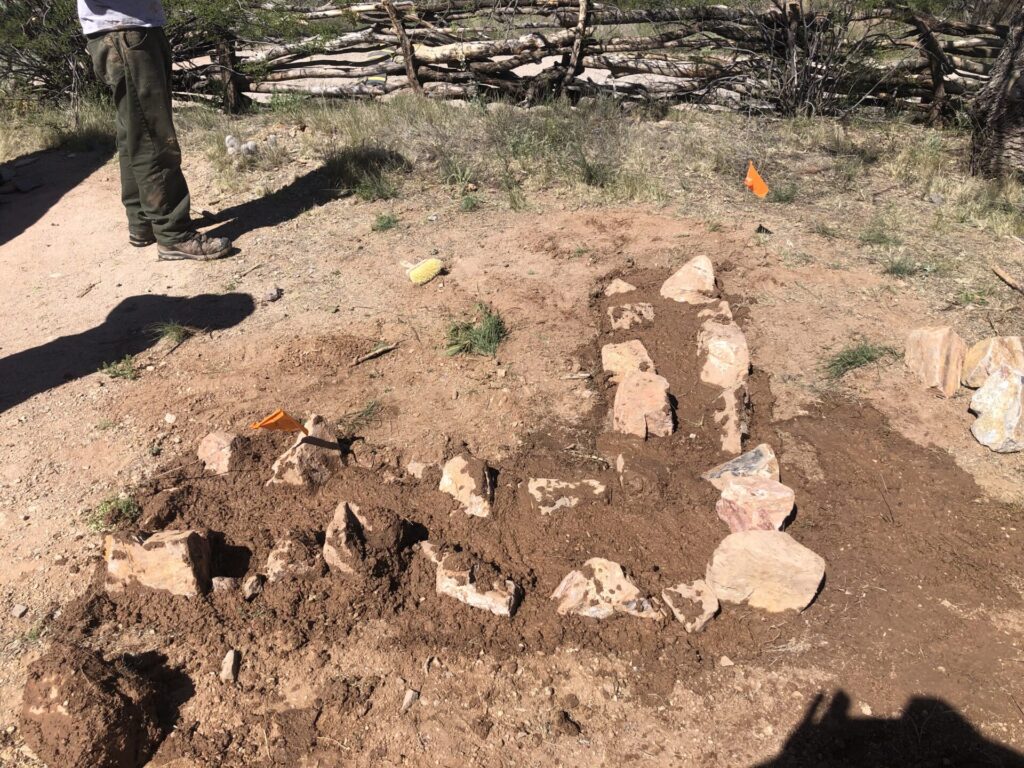
Next, we mixed the soil we’d removed into mud and used it to fill the trench. We set in two rows of foundation stones, just as builders in the Salado tradition did. Archaeologists call these “cimiento” (“foundation” in Spanish) stones.
Our adobe mud mix included clay and sand.
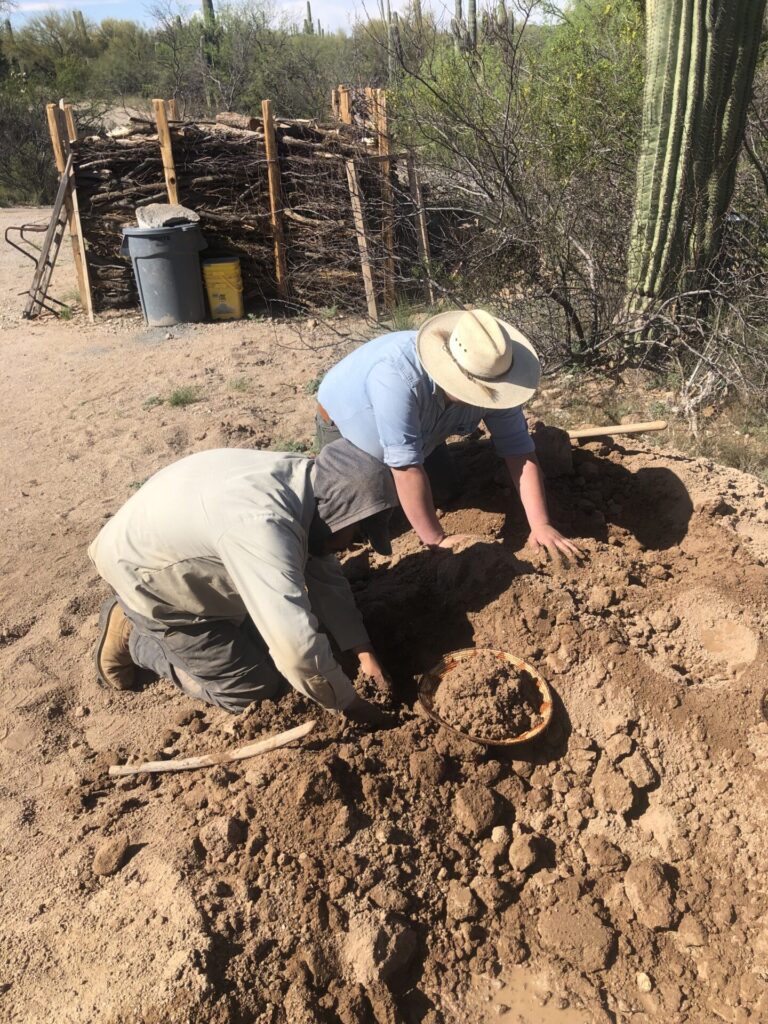
We dumped baskets of mud onto the wall and began forming it.
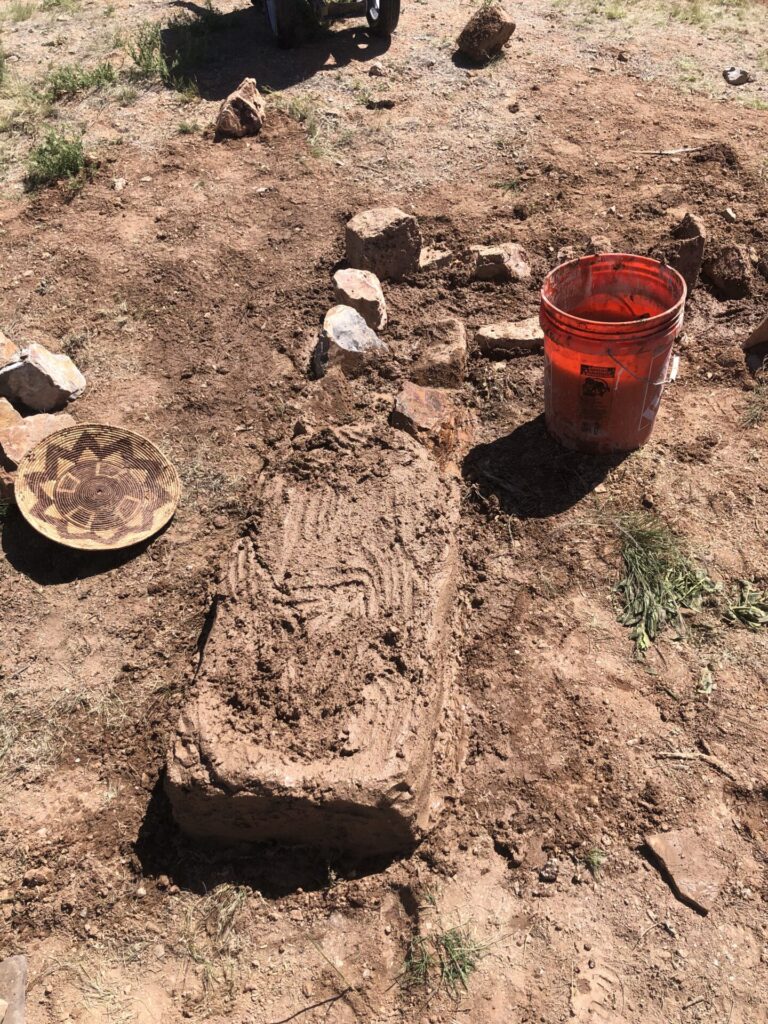
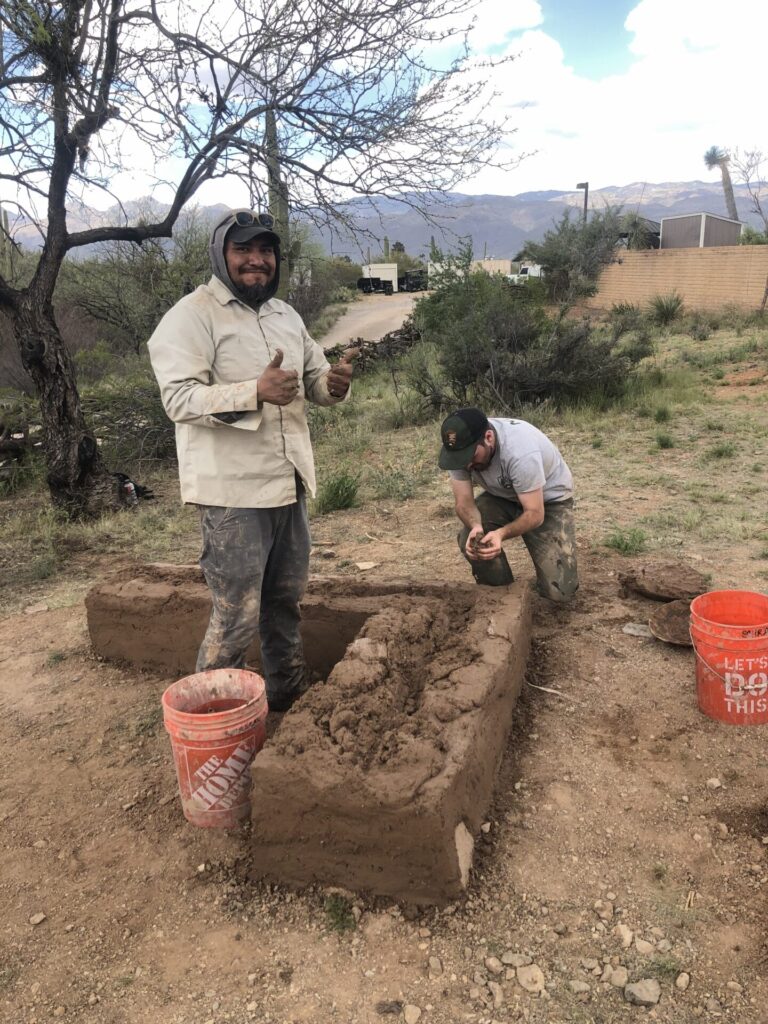
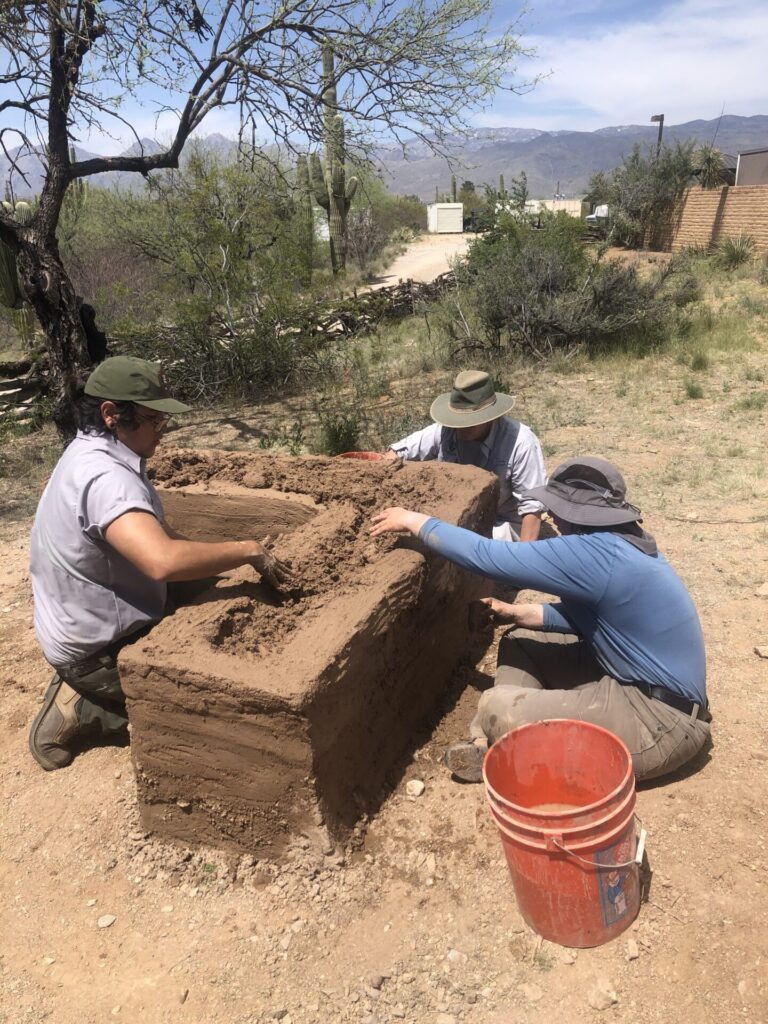
Here is our wall after three days.
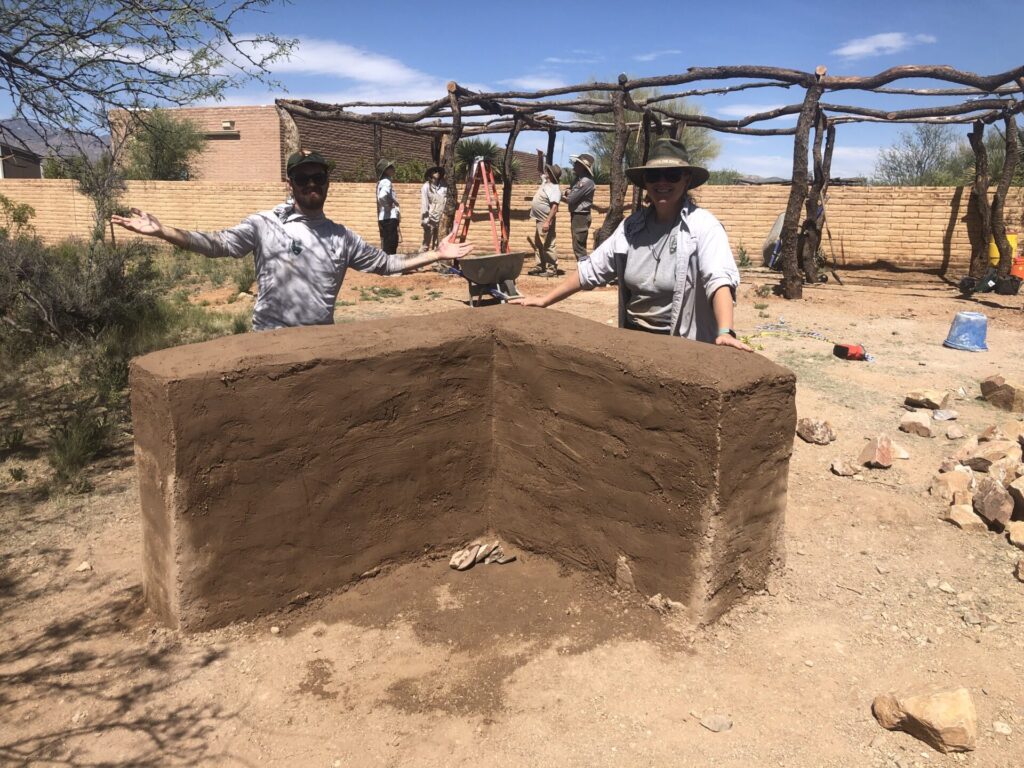
With this method of construction, you expect cracks. I came back a week later, once the wall had dried out, and found that the cracks weren’t as bad as I’d expected! Our adobe mix had a relatively high sand content that really set up nice and hard as it dried.
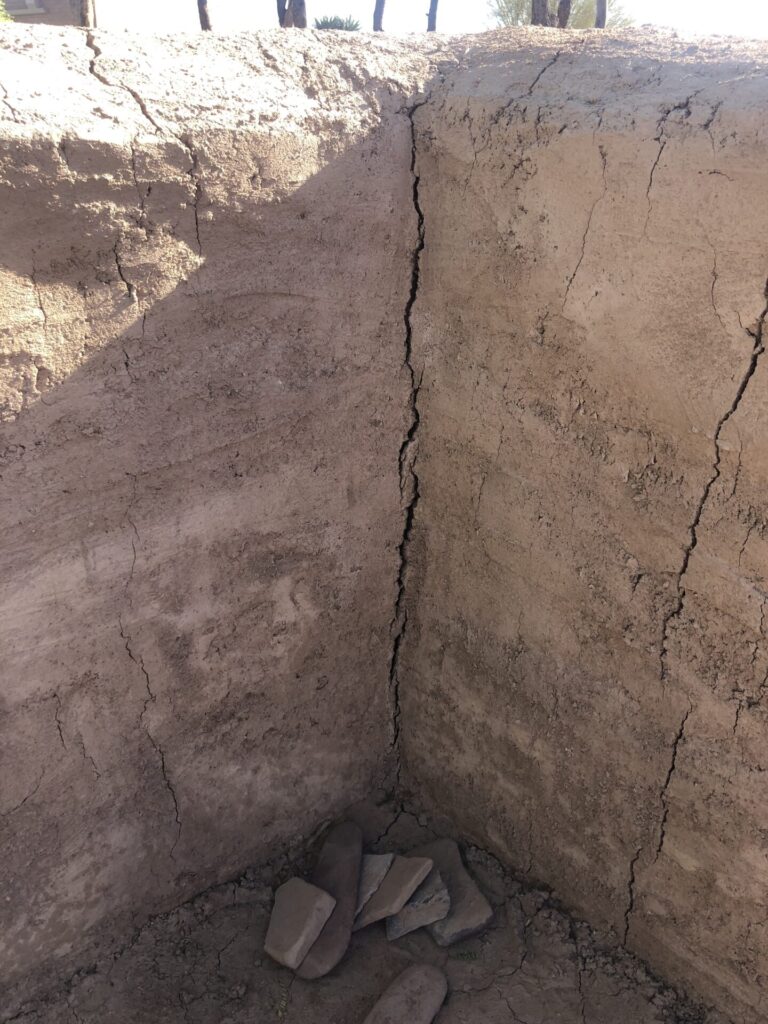
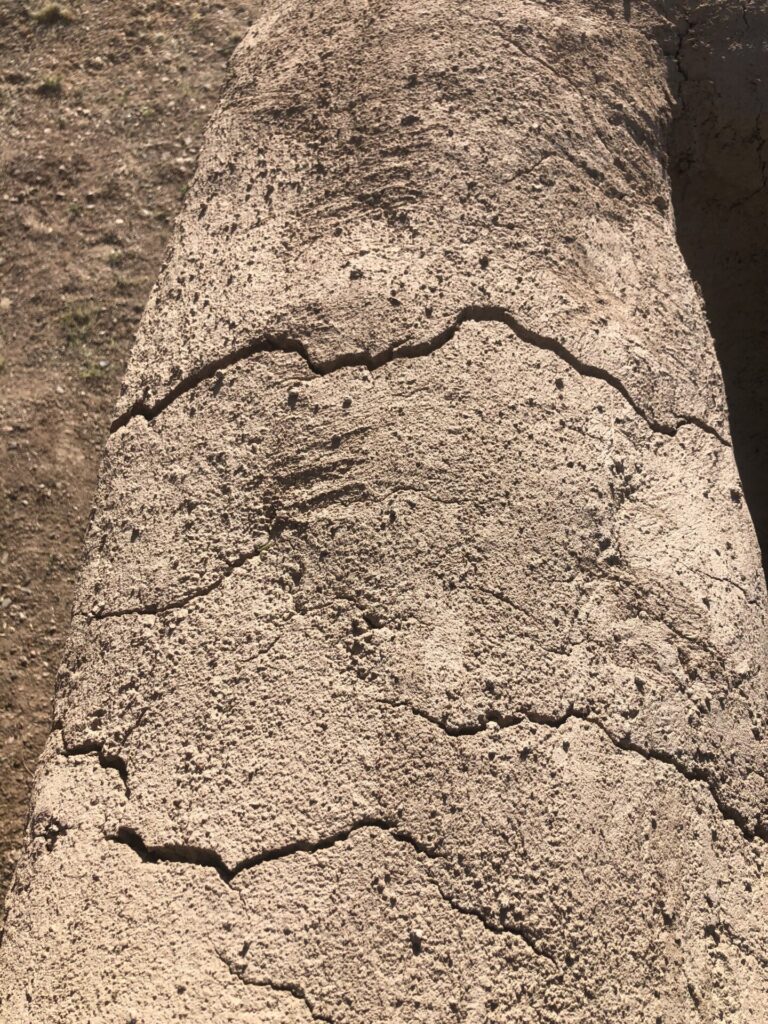
This wall was a lot thicker than the ones my students built in New Mexico. It took longer to dry, but it’s just as solid.
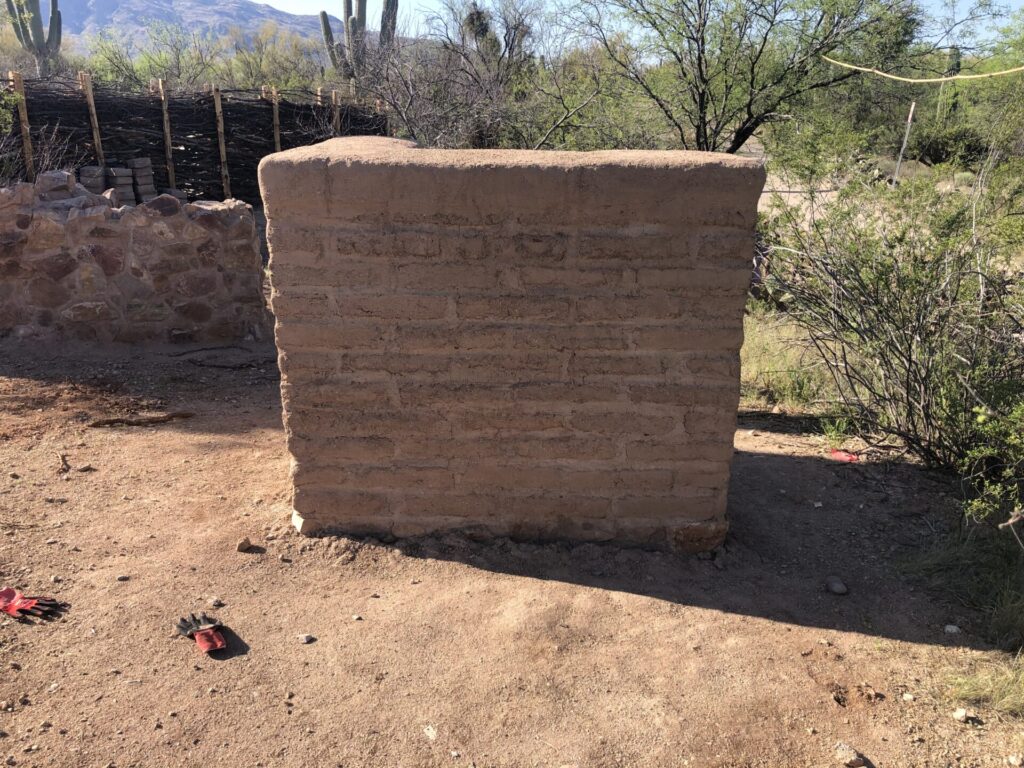
This is the adobe brick wall constructed earlier in the workshop. I suspect that it takes about the same amount of time to build a puddled adobe wall and an adobe brick wall, factoring in the amount of time it takes to make and dry the bricks.
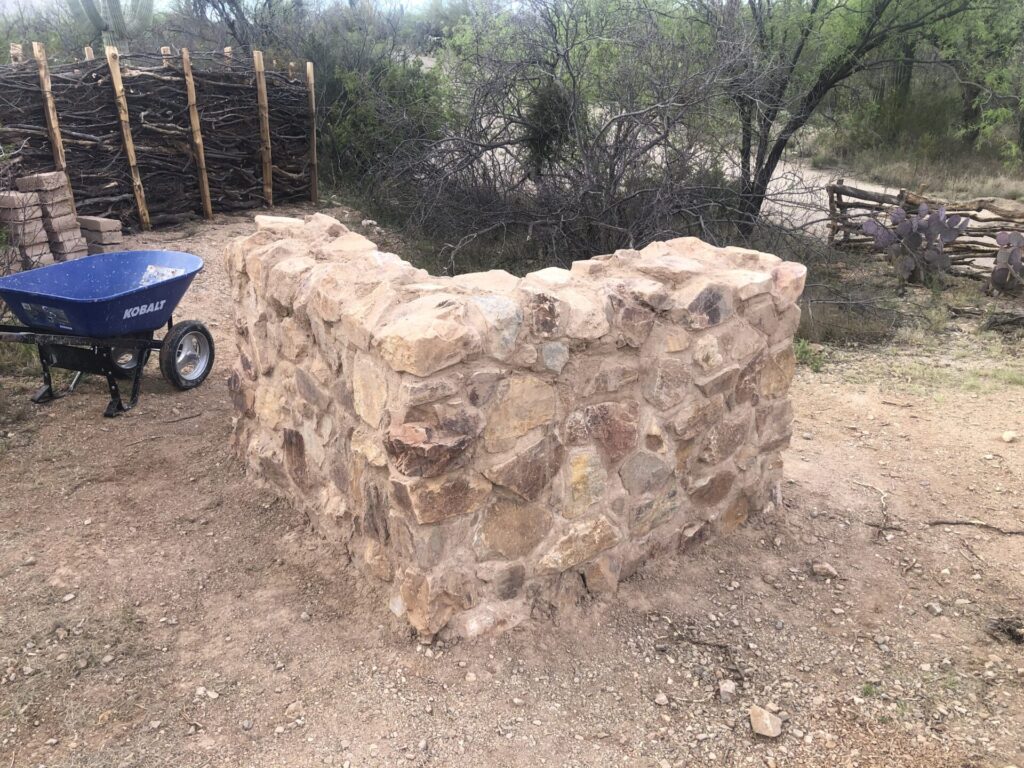
Here is the masonry wall. The crew used the same kind of rocks as in the dry-laid wall, but the mud mortar made it easier to lay and adjust to fit. I suspect that this construction method is the quickest, discounting the amount of time it takes to gather or quarry the stone, and then haul it to the location. At Chaco, for example, some of the rocks in the great houses came from considerable distances in the canyon.
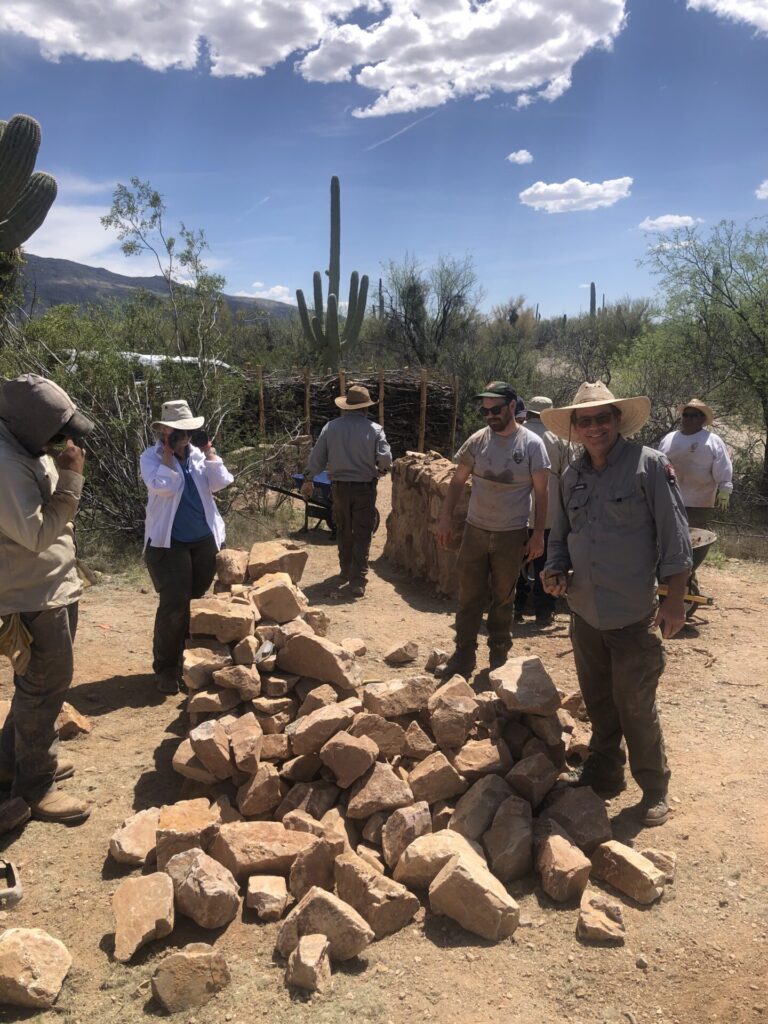
As you saw earlier, the dry-laid stone wall was a different story! This is largely because of the irregular shapes of the rocks. Sandstone or another rock laid down in parallel bedding planes would have been ideal. And even most ancient walls of sandstone had mud mortar—mortar makes a huge difference.
I encourage area residents and visitors to go to the NPS Desert Research Learning Center to examine the demonstration walls up close!
One thought on “Mud and Rocks—What More Do You Need?”
Comments are closed.

Good documentation and explanation of the different construction methods and the pros and cons. This information alone would be a huge help for any DYI folks that hope to build. a good wall that will have a reasonable likelihood of lasting. Keep it up!