- Home
- >
- Preservation Archaeology Blog
- >
- Hands-On Archaeology: Let’s Straighten Something...
Meet the mighty shaft straightener!
(June 4, 2024)—People used these ground stone tools to straighten wood or reeds used to make arrow shafts. The shaft straightener was placed in the coals of a hot fire and heated up. The arrow shaft was then pressed into one of the grooves and heated up to make it easy to bend. The heat made the organic material more pliable, and stopped it from reverting to its original form.
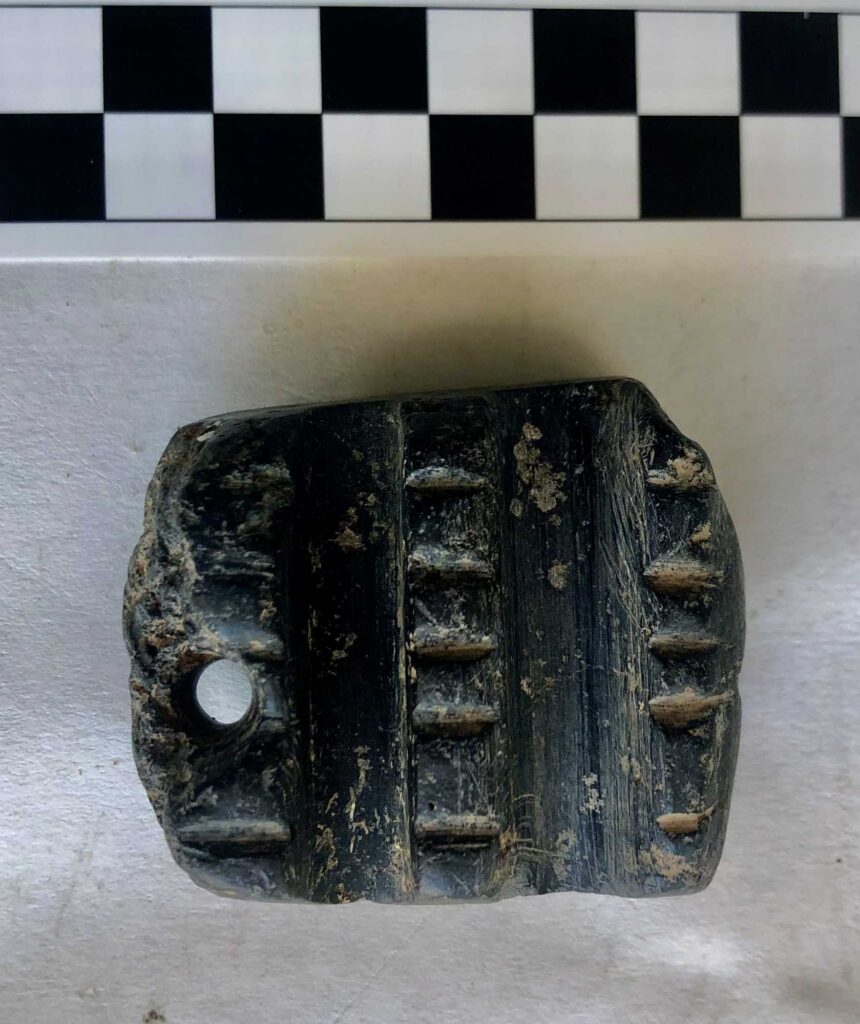
This is an ancient example from the Robinson Collection. Note the deep grooves. Other examples from the Safford area are also made out of the same steatite (soapstone) as this one. Steatite really holds the heat well and can handle the thermal stress of heating and cooling. This has a hole drilled through one side and a series of 5 shallow grooves running parallel to the two big grooves. I expect the hole was used as a way to pull the straightener from the fire. I don’t know what the smaller parallel lines were for.
These are two replica shaft straighteners that demonstrate some of the variations we see in ancient examples.
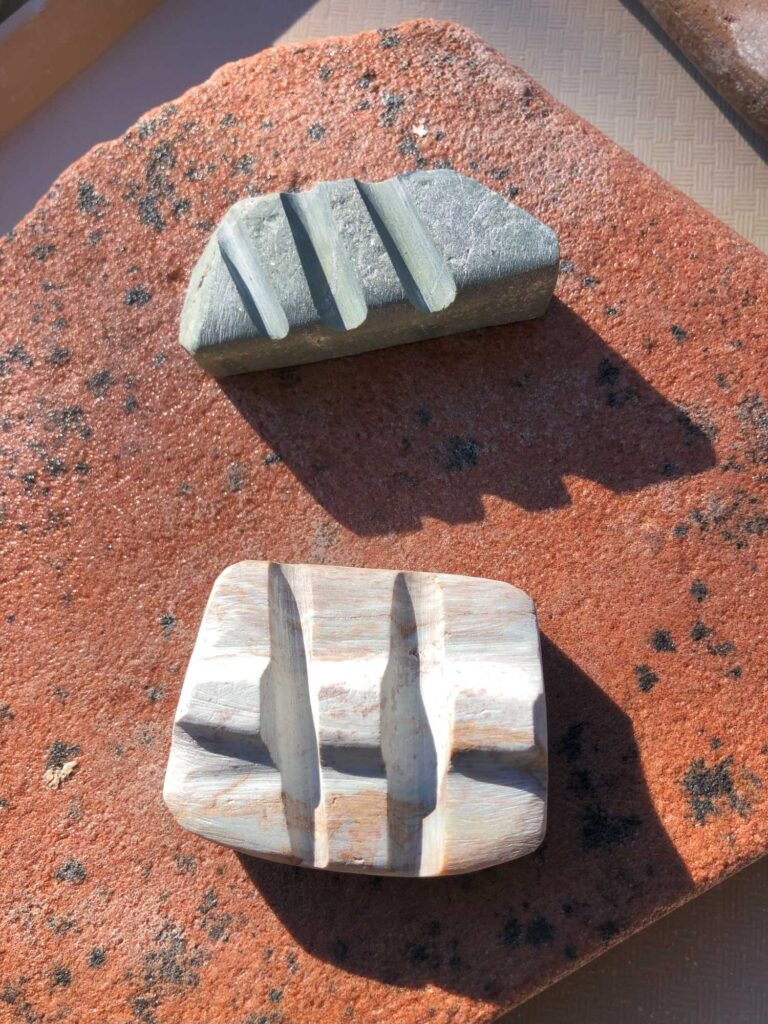
The top one has 3 grooves, but no other embellishments. Typically, these tools have more than one groove—two grooves are pretty standard. Having more than one groove is handy: As one cools down you can switch to the other, hotter side. It allows you to get more done each time you heat the stone.
The second one has a raised ridge running parallel to the grooves.
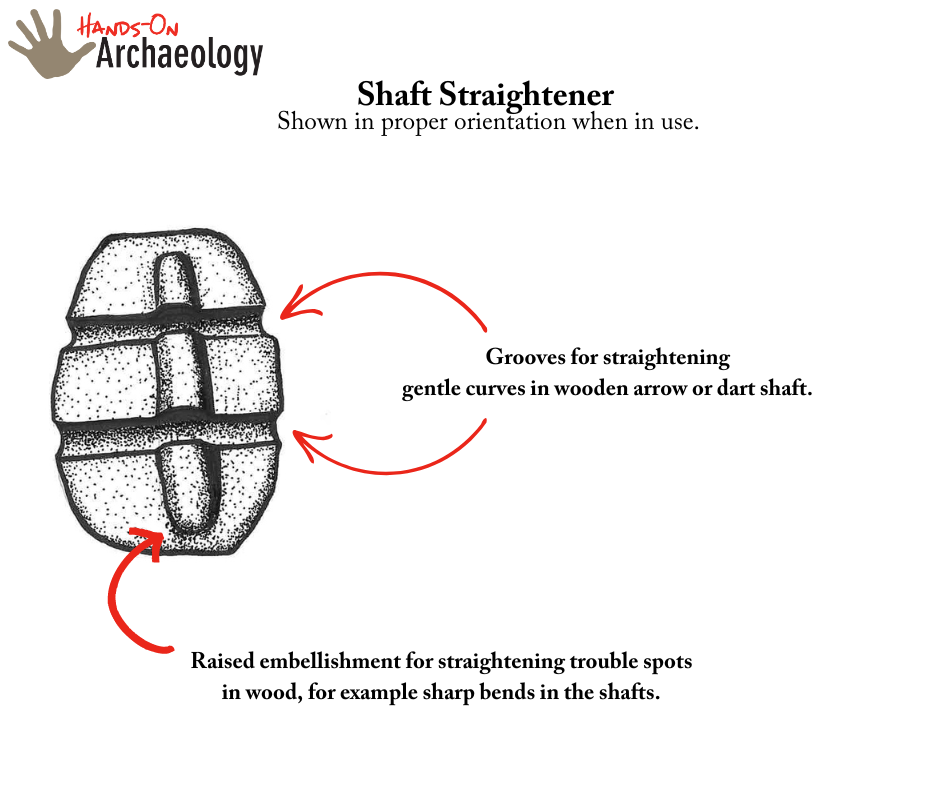
I had always wondered why so many of these artifacts I’ve seen had these raised ridges or embellishments on them. In almost all the example I’ve examined, these ridges were perpendicular to the polished grooves. These ridges also do not seem to be as polished, at least not as much as the grooves.
It turns out these raised embellishments are for straightening out sharper curves in shafts. You can isolate the heat to a smaller area and gain more flex when pushing down on each side of the shaft.
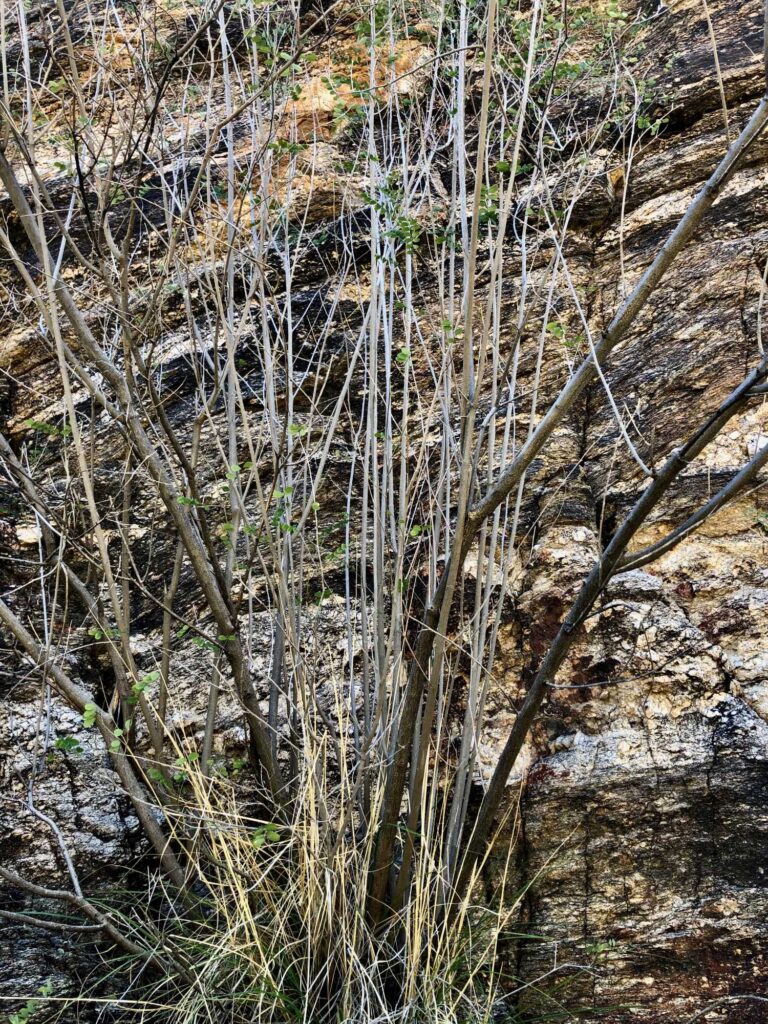
This is a Rosary Babybonnet bush (Coursetia glandulosa). You can see how straight the lighter colored stems are. These are the perfect choice for arrow or dart shafts, as they are very straight and have very few branches.
This is a larger stick that I might want to straighten into a dart shaft. It is a good example of some of the bend problems you can encounter that a shaft straightener can really help you fix. I recommend starting with the naturally straightest shaft you can find; I gathered this one to show the extremes.
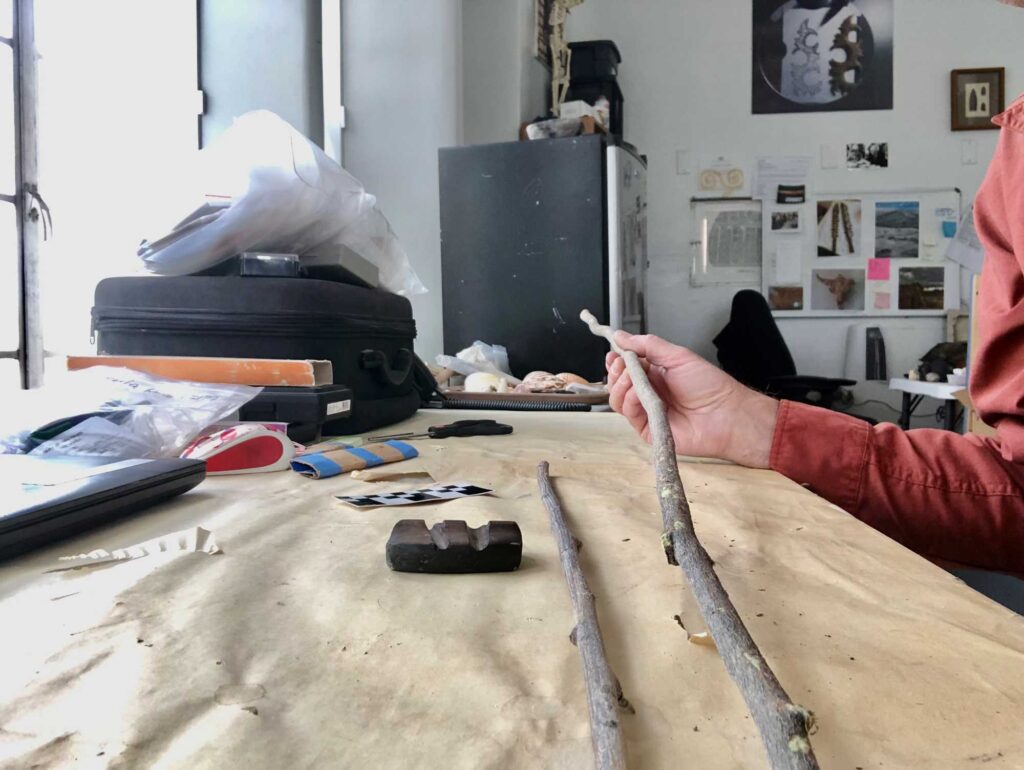
The first step is to scrape the bark off and shave any knots down so they are smooth with the shaft. Removing the bark helps the shaft dry quicker.
I have found that if the shaft is still really wet when you straighten it, it tends to warp again as it dries. I find it takes at least a couple of straightening attempts to get the shafts to the point they hold their new shape. I like the shafts to be halfway dry when straightening.
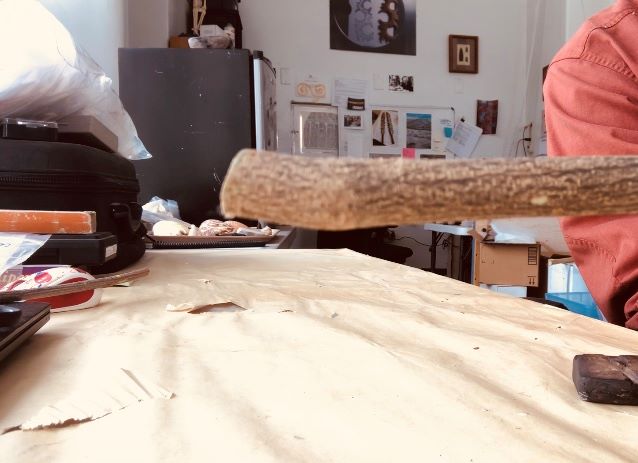
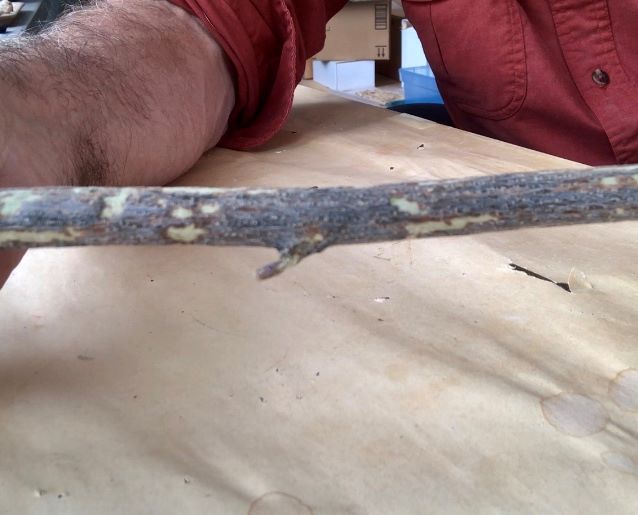
These are examples of bends that are really hard to straighten. In the first photo, the sharp bend is really near the end of the shaft, making it impossible to fix. I would cut this end off and not even try. The other pic shows a bend down in the middle of the shaft that should be fixable using the raised embellishment on the face of your shaft straightener.
This is one of my straighteners in my fireplace at home. I have it sitting on top of hot coals heating it up. I drilled a hole in it that works pretty well for helping me pull it out of the fire. (I used our kitchen tongs to put the straighteners into the fire and then take them out.)
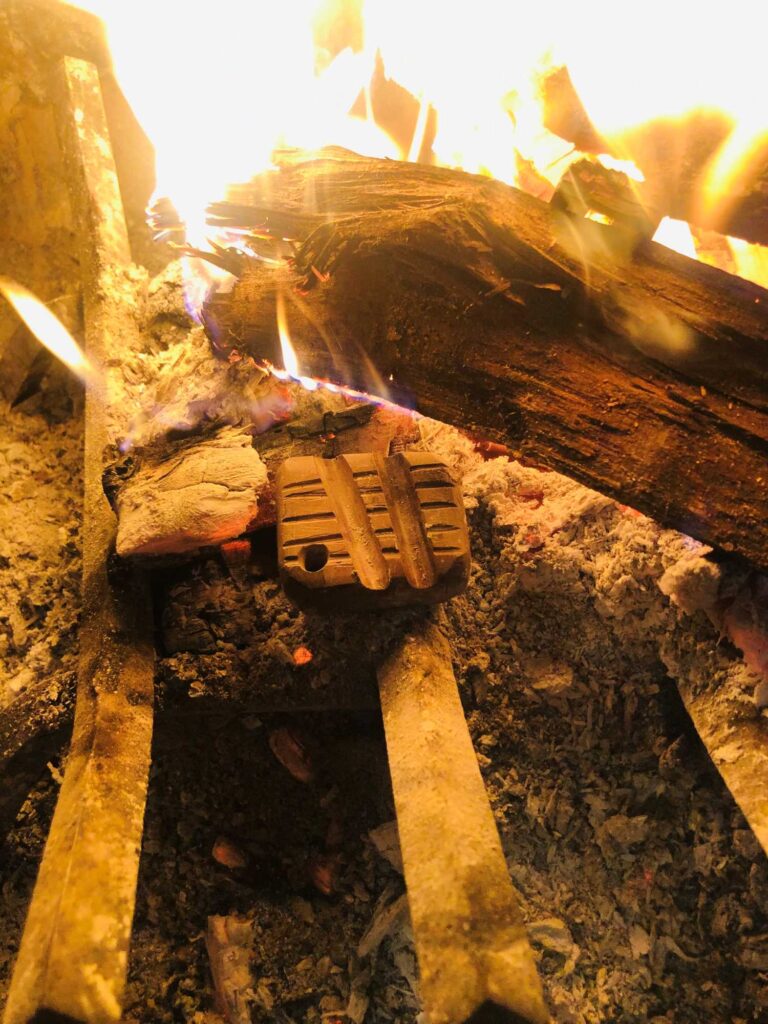
You want to get the straightener hot enough it really heats the wood up, but not so hot that you destroy your straightener. A good test: Drip a bit of water on it, and if the water sizzles, it’s ready to go.
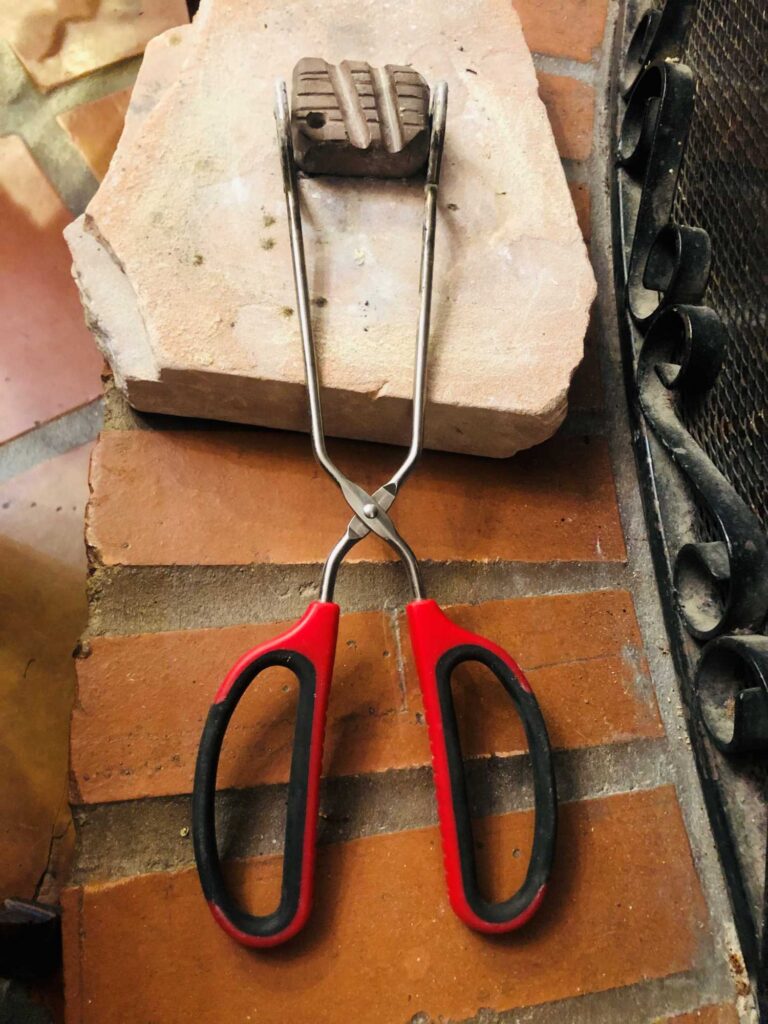
This is how the straightener should be oriented when in use.
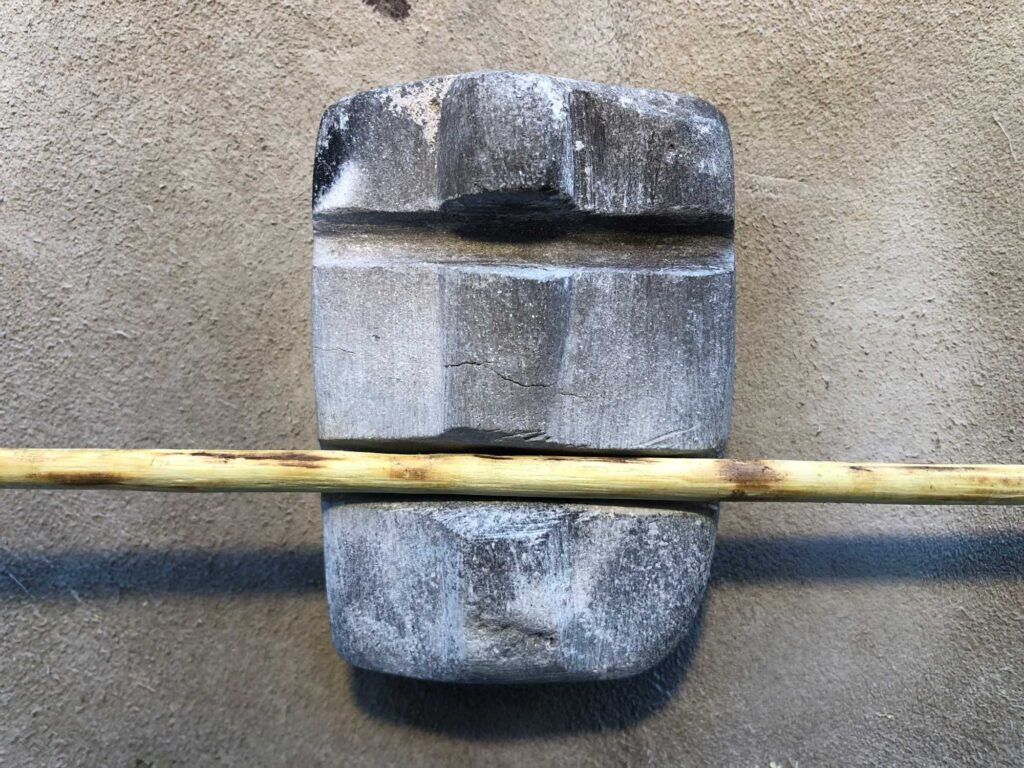
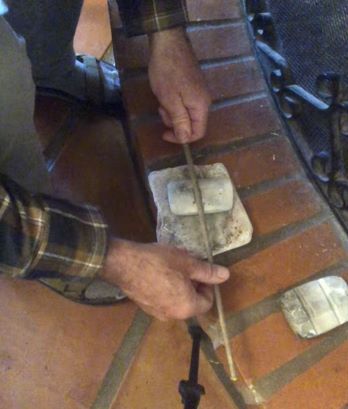
By pressing the more gently curved sections of the shaft into the notch and gently flexing down on the ends, you apply intense heat to a section of the shaft. By turning the shaft as you run it back and forth down the groove, you straighten it out and polish the shaft (and the groove).
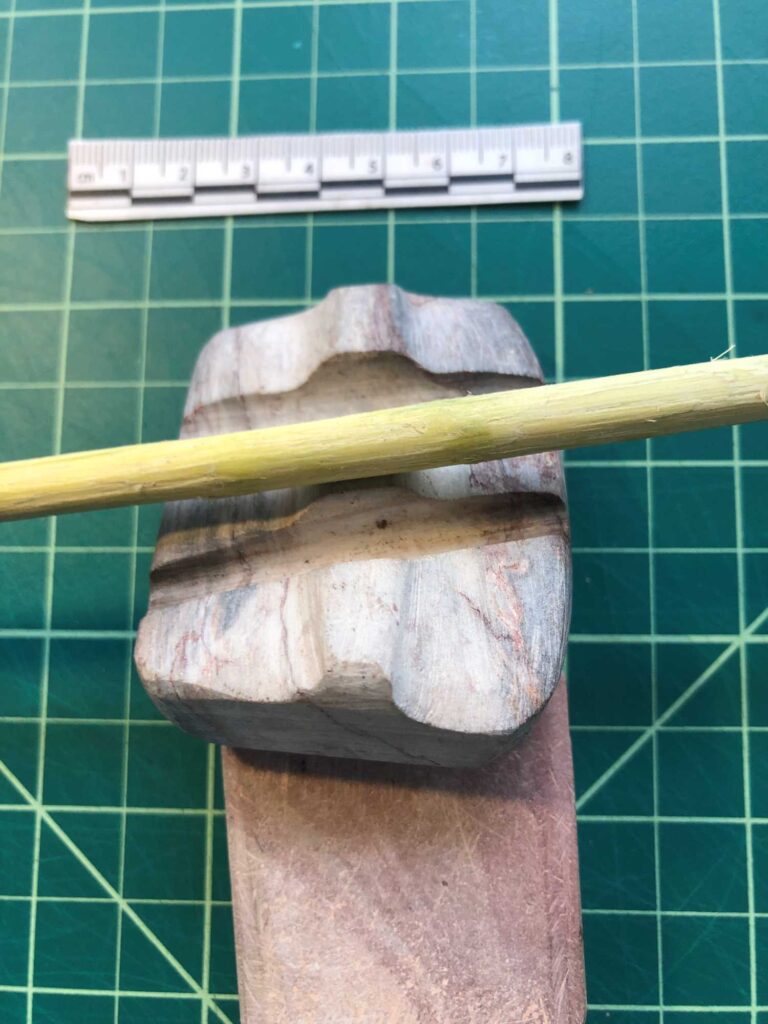
This view shows how to lay the shaft across the raised groove to tackle the sharper bends. Lay the outside of the bend over the ridge and push the sides down, flexing the shaft sides down. The heat pinpoints the sharp bend but not too far around it, making it easier to bend.
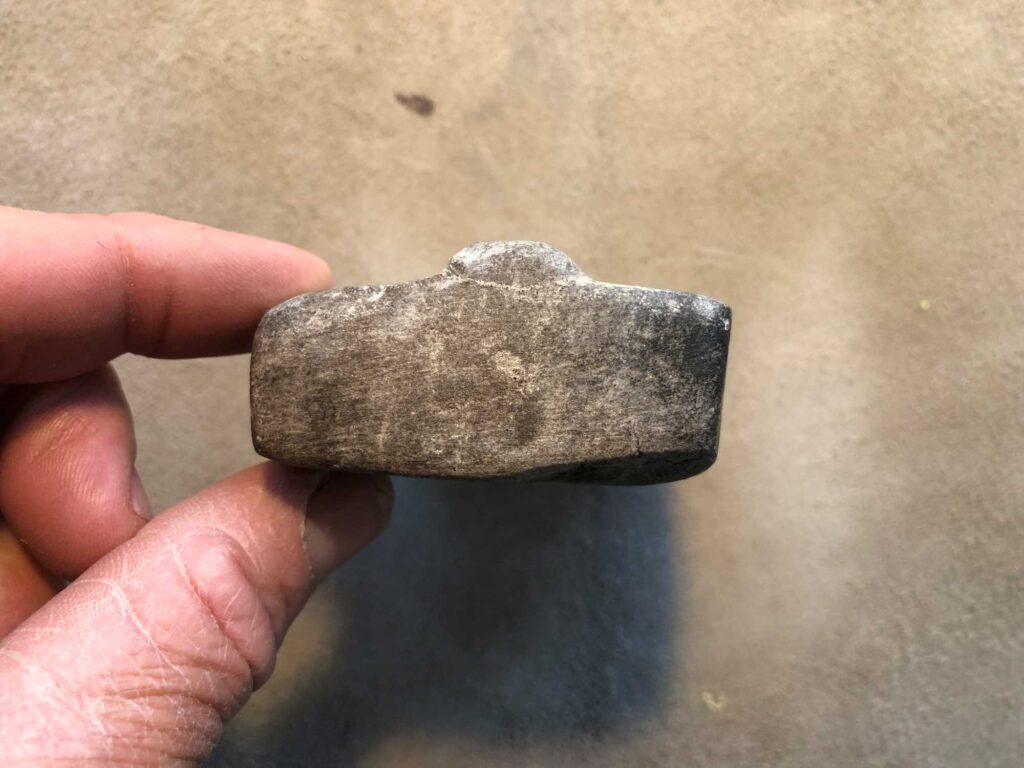
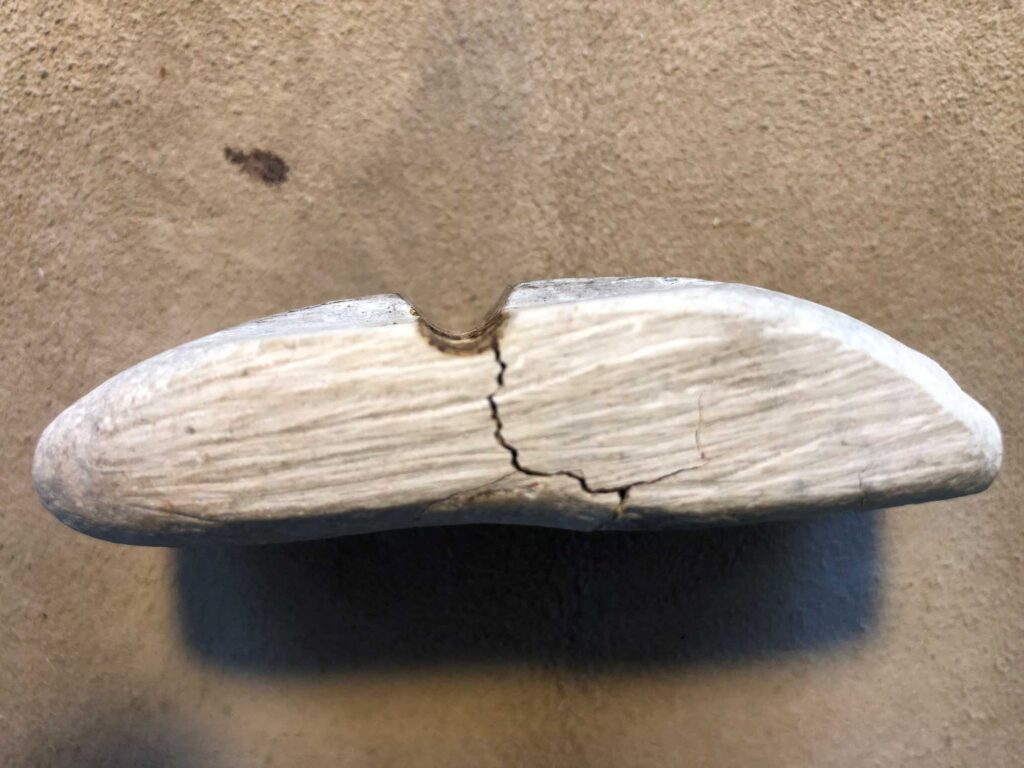
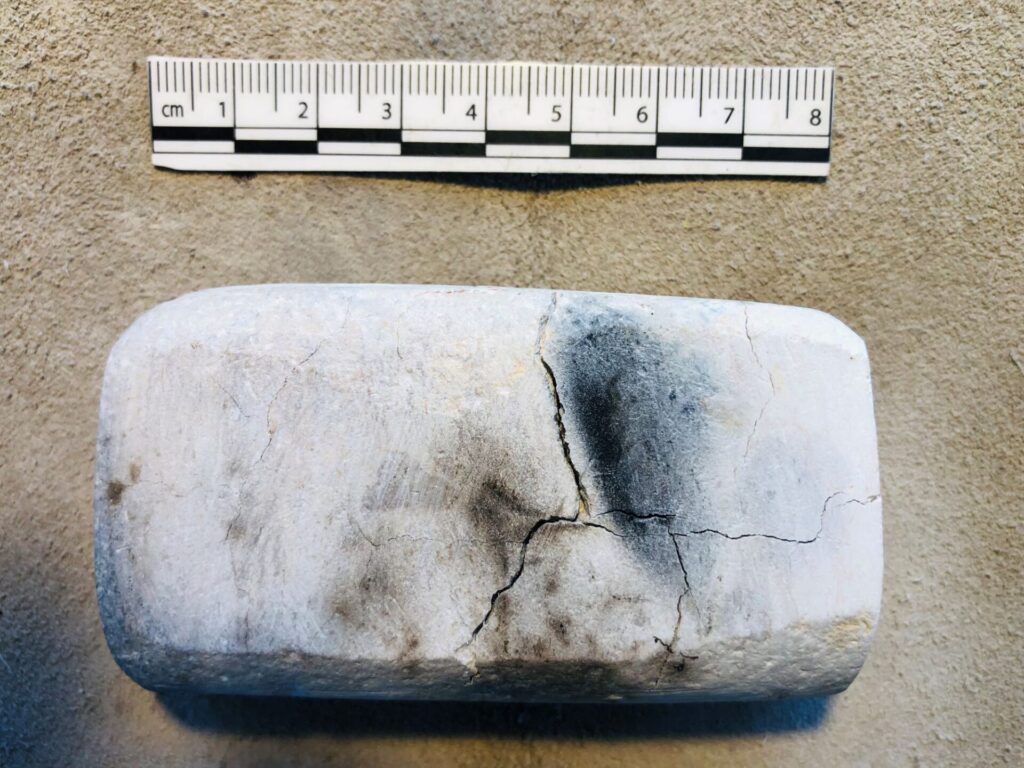
This is the side and bottom of the other straightener, showing the thermal cracking I created when I overheated it.
Two finished arrows and bundle of straightened shafts ready for their fletching and foreshafts.
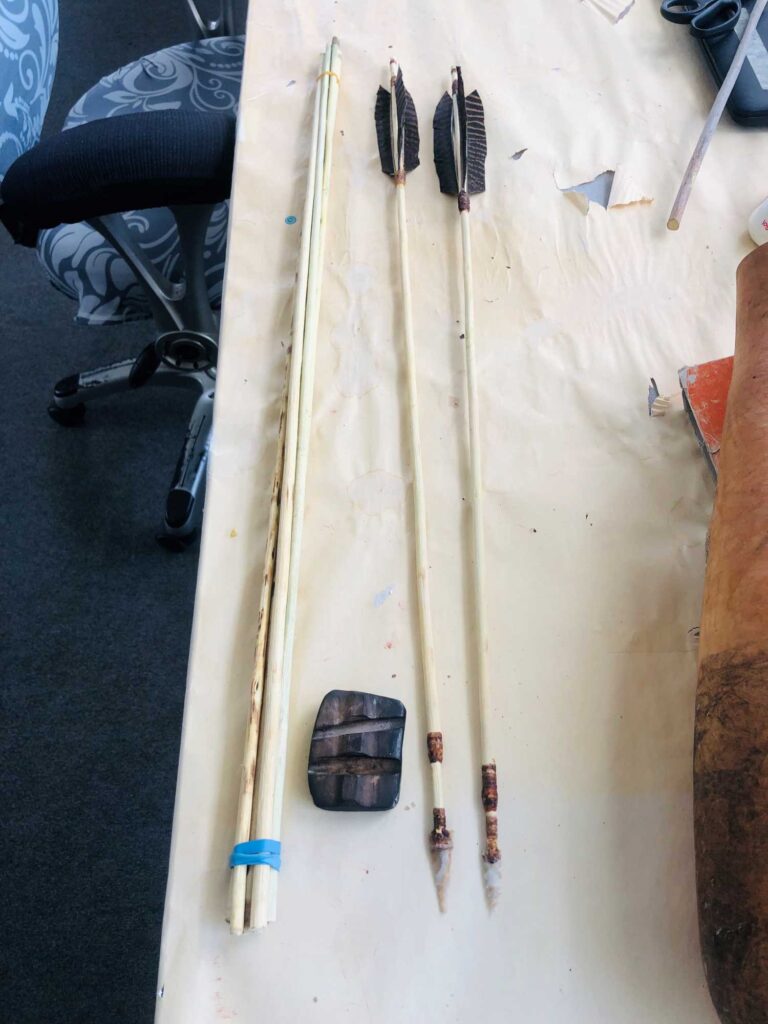
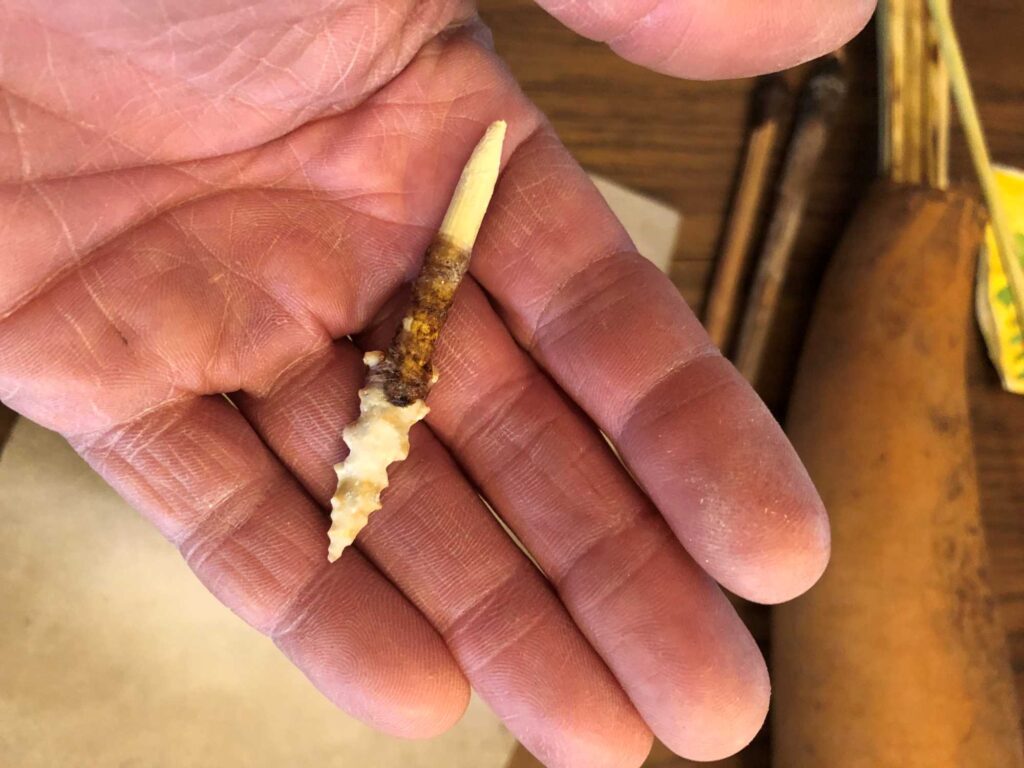
Small arrow foreshaft with Hohokam style arrow point.
Explore the News
-
Join Today
Keep up with the latest discoveries in southwestern archaeology. Join today, and receive Archaeology Southwest Magazine, among other member benefits.